Inspections
To open the Inspections screen, tap the Menu icon from anywhere within the application and select Equipment> Inspections from the drop down list.
| Field | Description |
|---|---|
| Inspection Number | The number associated with the inspection. |
| Inspection Type | The type of inspection being made. |
| Serial Number | The serial number of the unit being inspected. |
| Accessibility | The means by which the inspection was conducted. |
| Created By | The name of the user who created the inspection. |
| Modified | The date the inspection was last modified. |
| Location | The location of the inspection. |
Tap the ![]() icon to open the Add Inspection screen:
icon to open the Add Inspection screen: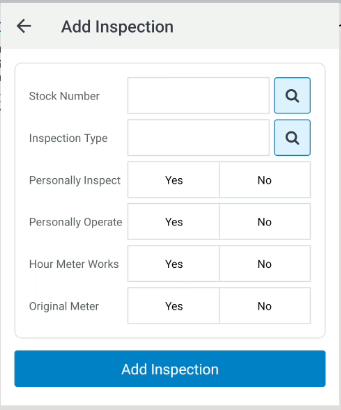
Tap on an inspection to open the Inspection Detail screen.
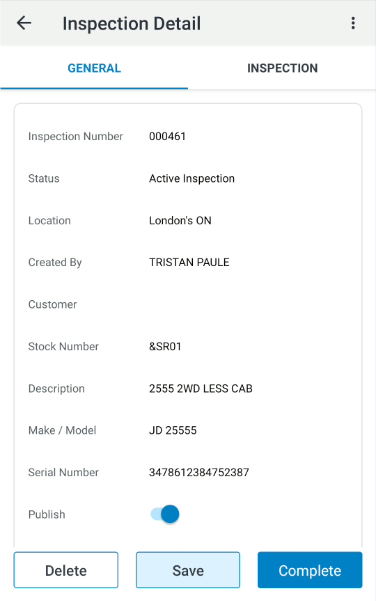
The fields on the Inspection Detail screen are:
| Field | Description |
|---|---|
| Inspection Number | The number associated with the inspection. |
| Status | The current status of the inspection. Once a service request is picked up by a technician or service manager the status of the request changes to Being Inspected by Service and the request can only be displayed and no longer changed by the sender of the inspection. |
| Location | The location of the inspection. |
| Created By | The user the inspection was created by. |
| Customer | The customer's name. |
| Stock Number | The stock number of the unit being inspected. |
| Description | A description of the unit being inspected. |
| Make/Model | The manufacturer and model number of the unit being inspected. |
| Serial Number | The serial number of the unit being inspected. |
| Publish | When checked the inspection will be published to the MyDealer extension. |
| Type | The type of inspection being performed. |
| Accessibility | The means by which the inspection was conducted. |
| Personally Inspect | When checked it means the unit has been personally inspected. |
| Personally Operate | When checked it means the unit has been operated for the inspection. |
| Hour Meter | Hours accrued to the unit. Applies only to machines that have an hour meter. |
| 2nd Hour Meter | Secondary hours accrued to the unit. Applies only to machines that have more than one hour meter. |
| Reference Hours | User defined hour field. |
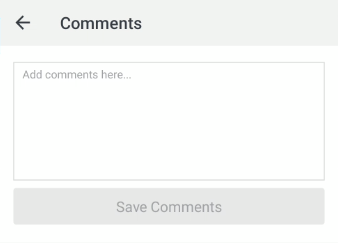
There is also a section where General Comments can be added to an inspection.
Use the '+' button to add a comment.
Options and accessibility change depending on your user role based in the Evaluation/Inspection Area field in your IntelliDealer User Profile.
-
General User—A user not defined in user Profile as Service Manager or Service Representative. This user, provided they have security, can create an inspection and complete or send it to service providing that either of the service roles are defined.
-
Service Manager—A user defined in user Profile as Service Manager. The service manager can either complete the inspection or assign a Service Representative to complete the inspection. Any inspections will first come to the service manager if this role is defined for any users in a location.
-
Service Representative—A user defined in user Profile as Service Representative. The service representative will complete the inspection and return to either the service manager or the creator of the inspection if the manager role was not defined.
Note: Work order inspections cannot be sent to service as they are created for service. Once an inspection has been sent to service the user can no longer edit the inspection until it is returned
The context menu (![]() ), when opened in the Inspection Detail screen gives you access to Equipment Detail, Customer Detail, Memos(inspection level), and Multimedia(Equipment Profile level - see below).
), when opened in the Inspection Detail screen gives you access to Equipment Detail, Customer Detail, Memos(inspection level), and Multimedia(Equipment Profile level - see below).
The Features Tab
The Features tab opens the features checklist:
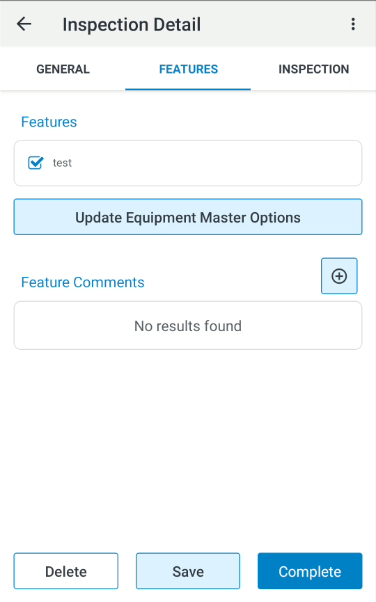
Checked features appear as details associated with the inspected unit. Tap the  button to update the features on the equipment unit (requires the user to be authorized via Security Switch 922 in IntelliDealer). A pop-up window listing your selected features appears to confirm the update:
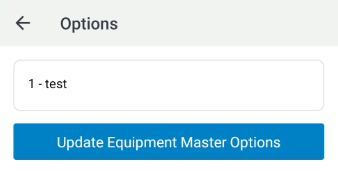
The Update Equipment Master button confirms and saves the feature details.
The Features tab has a Feature Comments text field where unique comments can be written and attached to the feature detail overview.
The ![]() button opens the entry window where you can enter a comment and save it.
button opens the entry window where you can enter a comment and save it.
Inspection Tab
The Inspection tab opens the inspection checklist:
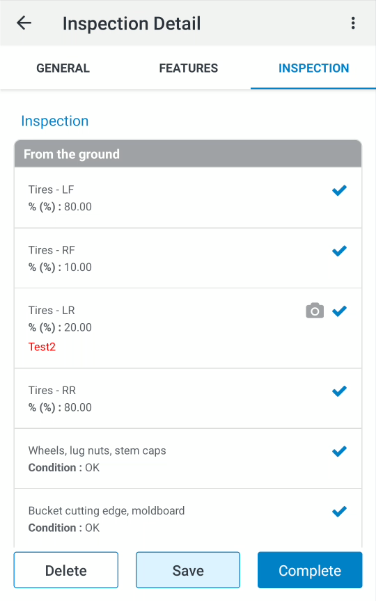
Tap an individual Inspection detail to expand the option for further editing:
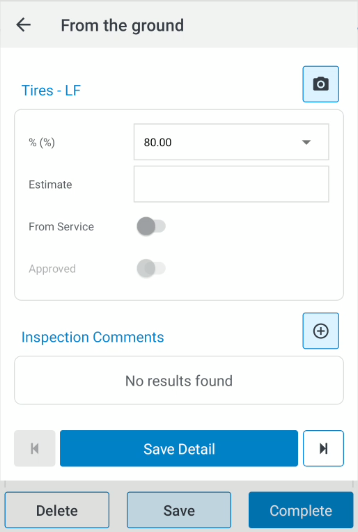
The fields on the Inspection Detail creation screen are:
| Field | Description |
|---|---|
| Condition | The condition of the unit in the area being inspected for this step. Select the appropriate option. |
| Estimate | The estimated cost of ant repairs that might be needed. |
| From Service | The estimated cost of repairs obtained from the Service Department. |
| Approved | Indicates whether approval has been given to have the repairs completed. |
For standard condition responses, the UI includes buttons for condition statements
(screen example)
(Dropdown selection will still apply for custom conditions)
You can navigate through each Inspection Detail entry by entry with the Next/Previous arrow buttons. You can complete inspection steps for multiple details before clicking Save Detail to return to the tabbed inspection list.
On Condition status and Job Codes: Depending on your IntelliDealer Inspection Step configuration settings, Mobile Access will prompt you to use any Job Codes that have been already configured for the inspection. When an inspection is rated poorly for example, you will be prompted to associate a Job Code for repairing the associated component. Job Codes must first be setup within IntelliDealer. (Product Support > Service > Job Codes)
Individual details can have multimedia attached to them to improve the quality of the final PDF report. Tap the ![]() icon to open Multimedia window and Browse for multimedia file you wish to attach to the Inspection detail. Once added, a graphic indicator next to the listed detail shows that a multimedia file has been attached:
icon to open Multimedia window and Browse for multimedia file you wish to attach to the Inspection detail. Once added, a graphic indicator next to the listed detail shows that a multimedia file has been attached:

Note: Multimedia files added with the ![]() function are attached at the Inspection level ONLY. This multimedia option is different from one option found under the context (
function are attached at the Inspection level ONLY. This multimedia option is different from one option found under the context ( ![]() ) menu. The Multimedia option in the context menu applies multimedia files to the unit from the Equipment Profile and will not be applied to the inspection step.
) menu. The Multimedia option in the context menu applies multimedia files to the unit from the Equipment Profile and will not be applied to the inspection step.
Completion Process
Once you have completed all required steps, tap the Complete button to begin the completion process:
| Field | Description |
|---|---|
|
Enter an email address for the final inspection PDF report to be sent to. Tap the Comments from the Inspection steps will be included in this PDF report. |
|
| Inspector/Customer | The field opens a free hand signature utility where you can manually sign off on the inspection. |