Applying a Credit Reference Number on a Credit Invoice
If you have not yet created an invoice before applying a credit reference number, follow the steps of the following procedure before applying a credit reference number:
-
From the Customer - Parts Invoicing Header tab, click on the Details tab.
- or -
Click on link under the Parts Invoice Details section on the Customer - Parts Invoice Header tab.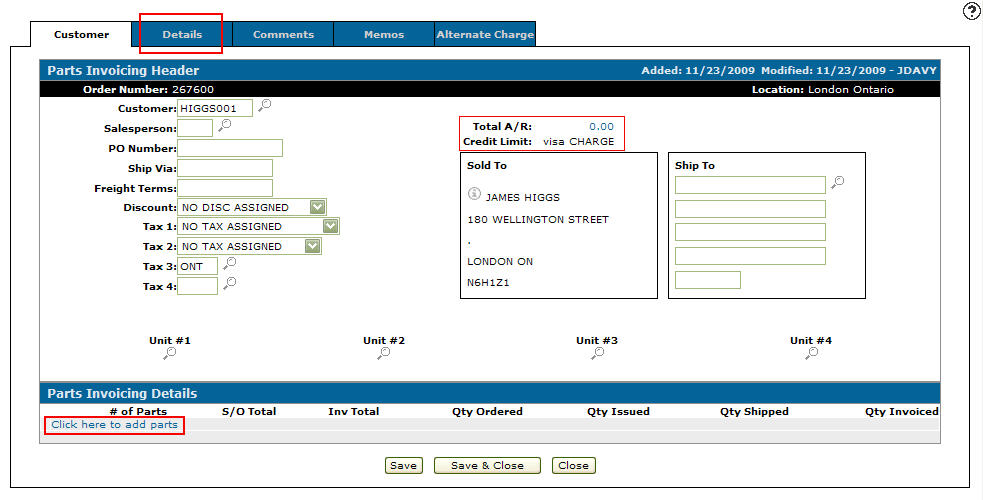
Customer - Parts Invoicing Header tab
-
The Parts Invoicing Details tab will appear.
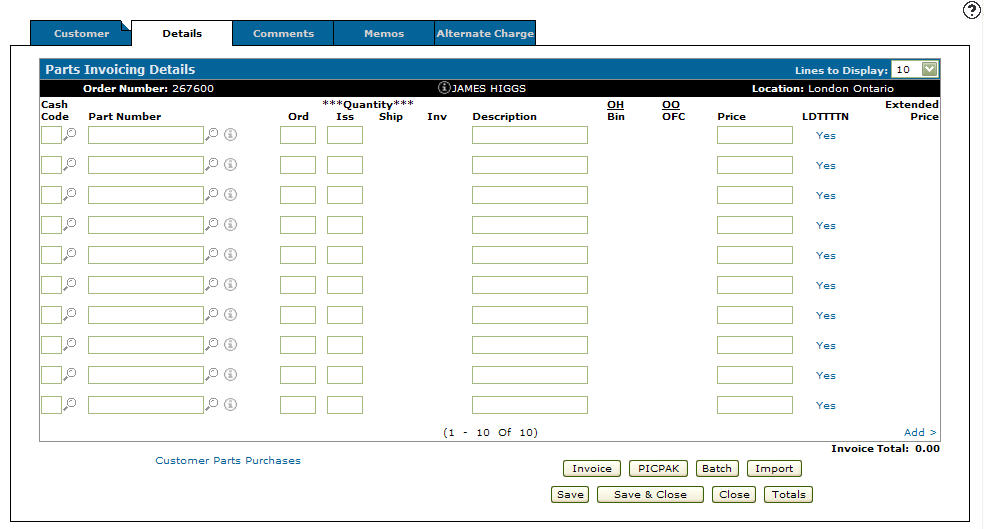
Parts Invoicing Details tab
-
On the Parts Invoicing Details tab, click on the Search
 icon next to the Cash Code field.
The Select Cash Code screen will appear.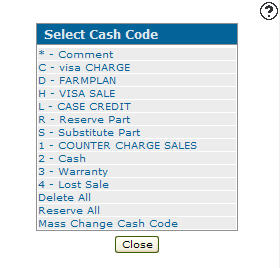
Select Cash Codes screen -
Select cash code C.
-
The Parts Invoicing Details screen will appear listing the selected cash code in the Cash Code field.

Parts Invoicing Details tab
-
Enter a Part Number.
-
Enter a negative Ord and Iss number.
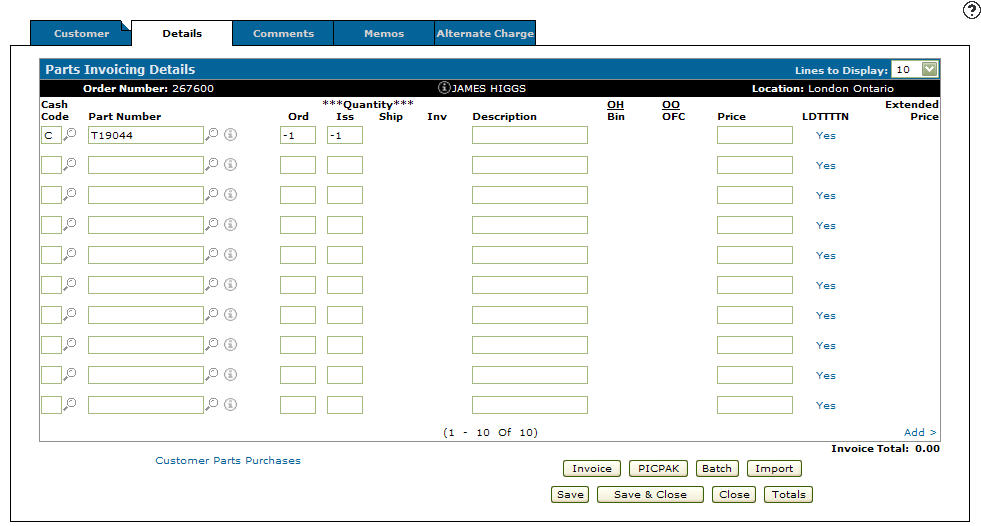
Parts Invoicing Details tab
-
Click the Save button.
The Parts Invoicing Details tab will refresh populating the remaining fields.
The Credit Number button will also appear at this point.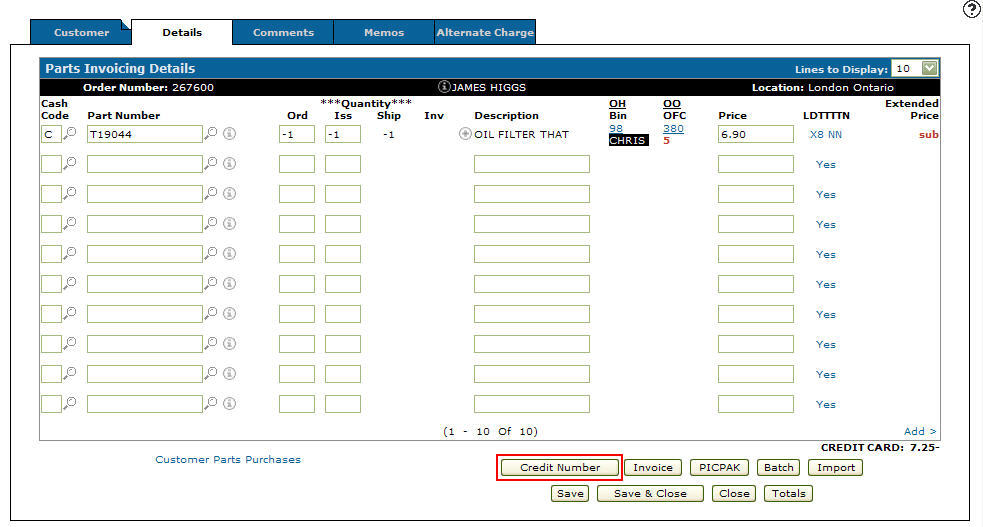
Parts Invoicing Details tab
-
Click on the Credit Number button.
The Credit Number screen will appear.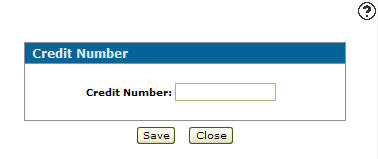
Credit Number screen
-
On the Credit Number screen, enter a credit reference number in the Credit Number field.
-
Click on the Save button.
The Parts Invoicing Details tab will appear.
Parts Invoicing Details tab
-
On the Parts Invoicing Details tab, click on the Close button.
The Parts Invoicing screen will appear.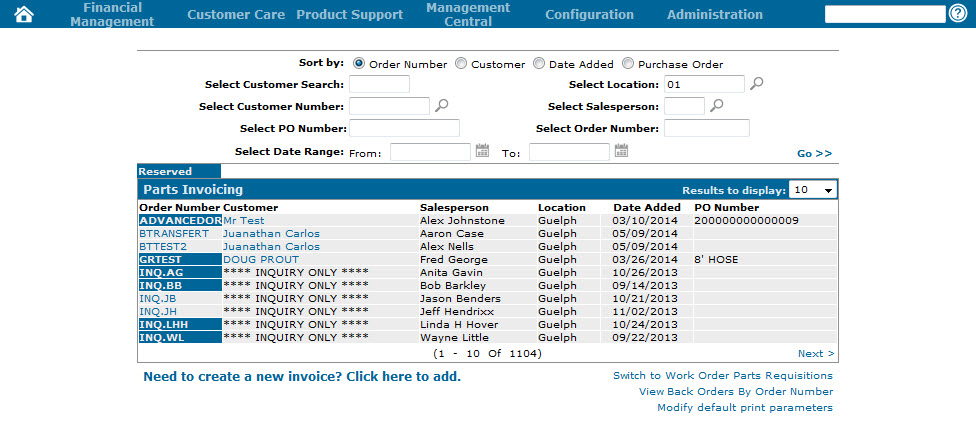
Parts Invoicing screen
-
On the Parts Invoicing screen enter the Order Number and click the Go >> link.
The Parts Invoicing screen will refresh listing the invoice.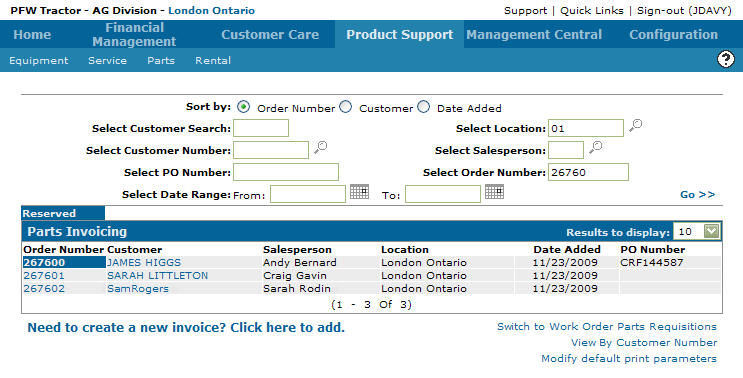
Parts Invoicing screen
Note:
A PO number with the prefix "CRF" at the beginning of the PO Number indicates that a credit has occurred on the specific invoice and a credit reference number has been applied.