Shopping Cart
To open the Shopping Cart, select the Shopping Cart icon  from anywhere within the application. The Shopping Cart displays any items you have placed in the shopping cart during the current MyDealer session.
The badge tag on the Shopping Cart icon indicates the number of unique parts currently in the cart. For example, if you have 3 of the same part number in the cart, the badge tag displays "1" as opposed to "3".
If there are groups of items you frequently place an order for, you can save the items to a Shopping List to streamline the ordering process.
Note: See the Shop for Parts section for information configuring the parts Availability field .
| Action | Steps |
|---|---|
| To add an item to the shopping cart | Enter the desired Quantity and Part Number in the fields provided, then click anywhere outside of those fields. If the system recognizes the part number entered, it will be added to the cart. If the system does not recognize the part number entered, try searching for the part on the Shop for Parts screen and adding it to the cart from there. |
| To save the items in the shopping cart to a Shopping List |
Select the Save to Shopping List button after adding the desired parts to the cart. |
| To remove all items in the shopping cart |
Select the Empty Cart button. The items in the shopping cart are removed. |
| To order the parts in the cart |
Select the Checkout Items button after adding the desired parts to the cart. |
Related Parts
Parts that are related to an equipment unit appear colour coded in the shopping cart.
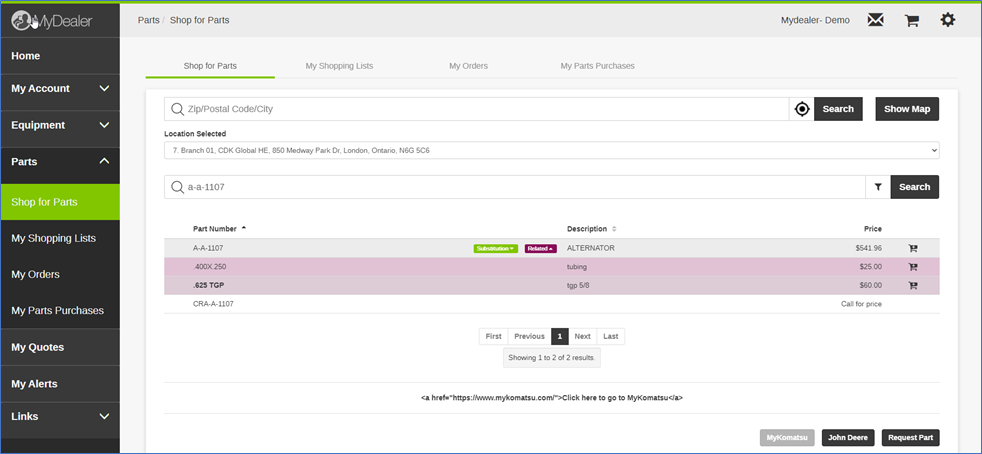
If a part number appears Bolded then that part is Mandatory and must be purchased with other related parts.
Note: The quantity of a mandatory related part is automatically applied. Attempting to adjust the quantity of a mandatory related part results in a warning message.