Running Customer Labels
Running Customer Labels creates labels used when mailing to your customer base or for labeling customer files.
-
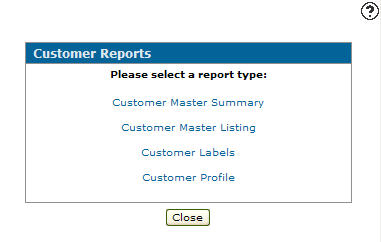
Navigate to Customer Care > CRM > Customer Reports.
The Customer Reports screen can also be accessed by navigating to Financial Management > Accounts Receivable > Customer Reports.
-
On the Customer Reports screen, click on the Customer Labels link.
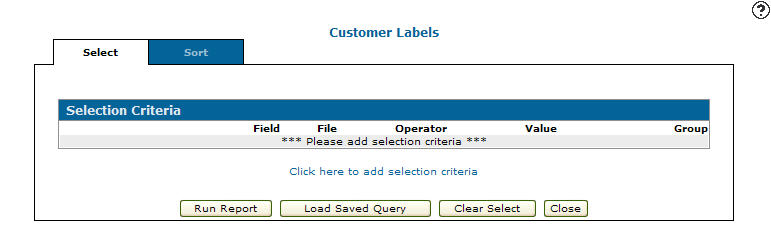
The Selection Criteria tab appears. -
On the Selection Criteria tab, select the Click here to add selection criteria link.
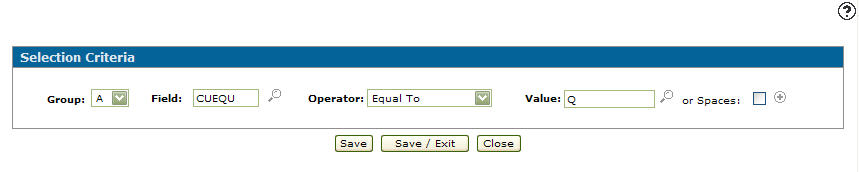
The Selection Criteria screen appears. -
On the Selection Criteria screen, select a field Group code from the drop down list.
-
Enter a Field or click the Search
 icon to search for and select a Field.
 -
Select an Operator value from the drop down list. See the Operators table.
-
Enter a Value or click the Search
icon or Calendar icon next to the Value field and select a value (depending on the field selected). -
(OPTIONAL) click on the More
 icon to add more values.
 -
Click one of these buttons:
-
Save—to save your save your selection criteria and remain on the Selection Criteria screen.
-
Save/Exit—to save your selection criteria and return to the Selection Criteria tab.
-
Close—to exit without saving.
-
-
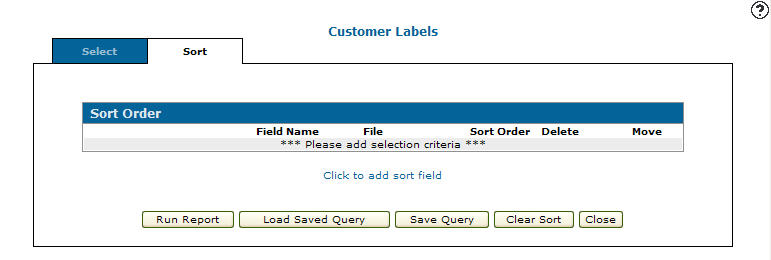
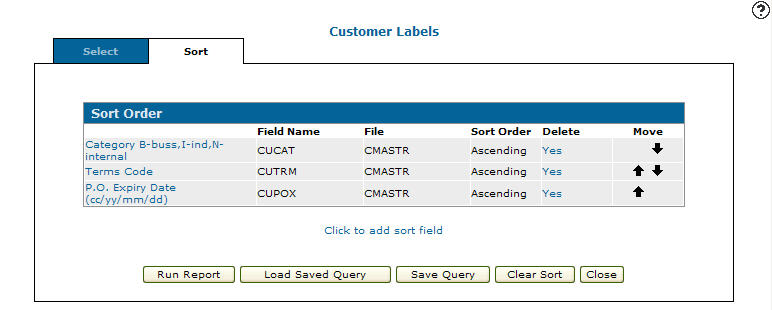
On the Selection Criteria tab, click the Sort tab.
The Sort Order tab appears. -
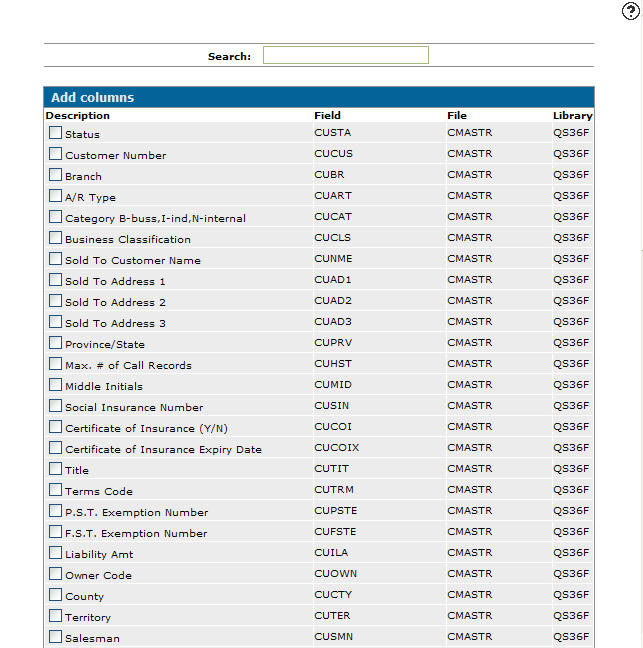
Select the Click to add sort field link.
The Add Columns screen appears. -
Select which columns you wish to use for the sort order on the report, then click Save.
The Sort Order tab appears. -
Click Run Report.
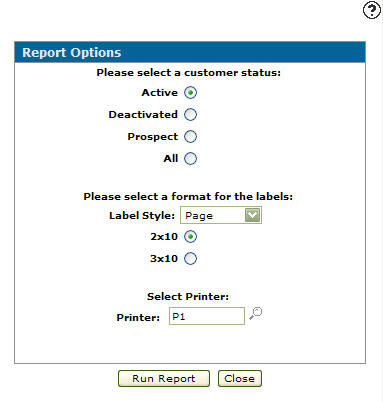
The Report Options screen appears. -
On the Report Options screen, select a Customer Status.
- Select a Label Style:
Page
Individual
Note:
If Page is selected a page dimension must also be selected (2x10 or 3x10).
-
Enter the Printer that will print the customer labels or click the Search
icon to search for and select a printer from the Printers screen. -
Click the Run Report button to submit the customer labels report.
Depending on your selection criteria one of these reports will be produced: (WCCCR02C) or (WCCCR02C2).