
Running a Customer Profile Report
Running a Customer Profile report (WCCCR02D) prints a detailed profile of your selected customer, showing the fields chosen on the Customer Selection screen.
-
Navigate to one of:
Customer Care > CRM > Customer Reports
Financial Management > Accounts Receivable > Customer Reports.
-
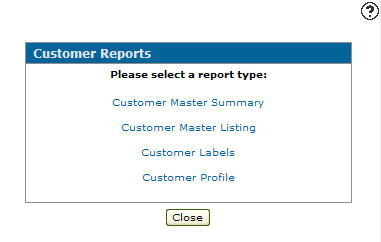
On the Customer Reports screen, click on the Customer Profile link.
-
Select the Click here to add selection criteria link.
-
Select a field Group code from the drop down list.
-
Enter a Field or click the Search
 icon to search for and select a Field.
-
Select an Operator value from the drop down list. See the Operators table.
-
Enter a Valueor click the Search
 icon to search for and select a Value.
-
(OPTIONAL) Click the More
 icon to add more values.
-
Click the Save/Exit button to save your selection criteria and return to the Selection Criteria tab.
-
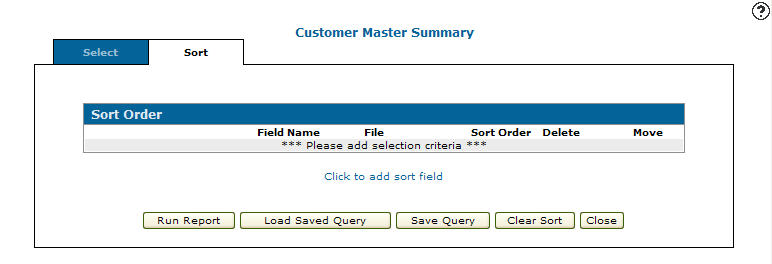
Click the Sort tab.
-
Click the Click to add sort field link.
-
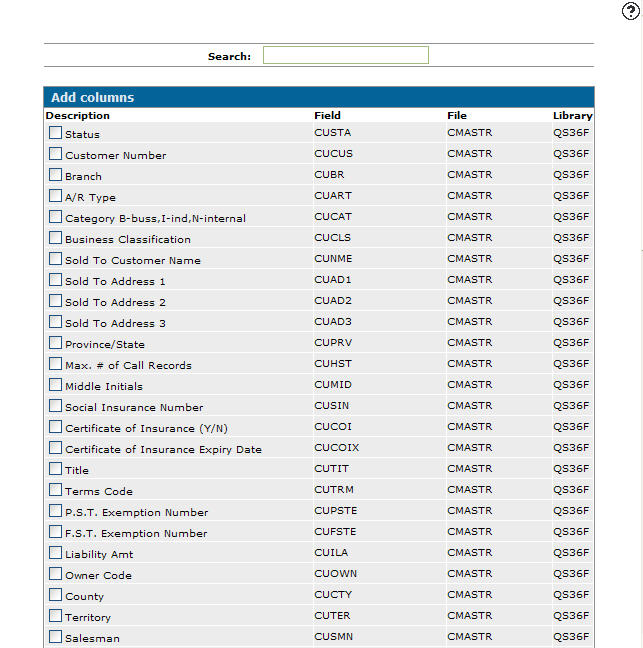
Select which columns you wish to use for the sort order on the report, then click Save.
-
Click Run Report.
-
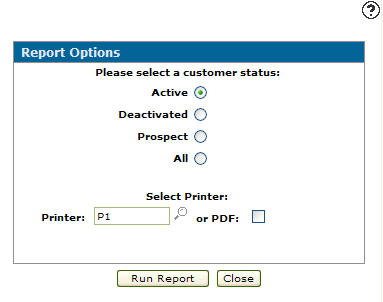
Select a Customer Status.
Note: If you have selected status as a selection criteria field the Please select a customer status section will not appear on the Report Options screen.
-
Enter the Printer that will print the customer master summary report or click the Search
icon to search for and select a printer from the Printers screen. -
(OPTIONAL) select the or PDF checkbox to create a PDF of the customer profile report.
-
Click the Run Report button to submit the customer profile report (WCCCR02D).
 The




Revision: 2026.10