Sending Interface Log Files to VitalEdge Support
Note: Before you begin, you must activate the Access View Logs switch in the Authorization List for User Security screen.
-
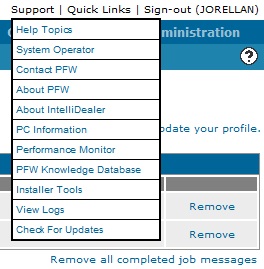
From anywhere screen within IntelliDealer, hover over the Support link to open the Support drop-down list.
-
On the Support drop-down list, click the View Logs link.
The View Logs screen appears.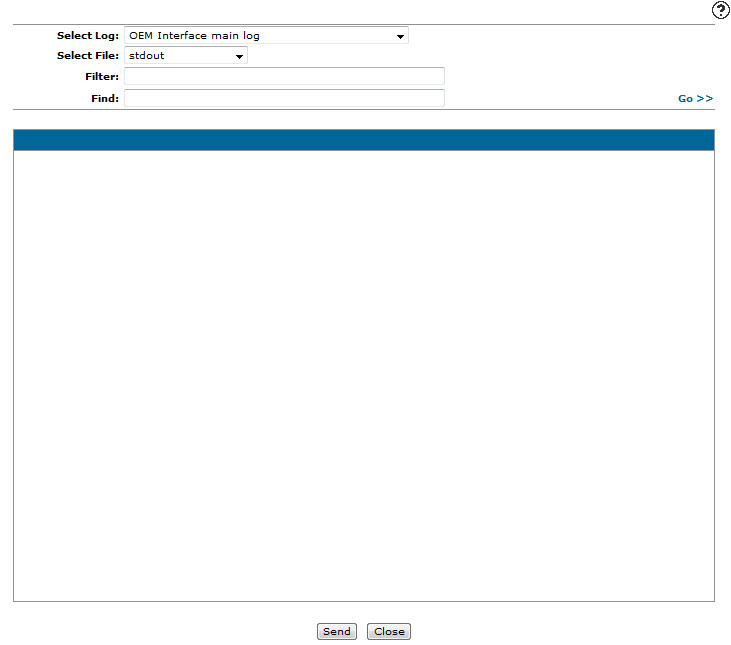
-
On the View Logs screen, select the desired interface log in the Select Log drop-down list.
Note: Only interfaces installed at your dealership appear as options in the drop-down list.
-
In the Select File field, select the specific file within the selected interface log that you want to send to VitalEdge support.
-
Click Go.
The View Logs screen refreshes, displaying the selected log file.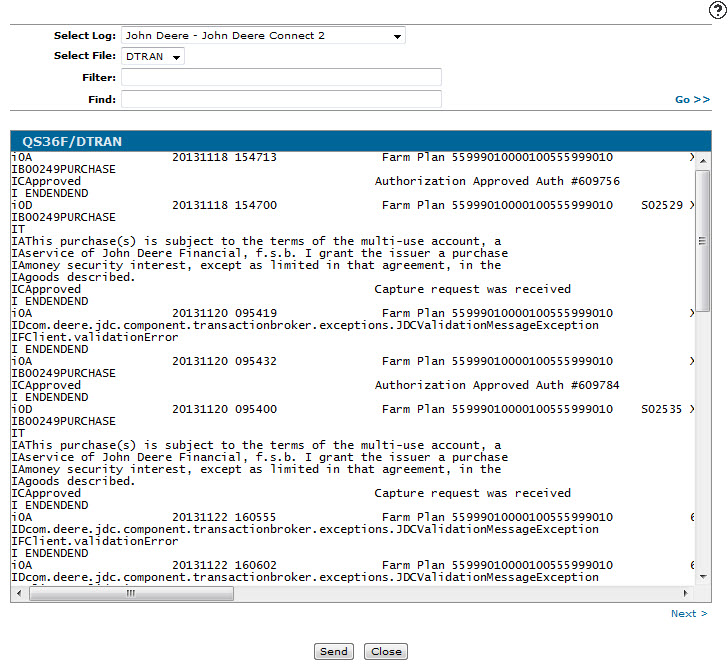
-
On the View Logs screen, click Send.
The Send Information to PFW tab appears.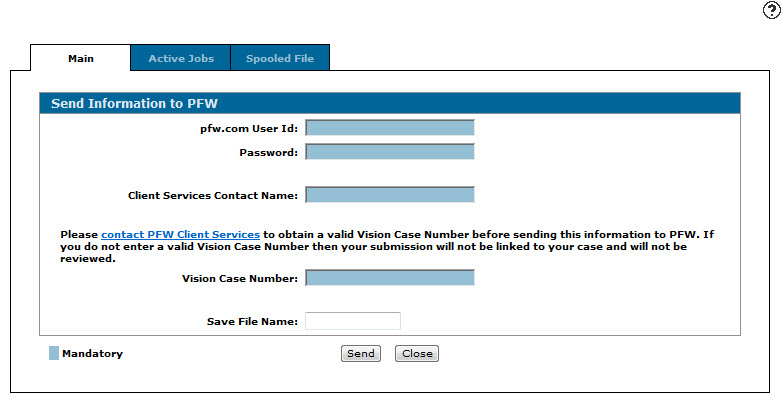
-
On the Send Information to PFW tab, enter your pfw.com user ID in the pfw.com User Id field.
-
In the Password field, enter your pfw.com password.
-
In the Client Services Contact Name field, enter the name of the customer service representative you want to send the log file to.
-
In the Vision Case Number field, enter the Vision case number associated to case you are sending the log file for.
-OR-
In the Mantis Number field, enter the Mantis case number associated to the case you are sending the log file for.Note: The Mantis Number field only appears when accessing the Send Information to PFW tab as VitalEdge employee.
-
(OPTIONAL) If there is a save file associated to the Vision case or Mantis case, enter the name of the save file in the Save File Name field.
Note: The save file must exist in the PFW library on the AS400 for VitalEdge support to access it.
-
(OPTIONAL) If there are active jobs associated to the Vision or Mantis case, click the Active Jobs tab.
The Active Jobs tab appears.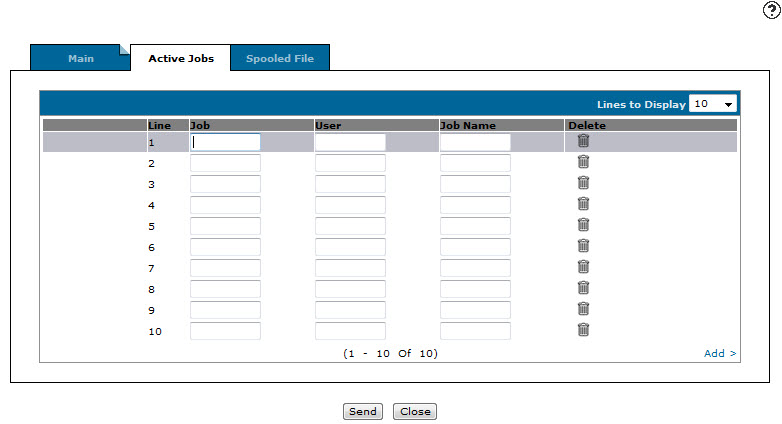
-
(OPTIONAL) On the Active Jobs tab, enter the Job number, the User ID associated to the job and the Job Name as it appears in the green screen application.
-
(OPTIONAL) If there are spool files associated to the Vision or Mantis case, click the Spooled File tab.
The Spooled File tab appears.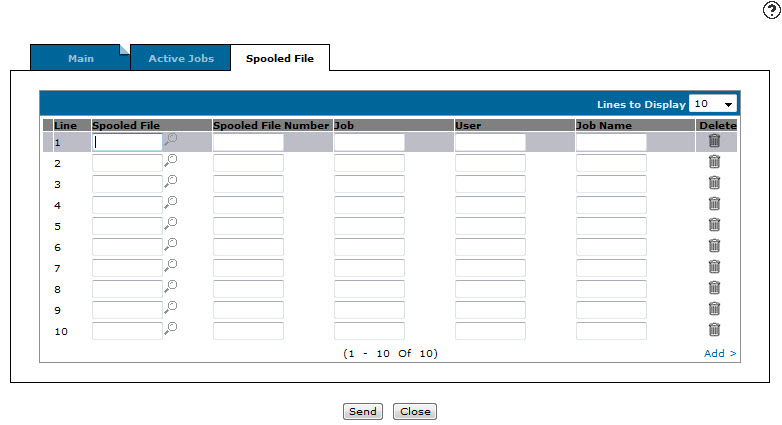
-
(OPTIONAL) On the Spooled File tab, enter or select the Spooled File you want to send to VitalEdge support, as well as the associated Spooled File Number, Job number, User ID and Job Name associated to the spooled file.
Note: Click the Search icon next to the Spooled File field to open the Printer Output screen. If you select the desired spool file from the Printer Output screen, each field on the Spooled File tab is automatically populated.
-
On the Send Information to PFW tab, Active Jobs tab or the Spooled File tab, click Send to send the selected log file and all associated job logs and spooled files to the selected customer service representative.