Add G/L Account
You can use the Add G/L Account screen to create one or more G/L accounts by uploading a CSV file.
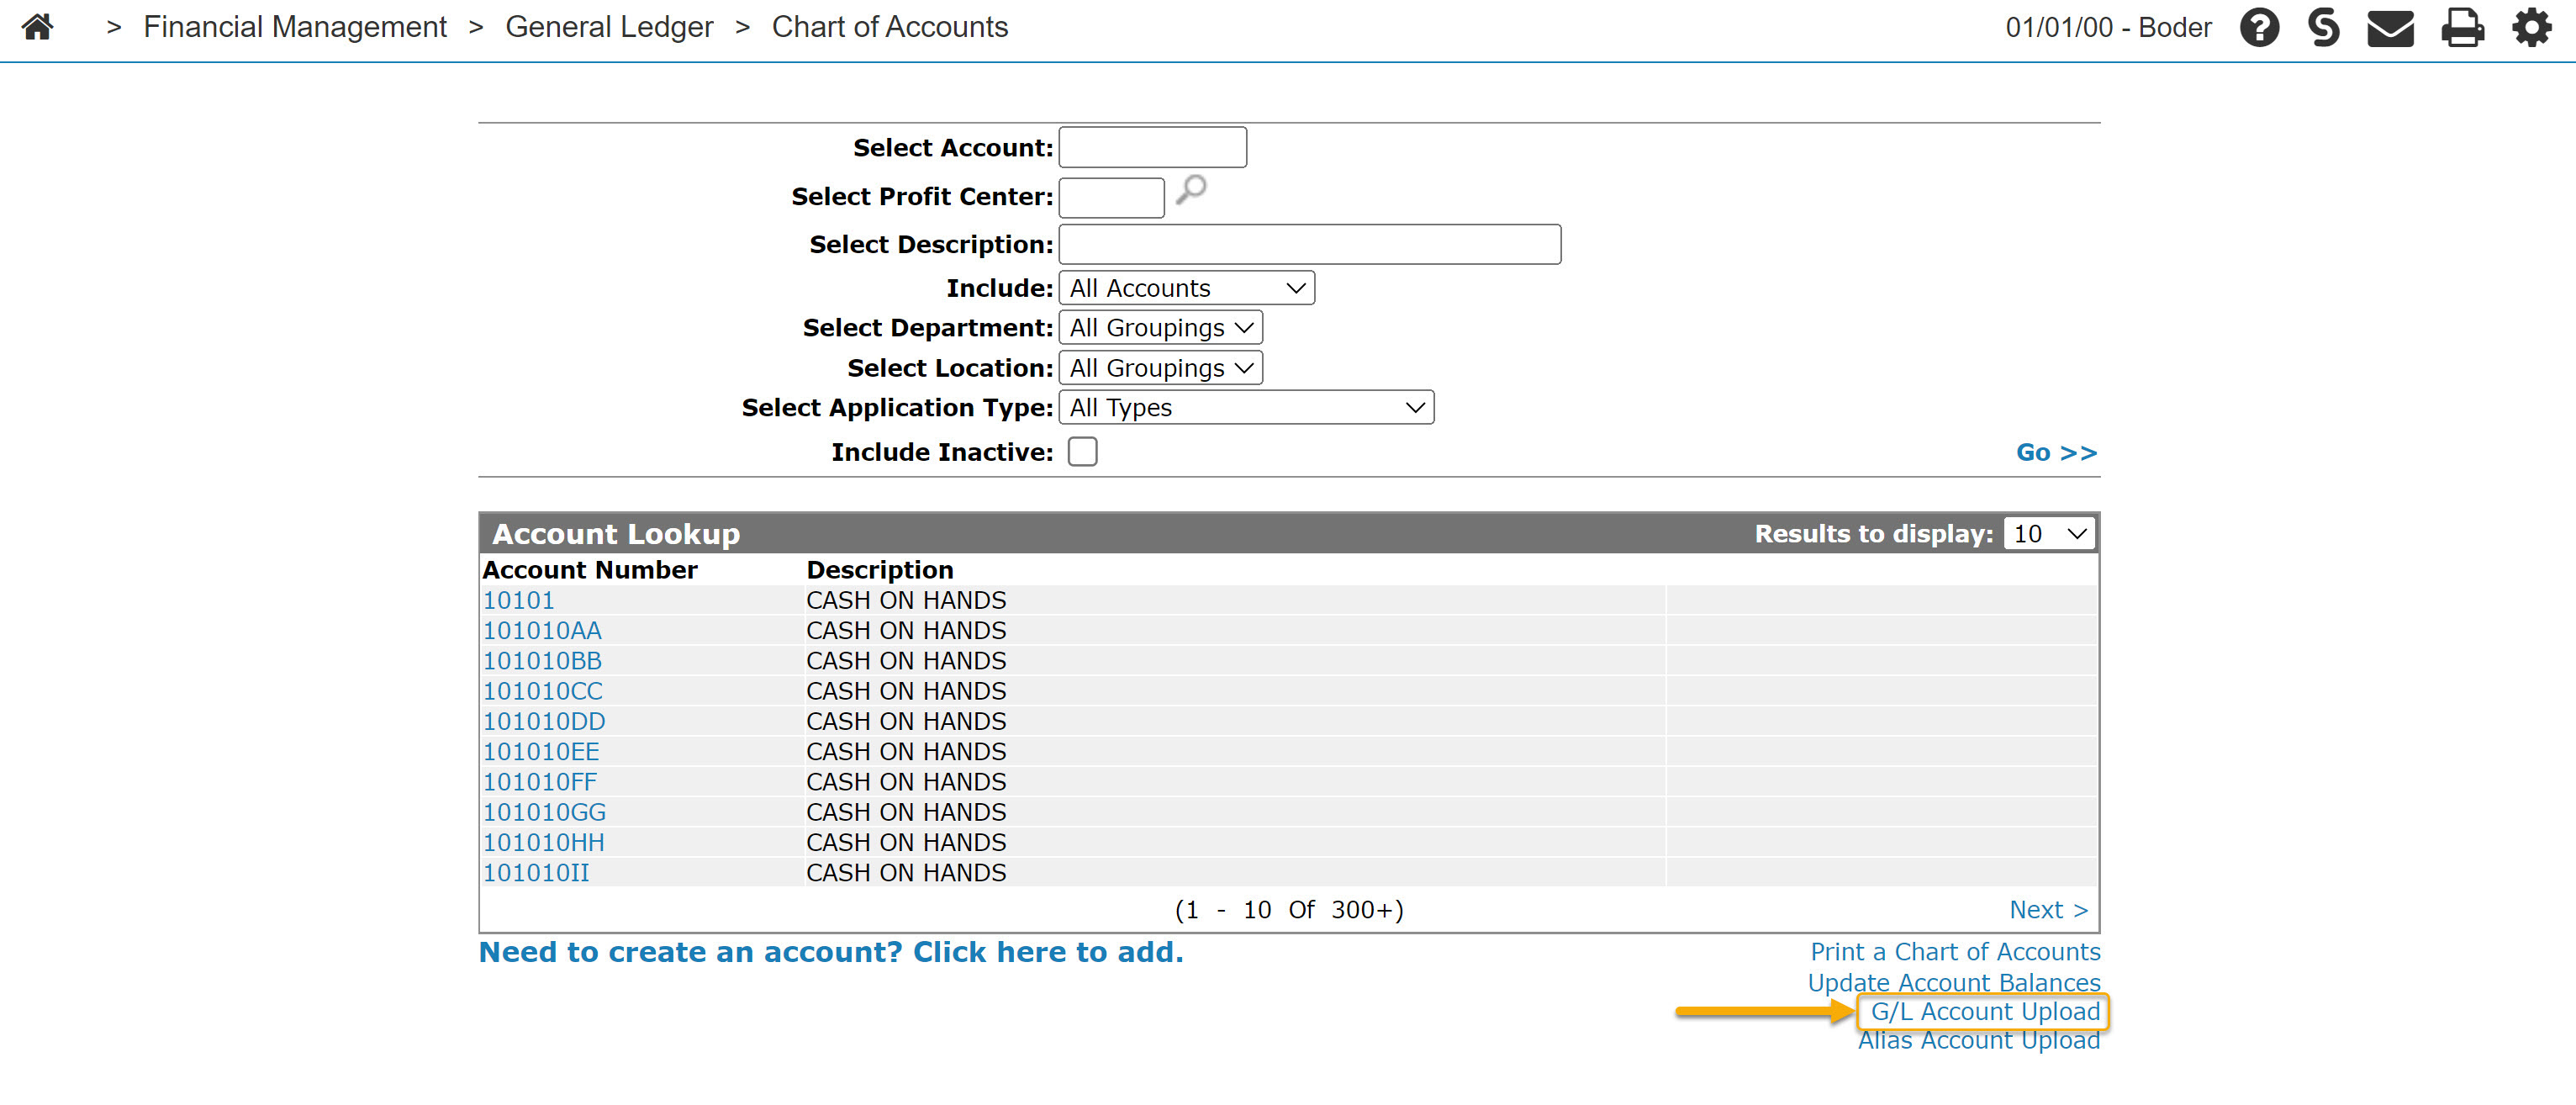
To open the Add G/L Account screen, click the G/L Account Upload link on the Account Lookup screen.
Tip:
If you are adding new locations there may be other data, in addition to G/L accounts, that you may need assistance with.
For major uploads, you may want to contact VitalEdge.
Topics in this section include:
Process Overview
You can only use this process for new accounts that do not yet exist in the account master (ACCMAST). Existing accounts are not overwritten or replaced. Should an account be added by mistake, removing it requires specific timing that may impact how quickly it can be removed.
General Ledger data in the. csv file is loaded into:
| Destination | File Name | Account Digits |
|---|---|---|
| Chart of Accounts | COACMAST | full account, up to eight digits |
| Account Profile | ACCMAST | first five digits |
The process creates an account master profile (ACCMAST) and a chart of accounts profile (COACMAST).
CSV File Format Requirements
A CSV (comma separated values) file is a plain text file containing a list of data separated by commas. For the data to be uploaded correctly, it must be formatted precisely as laid out in this document.
The file requirements are:
-
The file MUST be a plain text CSV file where each field is delimited by a comma.
-
It MUST have a header row. The IntelliDealer process drops the first row of the spreadsheet because it is expecting the header row.
-
Fields must be no longer than 260 characters.
-
Blank fields are allowed. Blank fields must have a comma at their start and end.
On occasion, special characters may be introduced into a .csv file, such as carriage returns, and yet not be visible. Follow these steps to strip out special characters and ensure the data is always correctly formatted:
-
In Excel, click File > Save As and save the spread sheet as type .csv (comma separated file).
-
Open a blank worksheet in Excel.
-
Click Get Data > From File > From Text/CSV and open the .csv file you saved in step 1.
-
In the text import wizard ensure that the Delimiter is set to comma.
-
Click Load.
-
Save the worksheet as a .csv file.
The data in the file must be in this order:
| Position in File |
Name of Data | Number of Characters |
Notes |
|---|---|---|---|
| 1 | Account Number | 5 | |
| 2 | Cost Center | 3 | |
| 3 | Account Name or Description | 30 | |
| 4 | Account Type | 1 |
Valid account types are:
|
| 5 | Complete Goods Type | 1 | |
| 6 | Inventory Account | 8 | |
| 7 | Cost of Sales Account | 8 | |
| 8 | Cost of Sales Percentage | 8 | A decimal in this field is counted as a character. |
| 9 | Shop Account | 8 | |
| 10 | Warranty Account | 8 | |
| 11 | Internal Account | 8 | |
| 12 | Customer Sale History Type | 1 | |
| 13 | Accrual Account | 8 | |
| 14 | Alias Account | 8 | only add if using |
| 15 | Expense Type | 1 | |
| 16 | Sale Account | 8 | Cash 2 |
| 17 | Sale Account | 8 | Cash 3 |
| 18 | Sub Ledger Code | 1 | Y or N |
| 19 | Rental Write Down Account | 8 | |
| 20 | Sale Account Pricing Level 1 | 8 | |
| 21 | Sale Account Pricing Level 2 | ||
| 22 | Sale Account Pricing Level 3 | ||
| 23 | Sale Account Pricing Level 4 | ||
| 24 | Create P/O Receipt | 1 | Y or N |
| 25 | Alias Account | 6 | only add if using, values are based on the Dealer type selected at upload |
Uploading a G/L Account CSV File
Prerequisites: You must have a correctly formatted CSV file as described above.
-
Navigate to Financial Management > General Ledger> Chart of Accounts.
-
Click the G/L Account Upload link.
The G/L Account Upload link only appears if the Access G/L Account Upload switch is activated (602, Financial Management - General Ledger).
The Support Password screen appears.
-
Contact VitalEdge to acquire a password and enter it.
-
Browse to the .csv file to upload and select the dealer type. Then click Upload.
-
Check your Messages for a success message or an error report (GL0058).
The error report specifies why the upload failed so that you can make corrections and try again.
Screen Description
The fields on the Add G/L Account screen are:
| Field | Description |
|---|---|
| Select File | Select the CSV file containing the relevant G/L account information. |
| Dealer | Select the type of dealership you are creating the G/L account for. |
Use these buttons to complete your work on the Add G/L Account screen:
| Button | Function |
|---|---|
| Upload | Uploads the selected CSV file and creates the associated G/L account. |
| Close | Closes the Add G/L Account screen and returns to Account Lookup screen. |
Security: 602 - Financial Management - General Ledger, Access G/L Account Upload
Revision: 2024.05