Configuration: Classes Listing
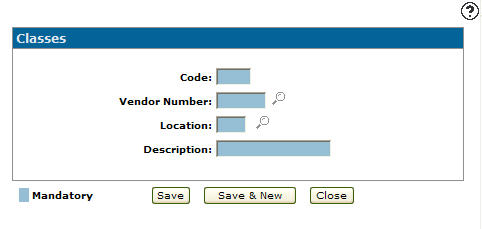
Use the Classes screen to add or edit existing class codes. Valid class codes will appear on the Select Class Code screen accessed by clicking on the Search![]() icon next to the Class field on the Parts Profile tab.
icon next to the Class field on the Parts Profile tab.
To open the Classes screen, navigate to Configuration > Parts > Profile > Classes.
Topic in this section
Adding a Part Class Code
-
Navigate to Configuration > Parts > Profile > Classes.
-
Click the Need to create a new class? Click here to add link.
-
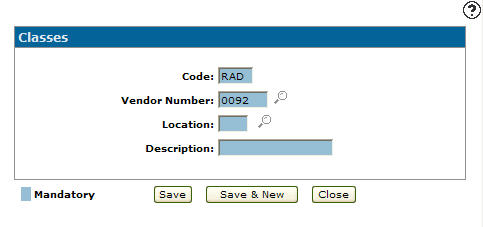
Enter a 3-character alphanumeric class Code.
-
Enter a Vendor Number.
- or -
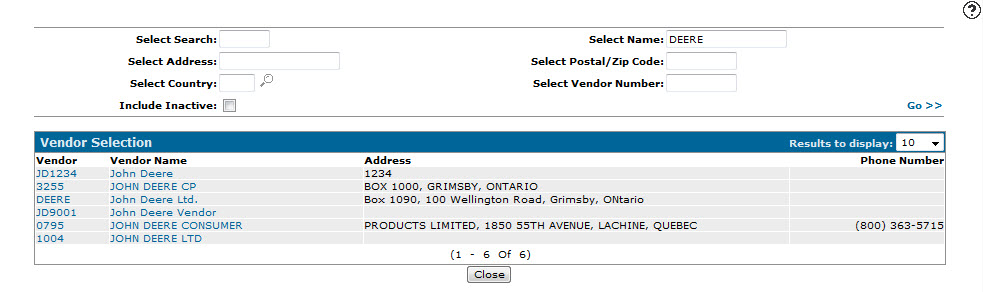
Click on the Search icon.
icon. -
Fill out the appropriate fields and click the Go >> link.
-
Click on a Vendor.
-
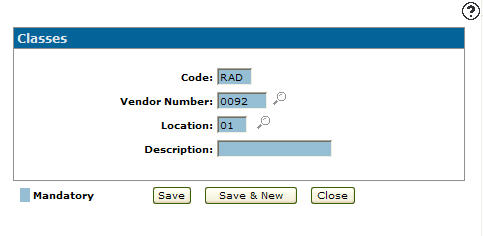
Enter the branch Location where the type code is valid.
- or -
Click on the Search icon and select a location.
 -
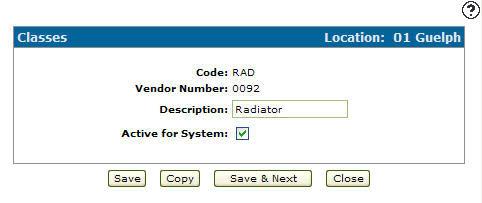
Enter a brief Description of the class code.
-
On the Classes screen, click the Save button to save the new class code and return to the Classes screen.
- or -
Click the Save & New button to save the new class code.The Classes screen refreshes, allowing you to add another class code without closing the screen.


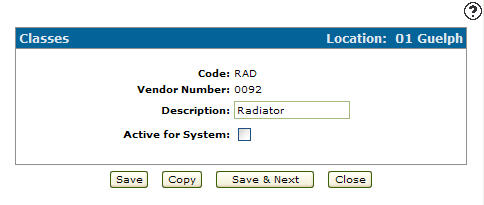
Deactivating a Part Class Code
-
Navigate to Configuration > Parts > Profile > Classes.
-
Fill out the appropriate fields and click the Go >> link.
-
Click Code.
-
select the Active for System checkbox, removing the checkmark.
-
Click Save to deactivate the class code within the system.
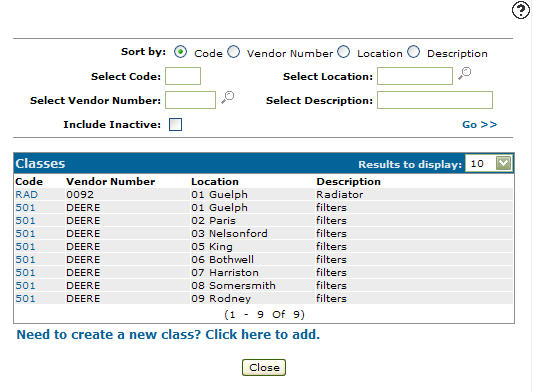
Screen Description
The sorting options on the Classes screen are:
| Sort by | |
|---|---|
| Field | Description |
| Code | Sort the search results by class code. |
| Vendor Number | Sort the search results by vendor number. |
| Location | Sort the search results by location. |
| Description | Sort the search results by class code description. |
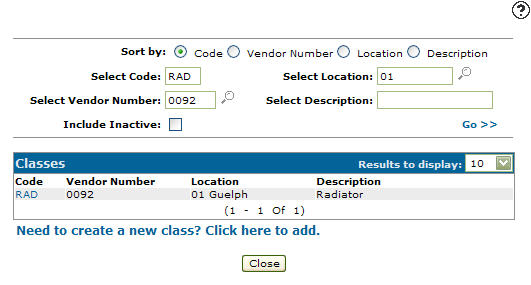
The search fields on the Classes screen are:
| Field | Description |
|---|---|
| Select Code | Search for a class code by entering a class code. |
| Select Vendor Number | Search for a class code by entering a vendor number. |
| Include Inactive | If selected, includes class codes marked as inactive in the search results. |
| Select Location | Search for a class code by entering a location. |
| Select Description | Search for a class code by entering a class code description. |
The following fields appear on the Classes screen:
| Field | Description |
|---|---|
| Code | A three character alphanumeric code that represents a parts class throughout the Parts system. |
| Vendor Number | The vendor number the class code is associated with. |
| Location | The location where the selected class code is a valid class code within the Parts system. |
| Description | A brief description of the class code. |