ADP: Payroll Plus Import Configuration
Use the Payroll Plus Import screen to configure your system to receive payroll information from the ADP Payroll Plus application whenever a check run is processed, or view the existing configurations.
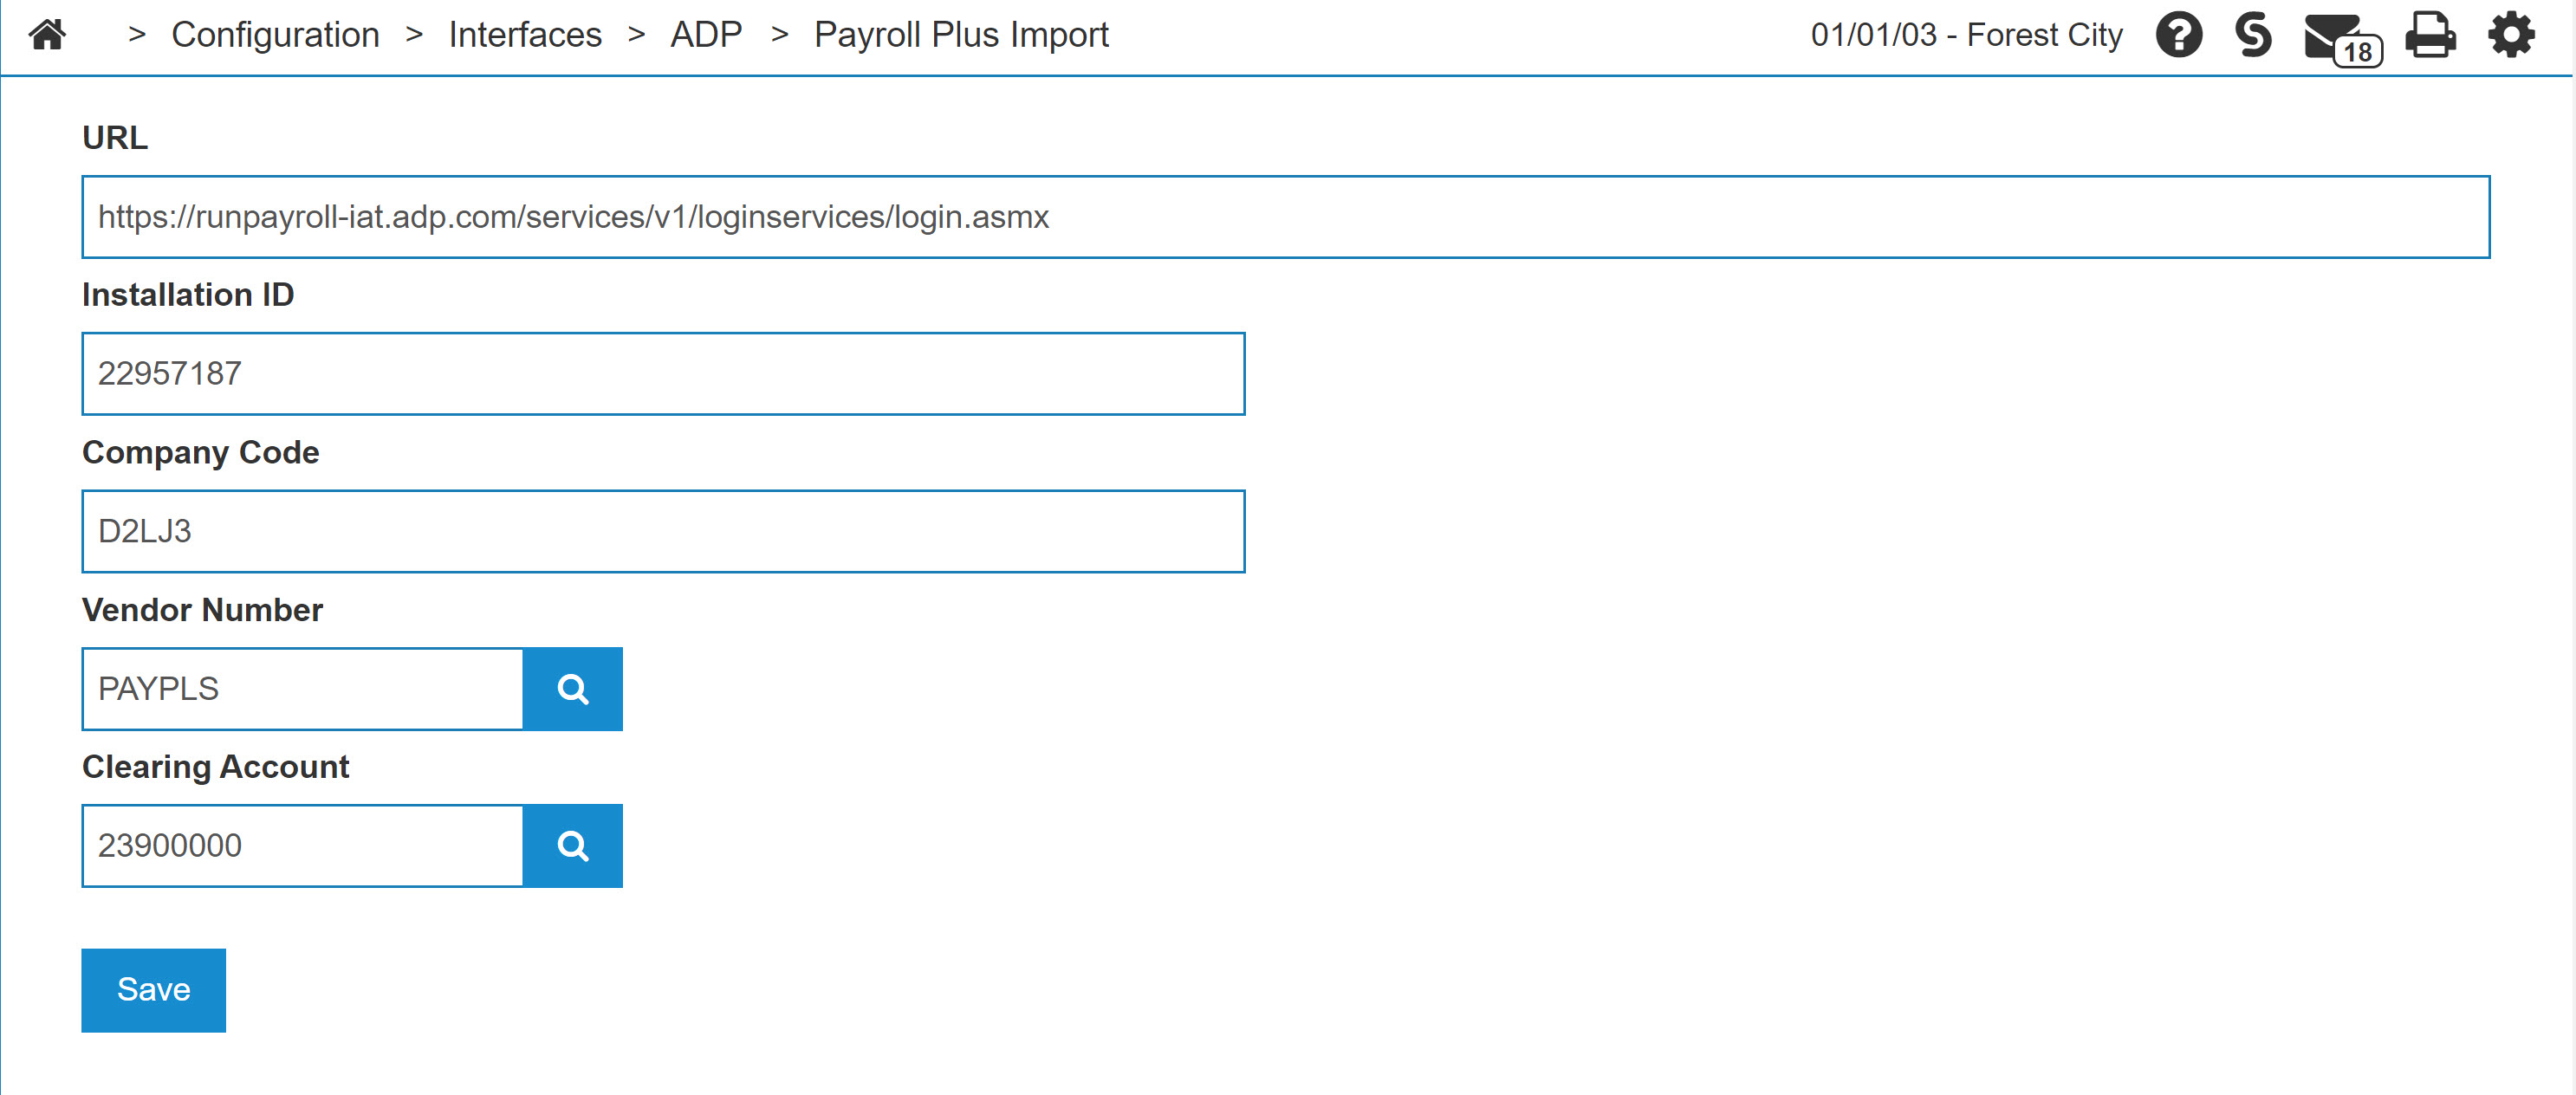
To open ADP Payroll Plus screen, navigate to Configuration > Interfaces > ADP > Payroll Plus Import.
Topic in this section are:
Setting Up Payroll Plus
Before setting the Payroll Plus Import interface, you must first enable the Vouchers - Access Payroll Plus Import and Vouchers security switch in system 601 in order to access the Payroll Plus Import link from on the Configuration Quick Links screen.
-
Navigate to Configuration > Interfaces > ADP > Payroll Plus Import.
- On the Payroll Plus Import screen, enter the URL that IntelliDealer will use to interface with ADP Payroll Plus. The required URL will be provided by ADP.
-
Fill in all fields using the Screen Description as a reference.
-
When you are done, click Save .
Configuring an Employee with Payroll Plus
-
Navigate to Financial Management > Payroll > Employee.
-
Search for employees to link to Payroll Plus.
-
For each employee to be configured with Payroll Plus, perform these steps:
-
Click on an employee to edit the Employee Profile.
-
Click the search
 icon beside Payroll Id.
 -
If prompted, enter your Payroll Plus User ID and password.
-
Select the correct employee from the list.
-
Click Save.
-
Screen Description
The fields on the Payroll Plus Import screen are:
| Field | Description |
|---|---|
| URL | The website address that the Payroll Plus Import interface uses to access the ADP Payroll Plus application. This address is provided by ADP. |
| Installation ID | The dealership's ADP Payroll Plus installation ID number. It can be found on the bottom left corner of the ADP Payroll Plus application screen. |
| Company Code | The dealership's ADP Payroll Plus company code. It can be found in the bottom left corner of the ADP Payroll Plus application screen, next to the Installation ID. |
| Generation Number |
The generation number automatically tracks the number of successfully generated pay runs. Each successfully generated pay run increases the generation number by 1. The generation number should be set to 1 during initial set up. |
| Vendor Number |
The vendor number receiving the payroll information from the pay run import. During initial setup, VitalEdge recommends a new vendor number be created, one that is used specifically for payroll plus imports only (for example, PAYPLS), since the system will hide the vendor number as part of payroll plus security. |
| Clearing Account |
The clearing account is used to track G/L mapping errors that may have occurred within the ADP Payroll Plus application. The Clearing Account is used as the default G/L Account when the G/L Account used in ADP Payroll Plus is not a valid IntelliDealer G/L Account. An error report is emailed to the user notifying them that they need to manually update vouchers with the correct G/L account before proceeding. The clearing account is used as a temporary fit until someone manually corrects the mapping issues. |
Click Save to save the current configuration.