Creating a Parts Inquiry Invoice
Creating an Inquiry ticket allows you to look up parts availability without effecting the parts on hand quantity.
Note: You can only create a parts inquiry invoice if the Allows Inq (S/O, Rental Invoicing) (Y/N) switch is activated in the CMBR table. Note that the use of parts inquiry invoices is optional, however VitalEdge recommends that you do not activate this option for the following reasons:
- Customer-specific pricing, including discount and tax details, will not appear on parts inquiry invoices (as they are created for the INQ customer, as opposed to a specific customer)
- Pending transactions created for a customer using the INQ customer will not be visible to other users in the system
- Lost sales for specific customers will not be recorded when using parts inquiry invoices
-
From on the Parts Invoicing screen.
Click on the Need to create a new invoice? Click here to add link.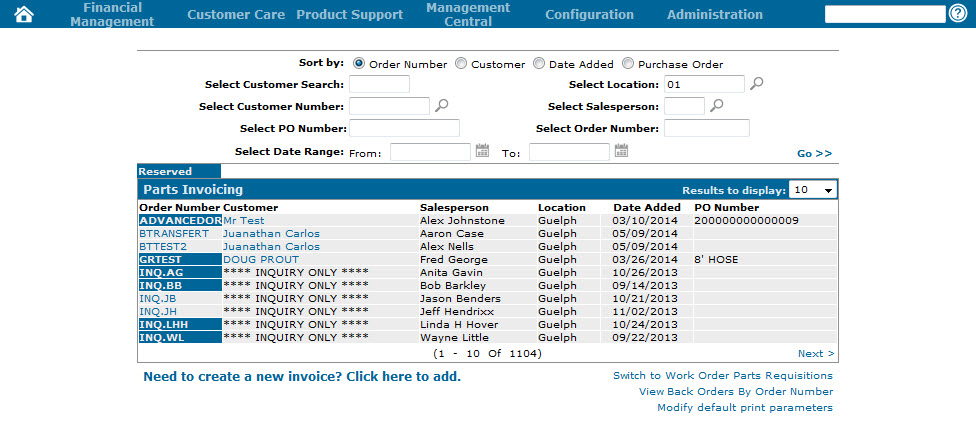
Parts Invoicing screen
-
The Customer - Parts Invoicing Header tab will appear.
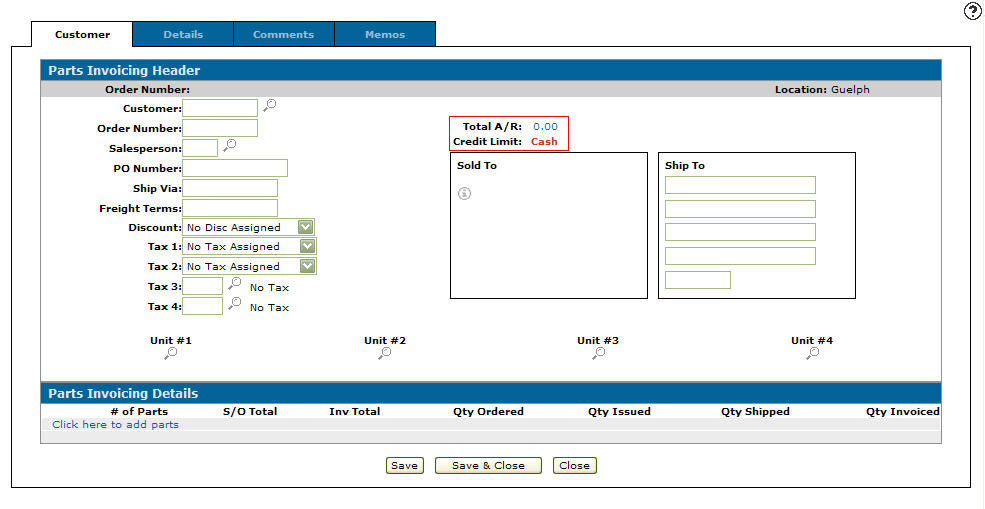
Customer - Parts Invoicing Header tab
-
On the Customer - Parts Invoicing Header tab, Enter INQ in the Customer field.
INQ customer indicates to the system that this invoice is an inquiry invoice.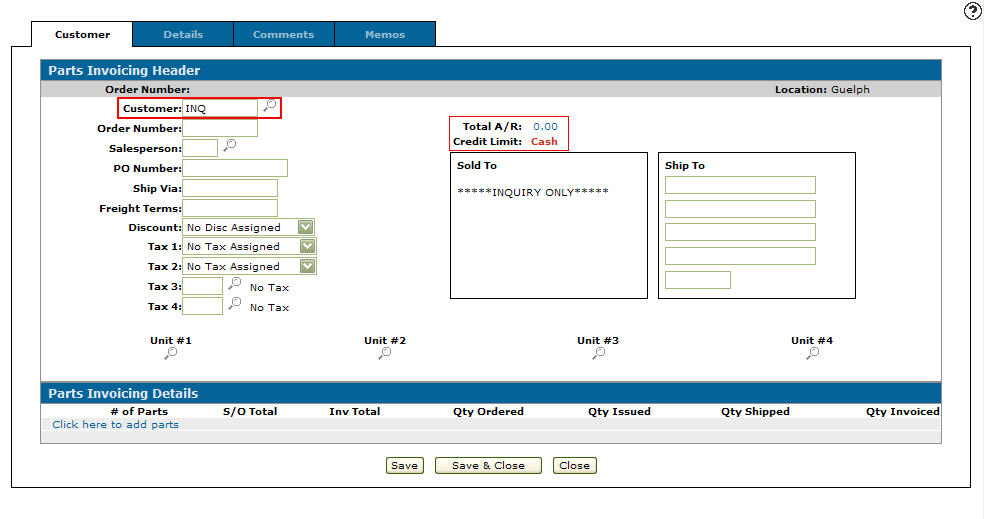
Customer - Parts Invoicing Header tab
-
Enter your salesperson id in the Salesperson field.
- or -
Click on the Search icon and select your salesperson ID from the Salesperson Selection screen.
The system will use INQ. then your salesperson ID as the order number, allowing you to indicate which inquiry invoice is assigned to your salesperson ID.
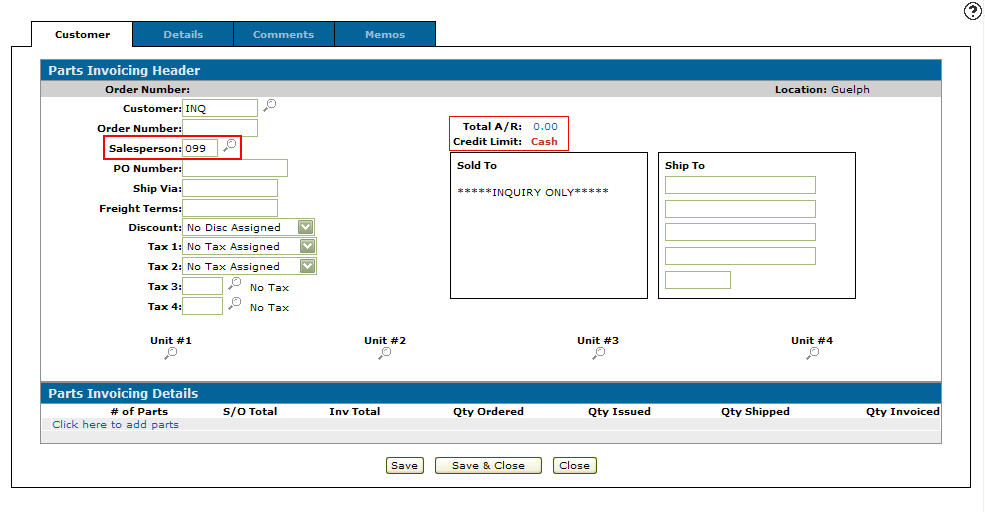
Customer - Parts Invoicing Header tab
-
Click on the Save button to save your inquiry invoice.
-
Click on the Details tab.
The Parts Invoicing Details tab will appear.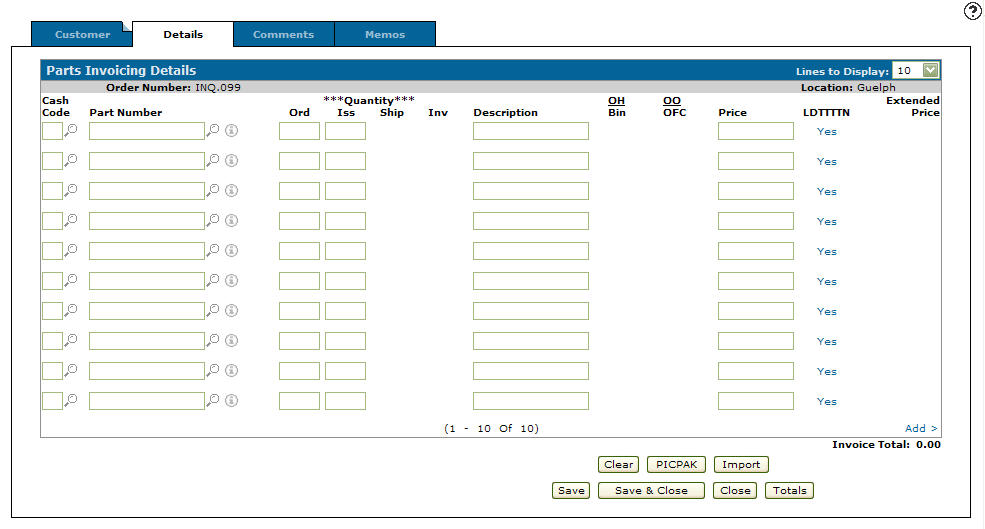
Parts Invoicing Details tab
-
On the Parts Invoicing Details tab, enter a part number in the Part Number field.
- or -
Click on the Search icon and search for a part number on the Parts Search screen.
The Parts Invoicing Details tab will appear, listing the selected part number.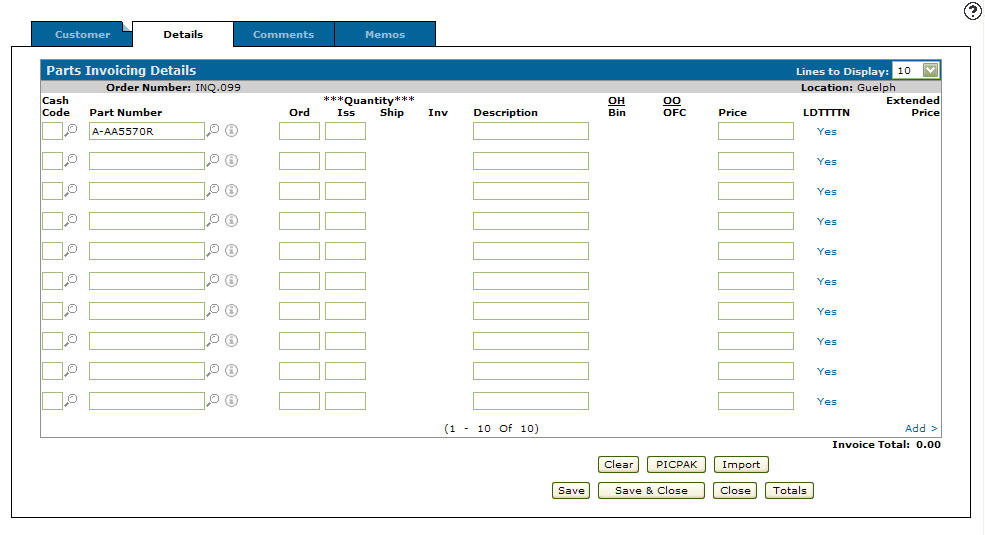
Parts Invoicing Details tab
-
Click the Save button.
The Parts Invoicing Details tab will refresh displaying the On Hand Quantity, On Order Quantity, Price, and Extended Price.
At this point availability information can be viewed but unlike a normal invoice, these parts are not reserved for this invoice. Only after converting the inquiry invoice into a normal invoice will the parts be reserved and the net on hand reduced.Note:
The Extended Price is the standard parts price and will not include any customer discounts or taxes.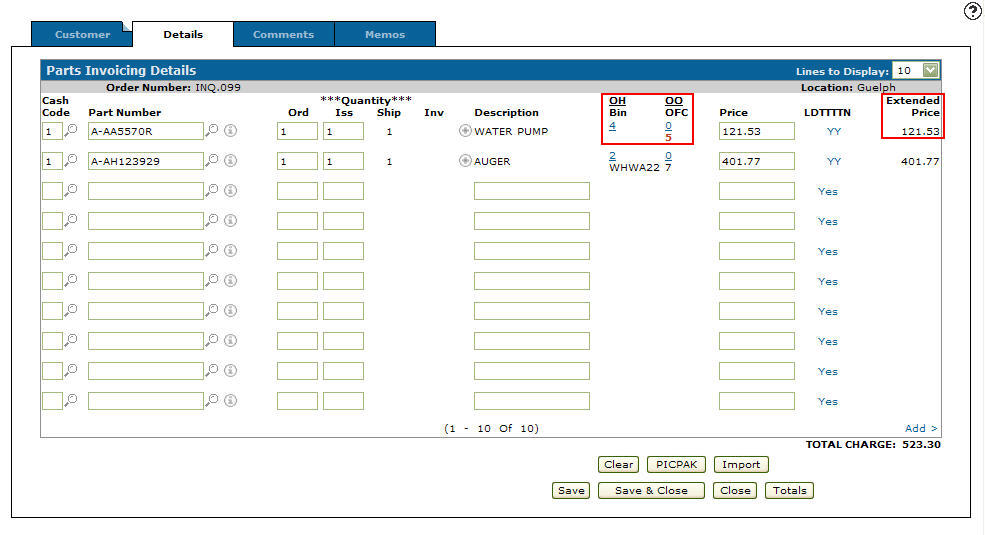
Parts Invoicing Details tab
-
From on the Customer - Parts Invoicing Header tab, you can turn a parts inquiry invoice into a normal parts invoice by deleting the INQ customer on the Customer field and entering an actual customer number.
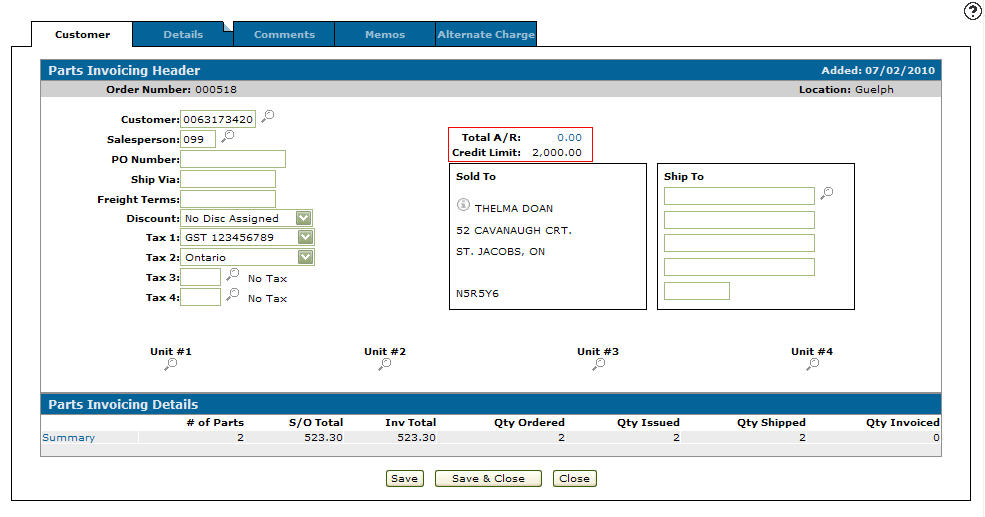
Customer - Parts Invoicing Header tab
-
Click the Save button to create the customer parts invoice.