Setting Up a Master Price File Configuration
Allows you to set up the appropriate vendor code and sale account on the master price file allowing the system to use the vendor code and sale account as defaults when adding parts from the master price file to the Parts Profile tab.
-
From any IntelliDealer screen, click on the Configuration tab.
The Configuration Quick Links screen will appear.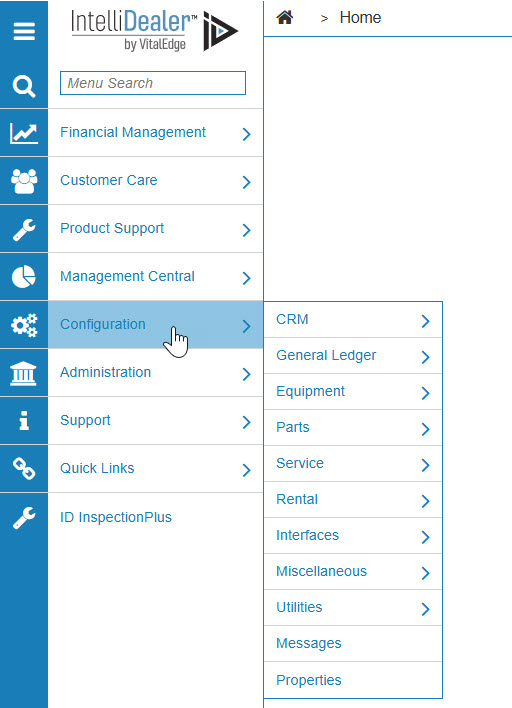
Configuration Quick Links screen
-
From on the Parts list, click the Profile link and select Master Price Files from the drop down list.
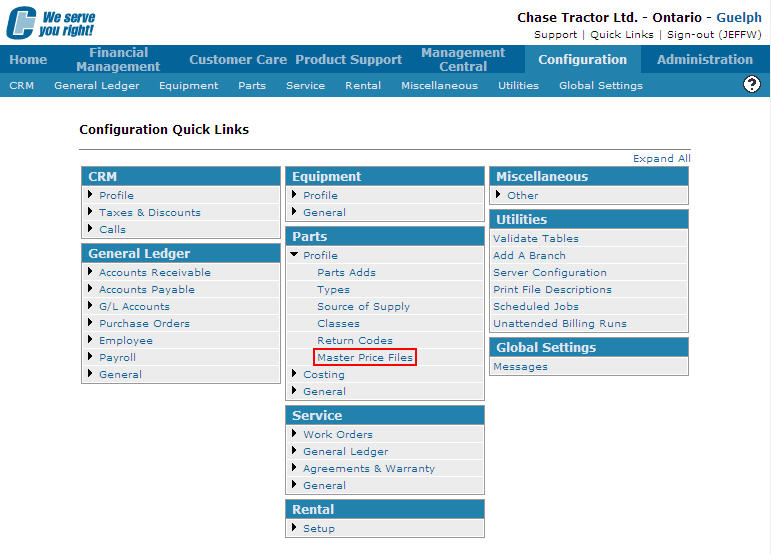
Configuration Quick Links screen
-
The Master Price Files screen will appear.
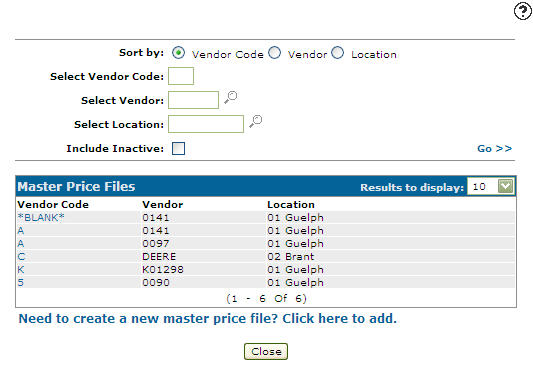
Master Price Files screen -
On the Master Price Files screen, click on the Need to create a new master price file? Click here to add link.
The Master Price Files screen will appear.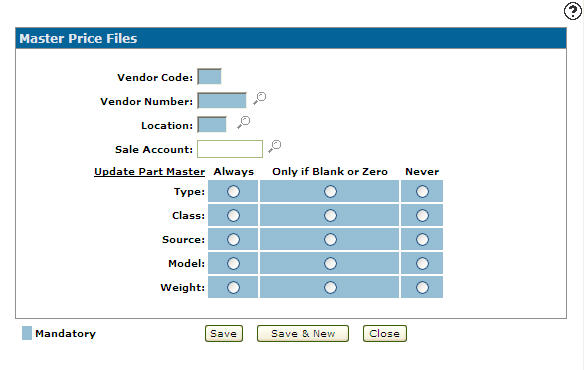
Master Price Files screen
-
On the Master Price Files screen, enter a one character alphanumeric Vendor Code that is assigned to a vendor during the initial master price load.
-
Enter a Vendor Number.
- or -
Click on the Search icon and search for a Vendor on the Vendor Selection screen.
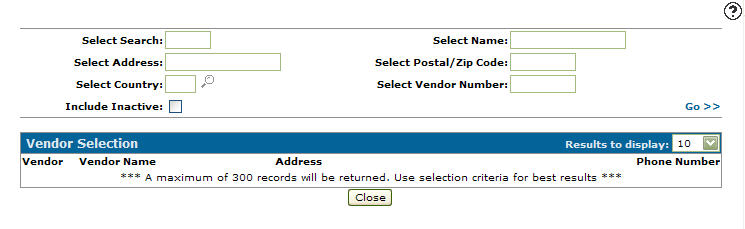
Vendor Selection screen
-
Enter a Location.
- or -
Click on the Search icon and select a Location from the Location Selection screen.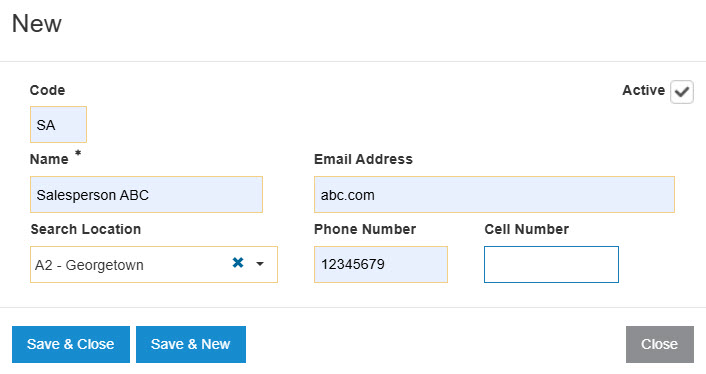
Location Selection screen
-
Enter a Sale Account. The sale account entered is used as the default sale account when a part is added from the master price file for the associated vendor to the Parts Profile tab.
- or -
Click on the Search icon and search for a sale account on the Account Lookup screen.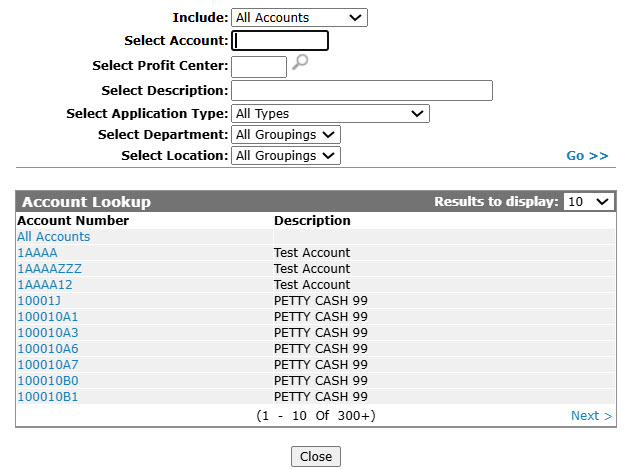
Account Lookup screen
- On the Update Part Master field, selected whether the corresponding code is updated:
Always: Always updates the corresponding field, overwriting any existing information.
Only if blank or Zero: New values will be supplied by the vendor.
Never: Never updates the corresponding field.
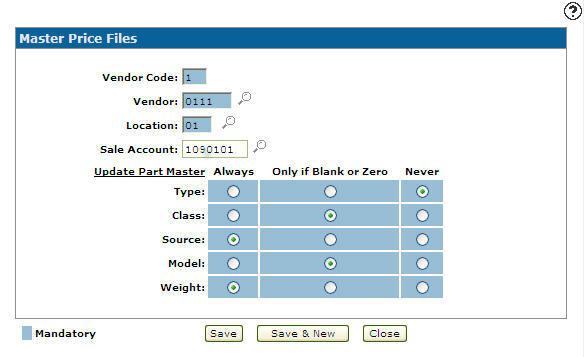
Master Price Files screen
-
On the Master Price Files screen, click the Save button to save the new master price files configuration and return to the Master Price Files screen.
- or -
Click the Save & New button to save the new master price files configuration.
The Master Price Files screen will refresh allowing you to add another master price file configuration without closing the screen.