Adding a Rental Traffic Ticket
-
Navigate to Product Support > Rental > Traffic.
The Traffic Management screen appears.
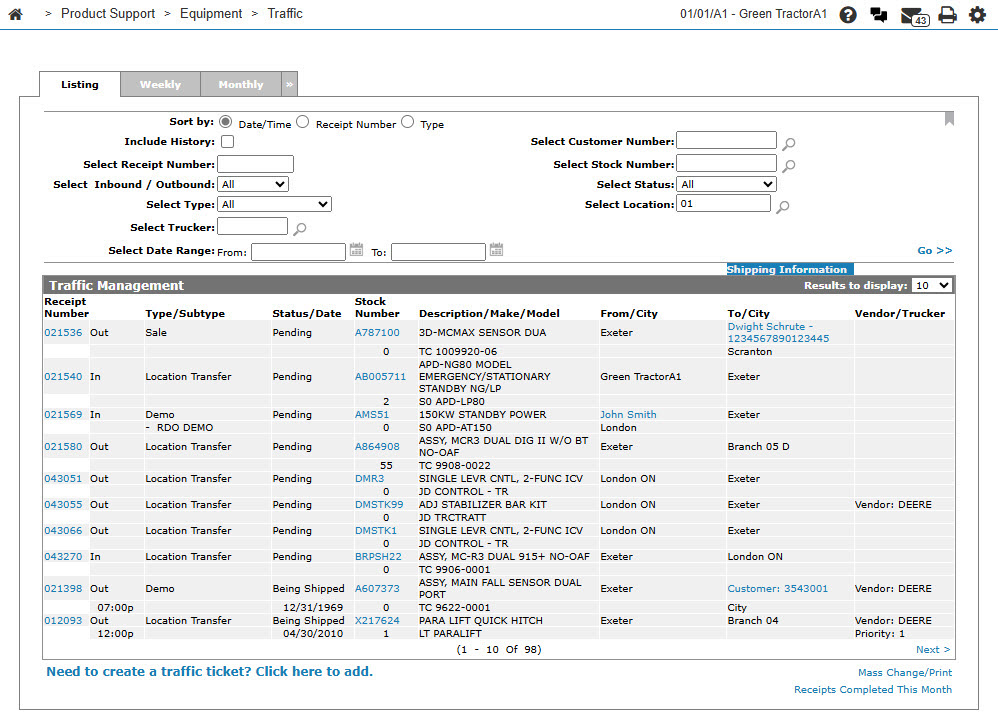
Traffic Management screen
-
Click the Need to create a traffic ticket? Click here to add link.
The Select Type screen appears.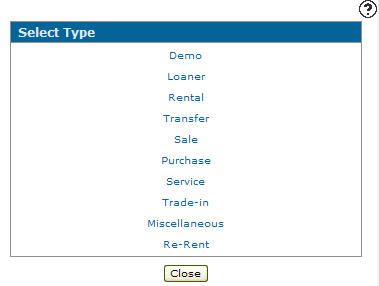
Select Type screen
-
On the Select Type screen, click the Rental link.
The Select Subtype screen appears.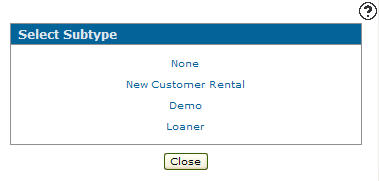
Select Subtype screen
-
On the Select Subtype screen, select a subtype either None, New Customer, Demo, or Loner.
The Select Direction screen appears.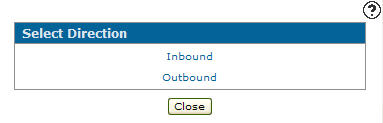
Select Direction screen
-
On the Select Direction screen, select a direction for the traffic ticket either Inbound or Outbound.
The Select Source/Destination screen appears.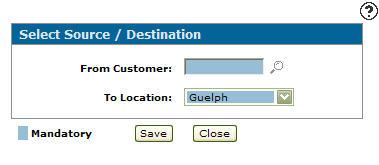
Select Source/Destination screen
-
If Inbound was selected from the Select Direction screen, select a location from the To Location drop down list.
If Outbound was selected from the Select Destination screen, the From Location field is filled out with your current location.Note:
If you type in a Customer number before you select a branch, the Receipt Details screen appears not allowing you to set a location. -
Enter a Customer number.
- or -
Click the Search icon.
icon.
The Your Customers screen appears.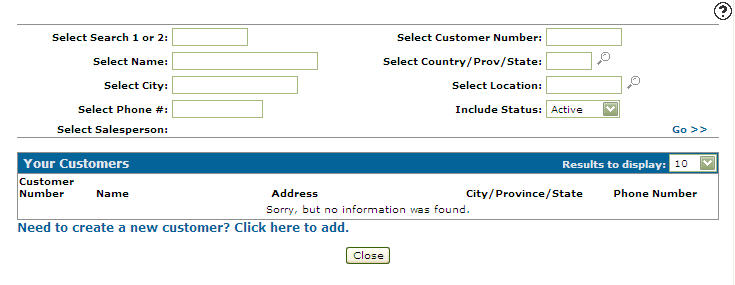
Your Customers screen
-
Enter the search criteria and click the Go>> link to locate the desired customer.
-
Click the customer number. The Receipt Details tab appears with the selected customer in the From field.
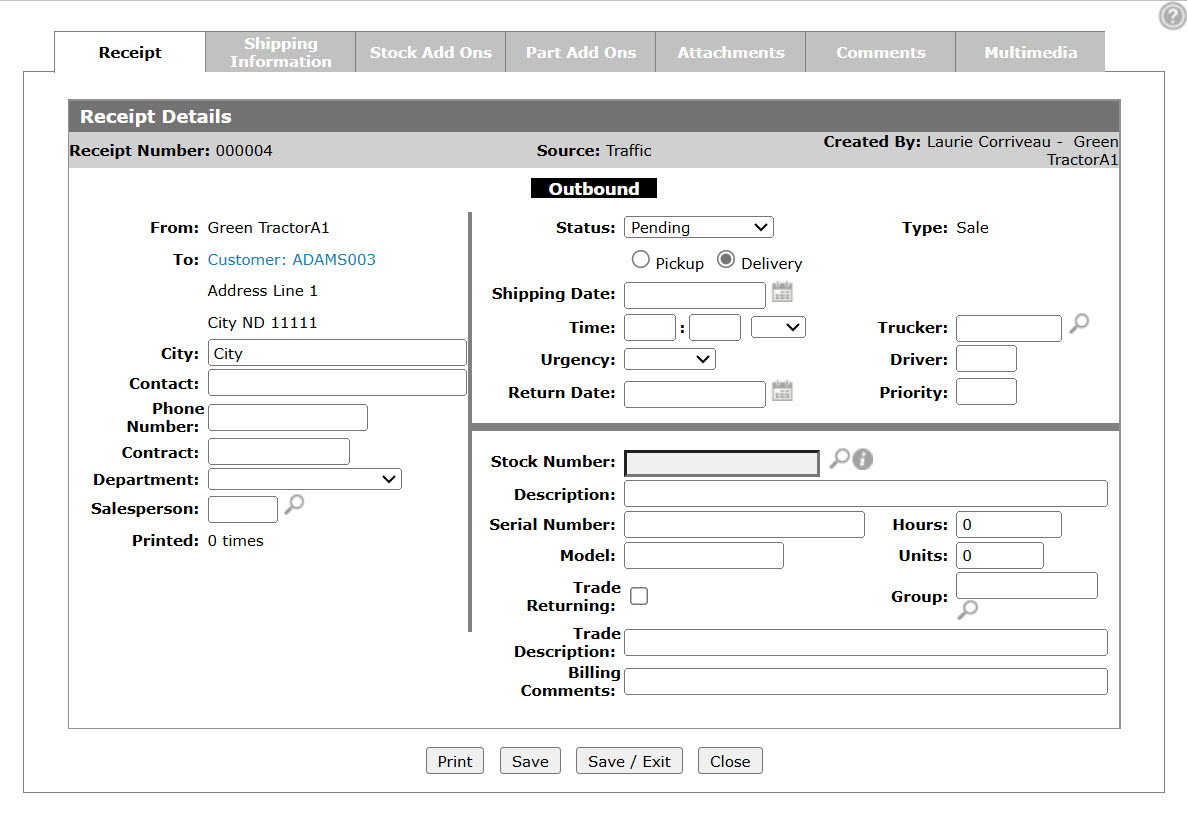
Receipt Details tab
-
On the Receipt Details tab, enter a Contact's name.
-
Enter a Contract number.
-
Enter a County code.
-
Select Rental from the Department drop down list.
-
Enter a Salesperson id number.
- or -
Click the Search icon and select a salesperson from the list. -
Select a Status from the drop down list.
-
Click the Pickup or Delivery radio button.
-
Enter a Shipping Date.
- or -
Click the Search icon.
The Calendar screen appears.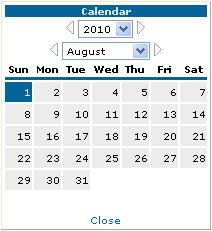
Calendar screen
-
On the Calendar screen, select a month and a year from the appropriate drop-down list.
-
Select a day by clicking the appropriate date button.
The Calendar screen closes and you are returned to the Receipt Details tab.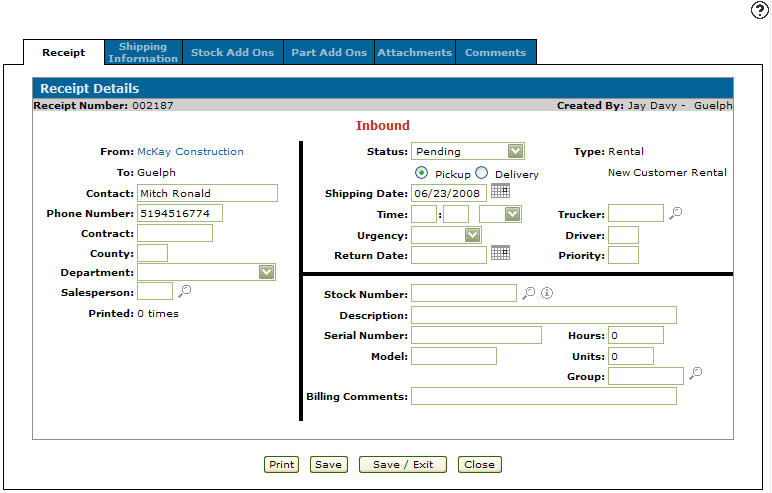
Receipt Details tab
-
Select either the Pickup or Delivery radio button to indicate whether the customer is picking up or having the unit delivered.
-
Enter a shipping Time.
-
Select AM/PM from the drop down list.
-
Select an Urgency option from the drop down list.
-
Enter a Return Date.
- or -
Click the Search icon.
The Calendar screen appears.
Calendar screen
-
On the Calendar screen, select a month and a year from the appropriate drop-down list.
-
Select a day by clicking the appropriate date button.
The Calendar screen closes and you are returned to the Receipt Details tab.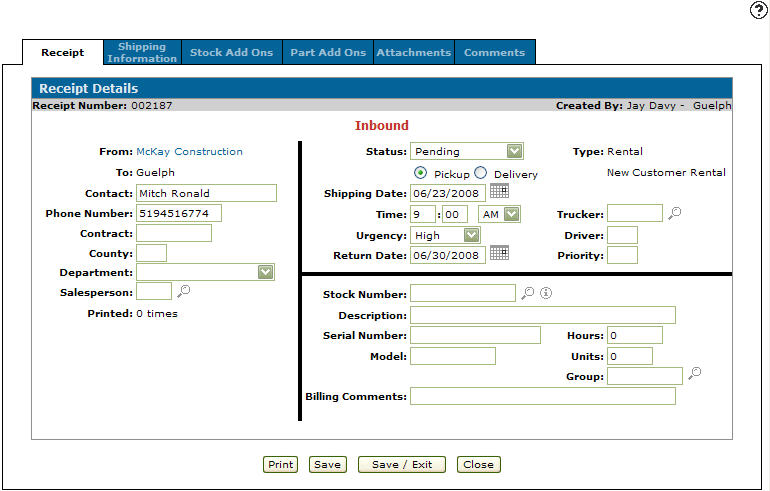
Receipt Details tab
-
Enter a vendor number in the Trucker field.
- or -
Click the Search icon.
The Vendor Selection screen appears.
Vendor Selection screen
-
Enter the search criteria and click the Go>> link to locate the desired vendor.
-
Click the vendor number. The Receipt Details screen appears with the selected vendor number in the Trucker field.
-
Enter a Driver id number.
-
Enter a Priority code.
-
Enter a Stock Number.
- or -
Click the Search icon.
The Equipment Listing screen appears.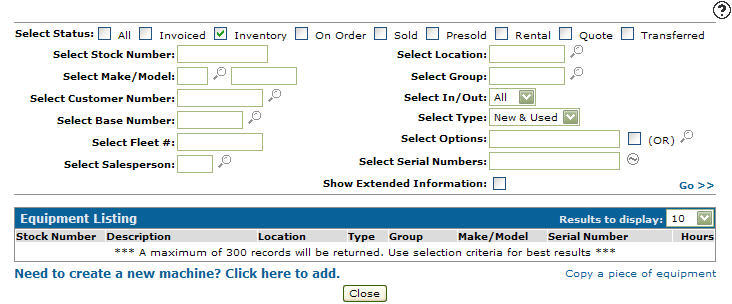
Equipment Listing screen
-
Enter your search criteria and click the Go>> link to locate the desired Equipment Profile.
-
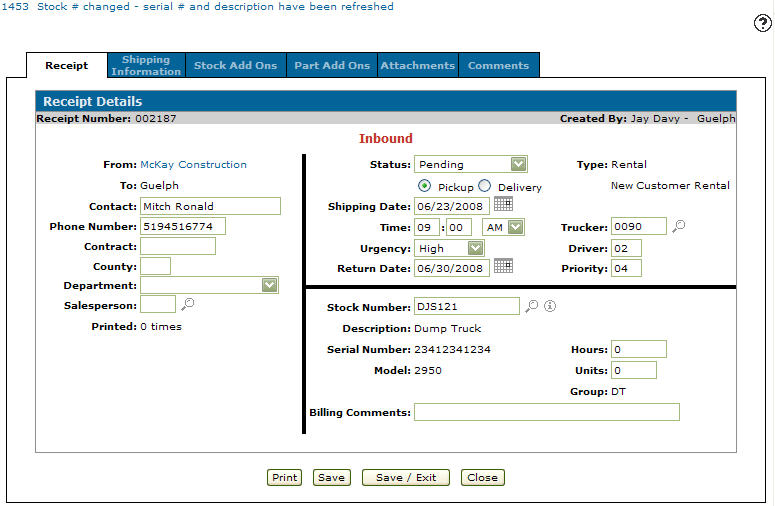
Click the stock number. The Receipt Details tab appears with the selected stock number in the Stock Number field.

Receipt Details tab
-
The Description, Serial Number, Model, Hours (if applicable), and Group (if applicable) number are automatically generated when you click the Save button.
-
(OPTIONAL) Enter any Billing Comments.
-
Enter the amount of Hours.
-
Enter the amount of Units.
-
Enter a Group code.
- or -
Click the Search icon and select a group code from the list. -
Click the Save button to save changes made to the Receipt Details tab.
Updated Receipt Details tab
-
To complete your work on this screen:
To Do This Print the traffic ticket. Click the Print button. Reverse the traffic ticket. Click the Reverse button. Save changes made to the traffic ticket. Click the Save button. Save changes made to the traffic ticket and exit the Receipt Details screen. Click the Save & Exit button. Close the Receipt Details screen without saving changes. Click the Close button. -
From the Receipt Details tab, click the Shipping Information tab.
The Shipping Information tab appears.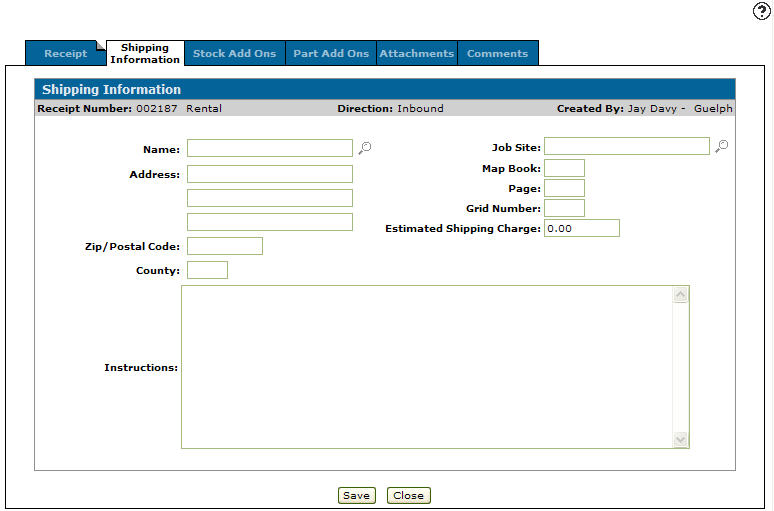
Shipping Information tab
-
On the Shipping Information tab, type in a ship to Name.
- or -
Click the Search icon.
The Ship to Selection screen appears.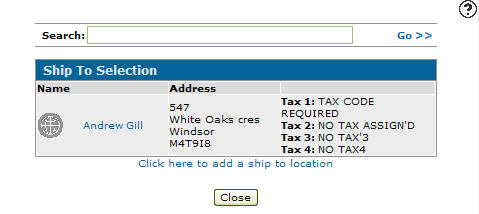
Ship to Selection screen
-
Enter the search criteria and click the Go>> link to locate the desired ship to selection.
-
Click the name. The Shipping Information tab appears with the selected name and address in the Name and Address fields.
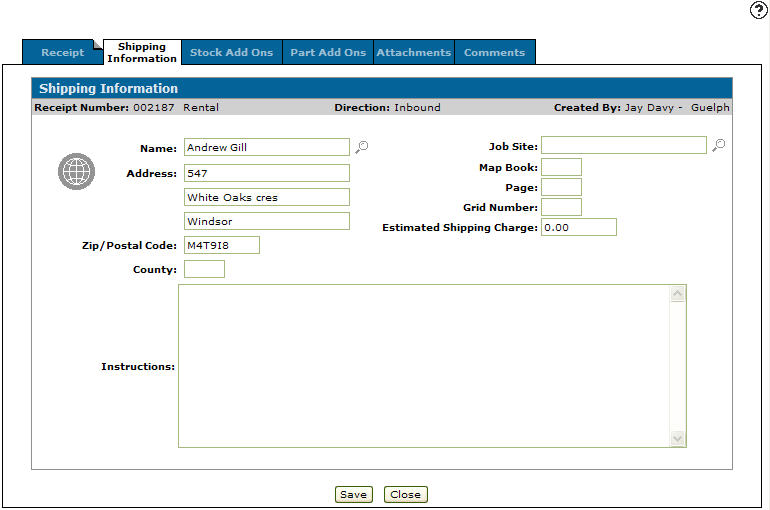
Shipping Information tab
-
Enter any shipping Instructions.
-
(OPTIONAL) Enter a Job Site.
- or -
Click the Search icon.
The Job Site Selection screen appears.Note: IntelliDealeronly allows you to select either a Ship to Selection or a Job Site Selection for the shipping information.
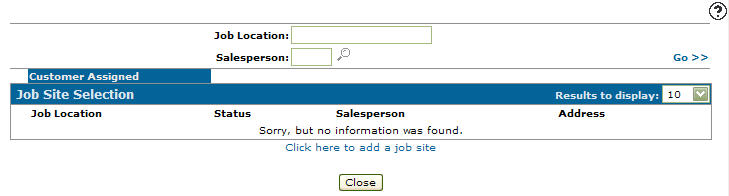
Job Site Selection screen
-
Enter the search criteria and click the Go>> link to locate the desired job site selection.
-
Click the job location. The Shipping Information screen appears with the selected job location in the Job Site field.
-
Enter a Map Book number.
-
Enter a Page number.
-
Enter a Grid Number.
-
Enter a Estimated Shipping Charge.
-
Click the Save button to save changes to the Shipping Information screen.
-
Click the Close button.
The Traffic Management screen appears. -
On the Traffic Management screen, the newly created traffic ticket is listed.
Revision: 2026.01