Adding a Service Traffic Ticket
-
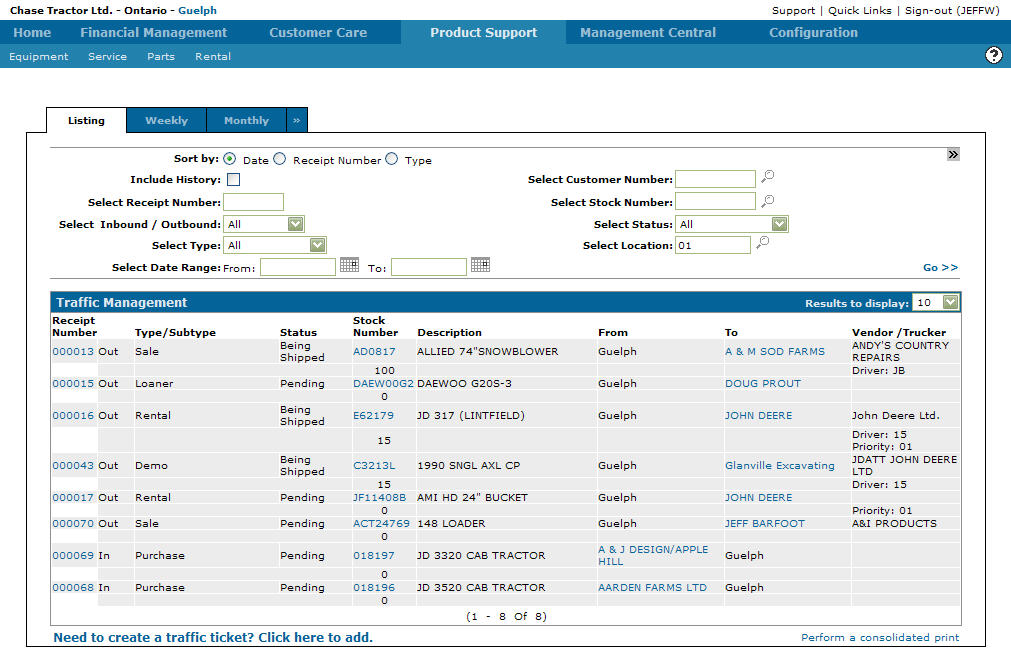
Navigate to Product Support > Service > Traffic.
-
Click the Need to create a traffic ticket? Click here to add link.
-
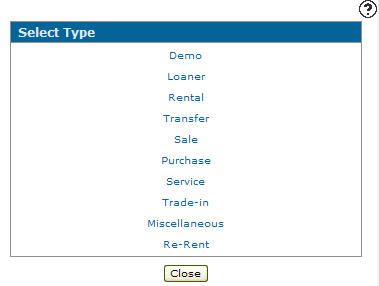
Click the Service link.
-
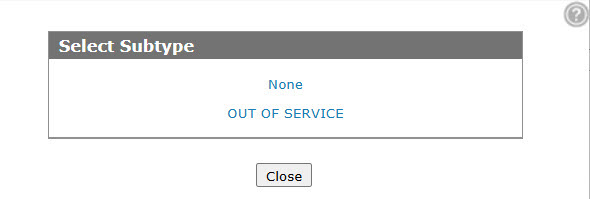
Select a Subtype.
-
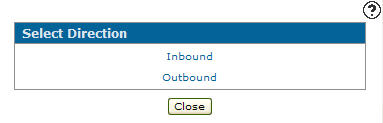
Select either an Inbound or Outbound traffic direction.
-
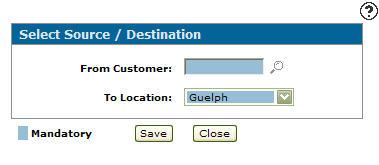
If Inbound was selected from the Select Direction screen, select a location from the To Location drop down list.
If Outbound was selected from the Select Destination screen, the From Location field is filled out with your current location.
Note: If you enter a Customer number before you select a location, the Receipt Details screen appears, not allowing you to set a location.
-
Enter a Customer number - or - click the Search
 icon to search for and select a customer.
 -
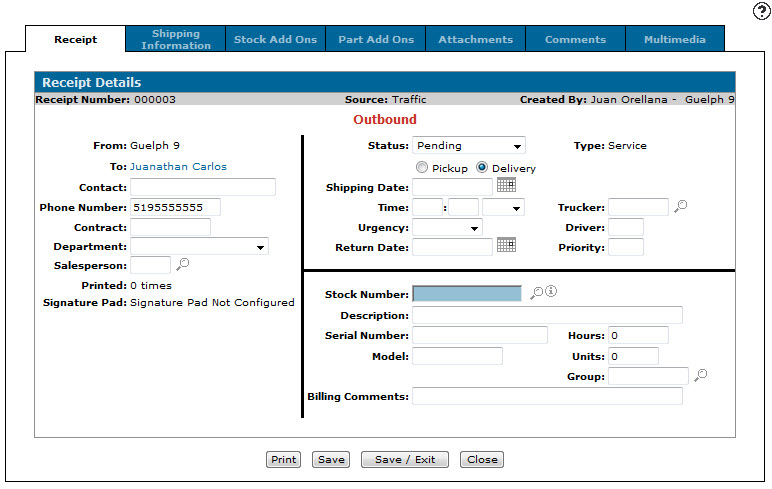
Fill in the fields, as required, referring to the Receipt Details online help.
-
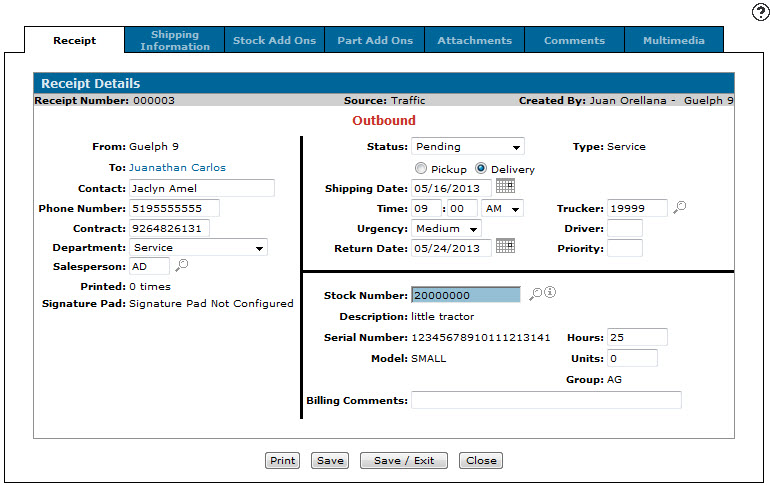
Click Save to save changes made to the Receipt Details tab.
The Description, Serial Number, Model, Hours (if applicable), and Group (if applicable) are automatically generated when you click the Save button.
-
To complete your work on this screen:
To Do This Print the traffic ticket. Click the Print button. Reverse the traffic ticket. Click the Reverse button. Save changes made to the traffic ticket. Click the Save button. Save changes made to the traffic ticket and exit the Receipt Details screen. Click the Save & Exit button. Close the Receipt Details screen without saving changes. Click the Close button. -
Use the remaining tabs to fill in additional information, if required:
Shipping Information—add a shipping address or shipping job site location, to add shipping instructions, and an estimated shipping charge.
Stock Add Ons—add more stock units to your traffic ticket.
Part Add Ons—add parts onto your traffic ticket.
Attachments—add attachments onto your traffic ticket.
Comments—add any comments regarding the traffic ticket. Click the Search
 icon to add a promotion code onto the ticket.
Multimedia—add multimedia files to the traffic, including photos of the equipment, documentation related to the equipment, etc.
-
Once you have entered all the desired information onto your traffic ticket, click Save to save any changes.
-
Return to the Receipt Details screen and click the Save/Exit button.
The Traffic Management - Listing tab appears listing the newly added traffic ticket.From here you can access the Traffic Ticket - Weekly and Traffic Ticket - Monthly tabs to view confirmed movements, edit confirmed movements, and add traffic memos. Confirmed movements are any traffic movements with a status of Pending and a specified shipping date.
Revision: 2026.04