Editing a Vendor Name
If the vendor profile you want to edit exists across multiple divisions, you must deactivate the profile at all divisions before you can edit or change the vendor's name. To do so, complete the following steps:
Note: The steps outlined in this procedure are only required if the selected vendor profile exists across multiple divisions. If the vendor only exists in one division, simply overwrite the information in the Name field on the Vendor Profile tab and click Save.
-
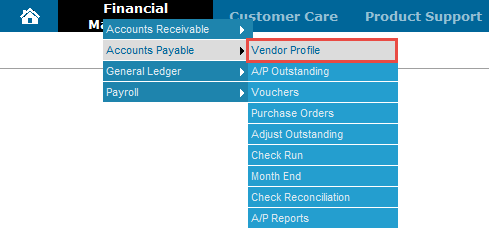
From anywhere within IntelliDealer, hover over the Financial Management link and select Accounts Payable> Vendor Profile from the drop down list.
-
The Vendor Selection screen will appear.
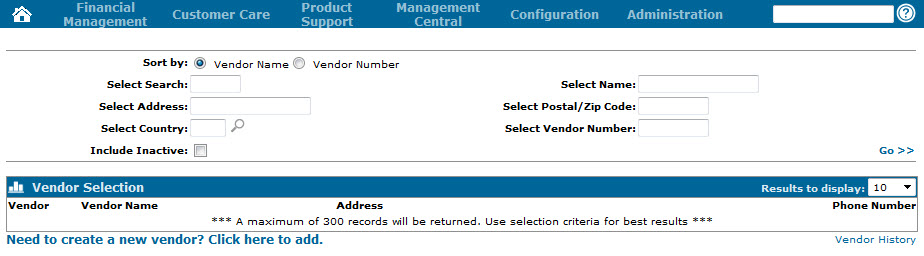
Vendor Selection screen
-
On the Vendor Selection screen, use the search fields to locate the desired vendor and click Go.
The screen will refresh displaying the results or, if only one profile matches the search criteria, the associated Vendor Profile screen will appear.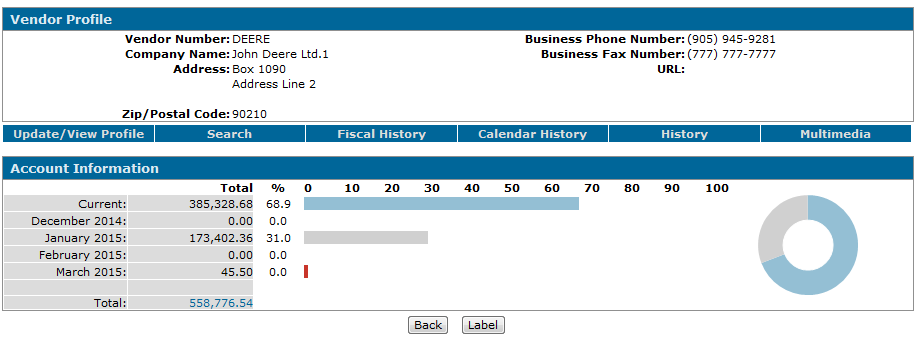
Vendor Profile screen
-
On the Vendor Profile screen, click the Update/ View Profile link.
The Vendor Profile tab will appear.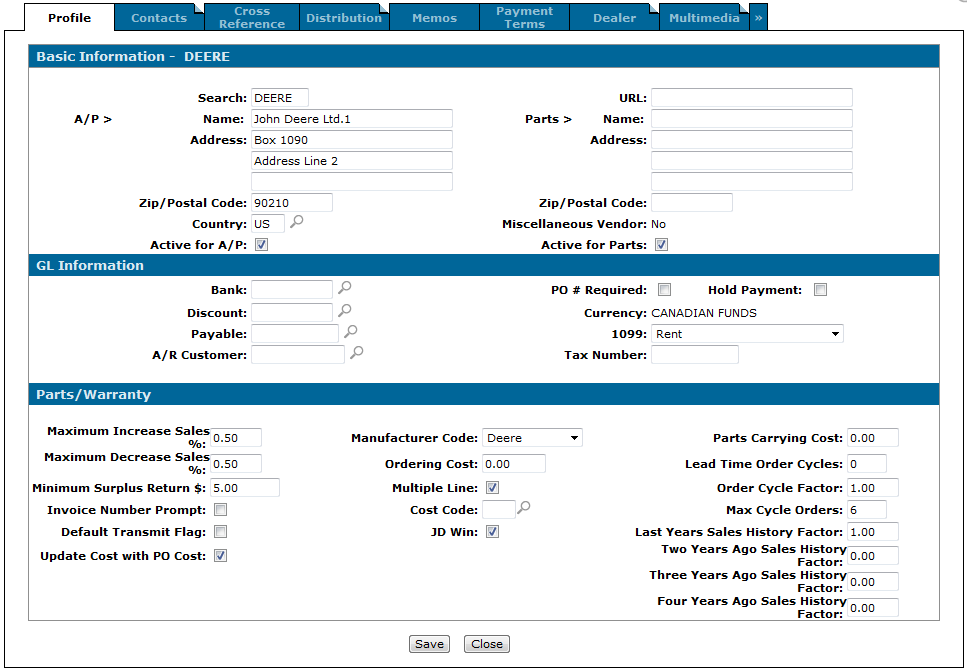
Vendor Profile tab
-
On the Vendor Profile tab, deselect the Active for A/P and Active for Parts switches, then click Save and Close.
-
Click the Home icon to return to the Home screen.

Home screen
-
On the Home screen, click the Branch Location link in the top left corner of the screen.
The My Profile screen will appear.
My Profile screen
-
On the My Profile screen, select the other division where the desired vendor profile exists in the Default Location field, then click Save.
The Home screen will refresh, displaying the new division.
Updated Home screen
-
Reopen the Vendor Selection screen (Financial Management> Accounts Payable> Vendor Profile), and use the search fields to locate the desired vendor from step 3.
The screen will refresh displaying the results or, if only one profile matches the search criteria, the associated Vendor Profile screen will appear.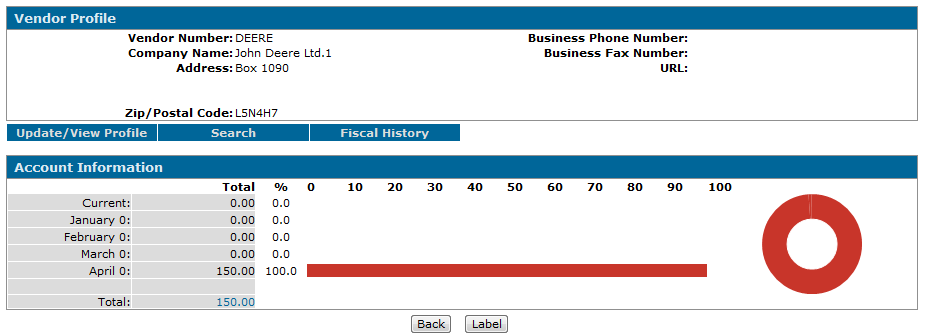
Vendor Profile screen
-
On the Vendor Profile screen, click the Update/ View Profile link.
The Vendor Profile tab will appear.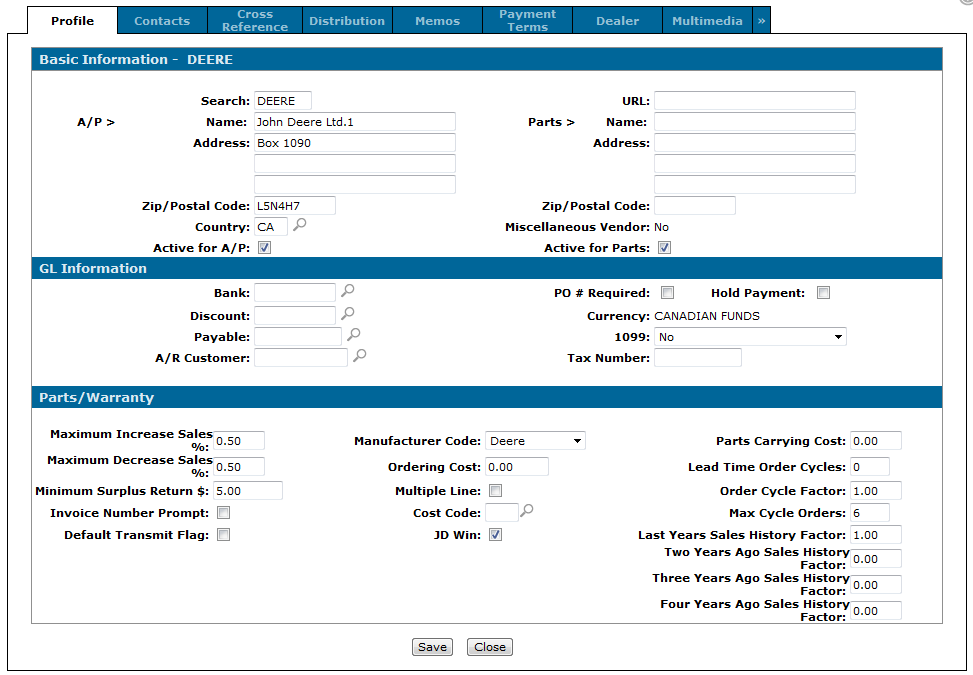
Vendor Profile tab
-
On the Vendor Profile tab, deselect the Active for A/P and Active for Parts switches, then click Save.
-
Repeat steps 6-11 for each division where the selected vendor profile exists.
-
Once the desired vendor profile has been deactivated at all divisions, open the Vendor Profile tab from any division and edit the information in the Name field, then click Save.
-
Repeat step 13 for each division, ensuring that the new name is identical across all divisions.
-
After changing the name at each division, reactivate the profiles at all divisions.