MyDealer: Configuring User Profiles
After configuring the application, you must create and configure user profiles for the customers you want to enable for MyDealer.
Topics in this section include:
Prerequisites: You must have completed the initial setup steps described in Configuring MyDealer.
To configure user payment, see Enabling a Customer's Profile for Payments.
Configuring an Email for the Customer
Before you can create a MyDealer user profile, you must configure a valid business email address for the contact. IntelliDealer sends a Welcome email to this address containing the user’s MyDealer log in credentials, and any inquiries made from the application are sent using this email address.
-
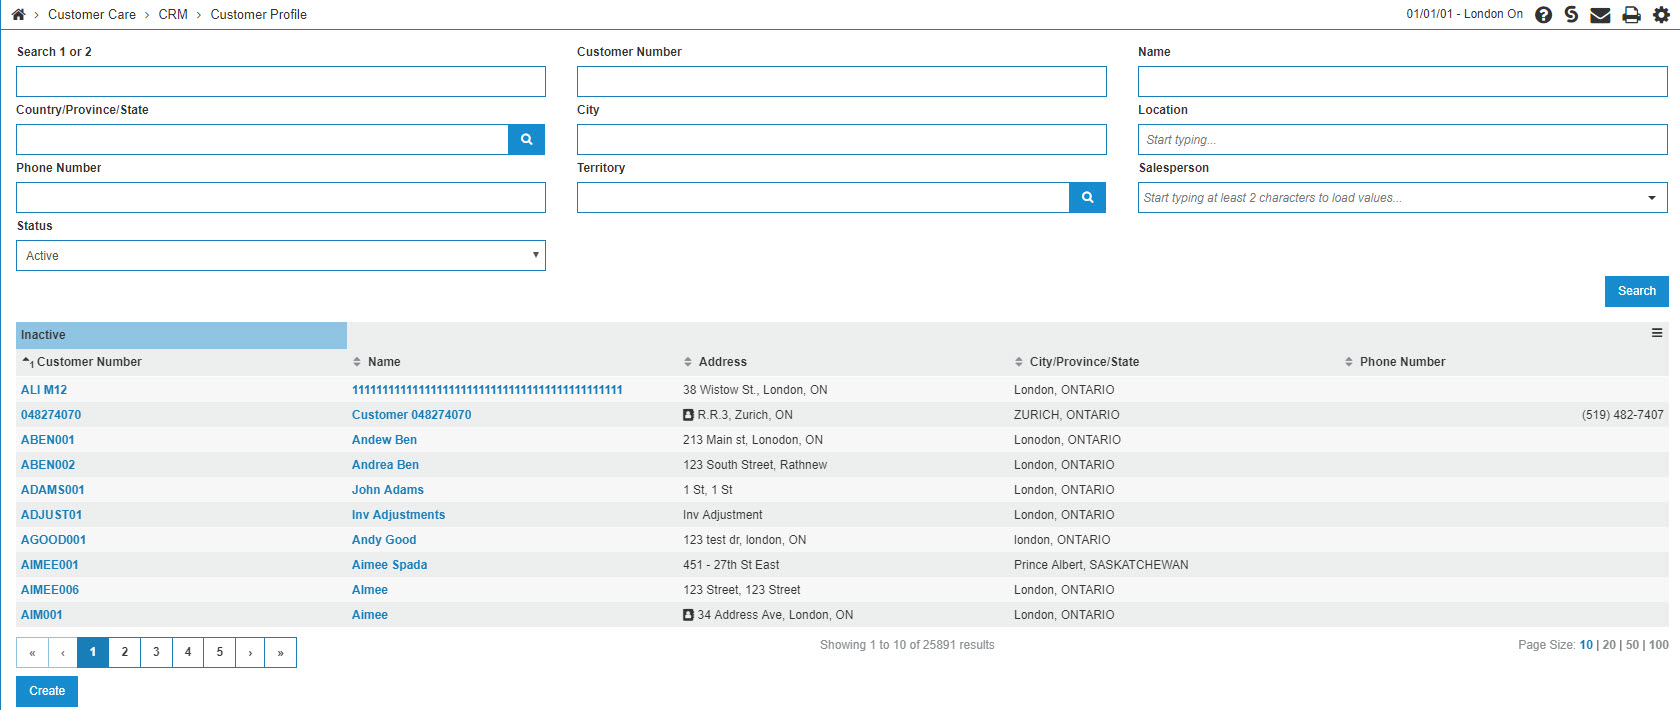
From anywhere within IntelliDealer, navigate to Customer Care > CRM > Customer Profile.
-
Locate and select the desired customer, then click the Update/ View Profile link.
-
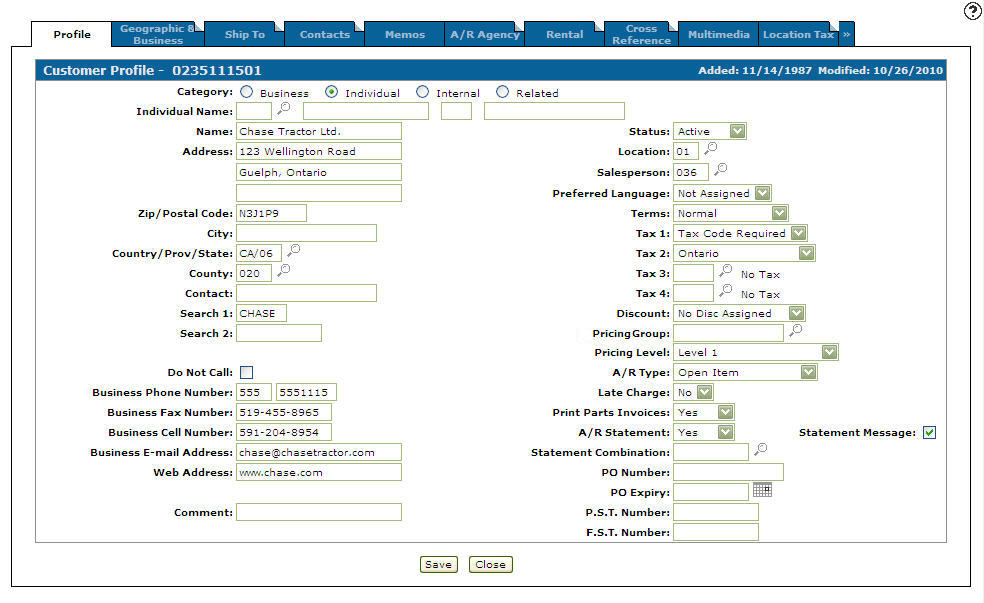
Click the Contacts tab.
-
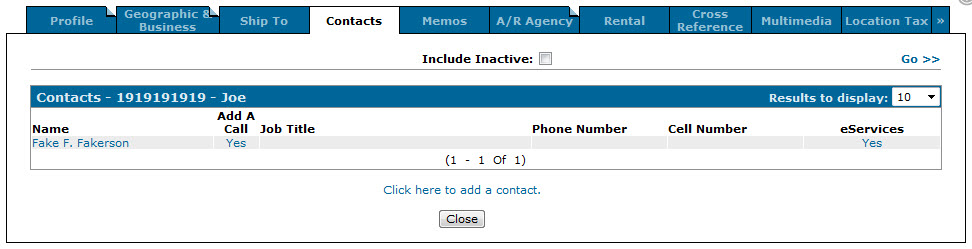
Click the Name of the contact you want to create a MyDealer user profile for.
-
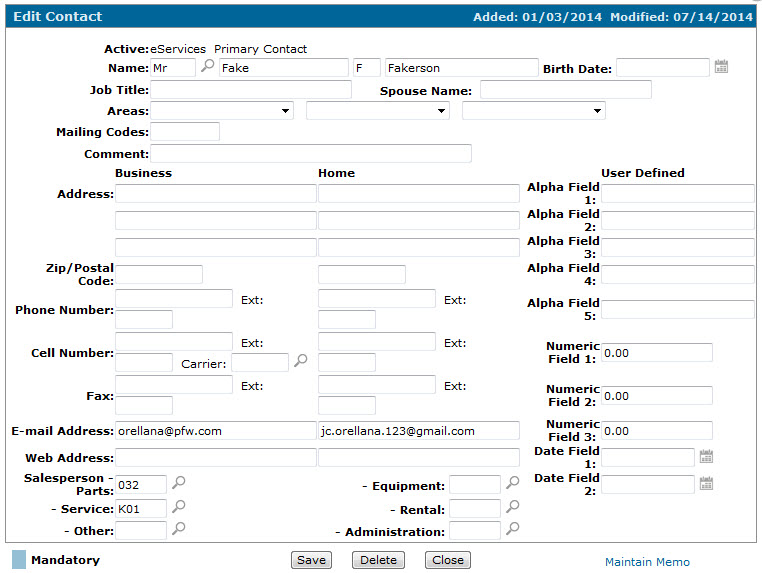
On the Edit Contact screen, confirm or enter a valid email address in the Business Email Address field, and click Save.
Creating a MyDealer User Profile
Once a contact has a valid business email address, you may create a MyDealer user profile for them.
-
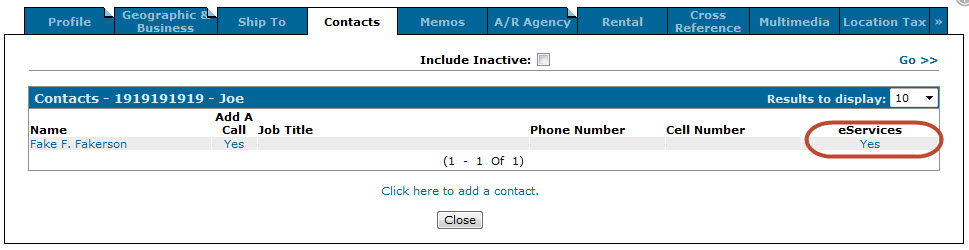
From the Contacts tab of the desired customer profile, click the Yes/ No link in the MyDealer field next to the desired contact.
-
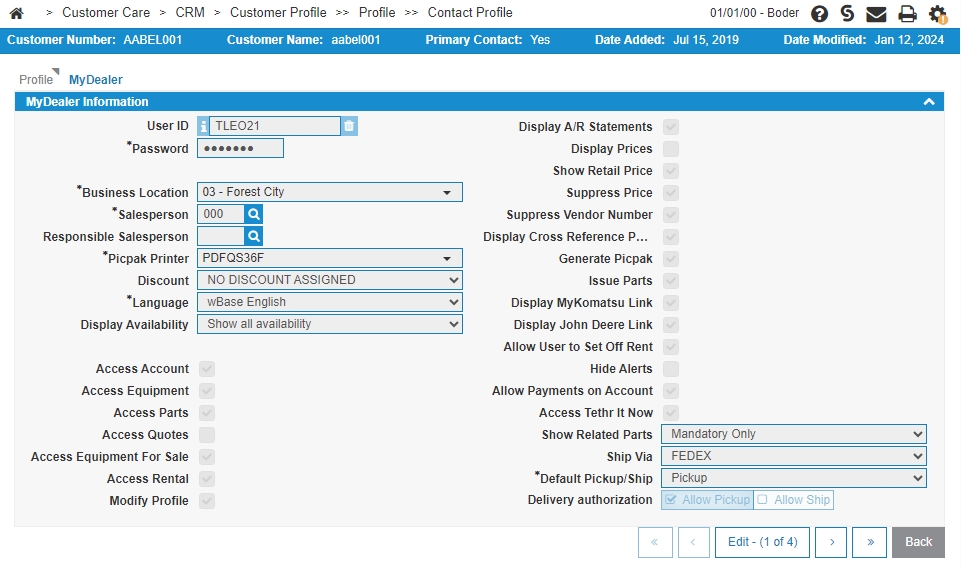
Fill in the fields referring to MyDealer Profile Configuration.
-
After making your selections, click Save.
An email is sent to the user containing their log in credentials.
Initial sign-on and password changes
After you have created and configured a MyDealer profile, the user is sent a Welcome email containing their log in credentials. The following procedure outlines the initial sign-on from the user's perspective, as well as instructions on changing their password:
-
The following email will be sent to the user’s Business Email address (as specified on the Edit Contact screen in IntelliDealer):
Note: If you have not configured a MyDealer Login link on the Customized Links screen, this email will not be sent. As such, make sure you have configured a MyDealer Login link using the instructions outlined above.
-
From the Welcome Email, the user can select the MyDealer Password link to view their password in a browser window.
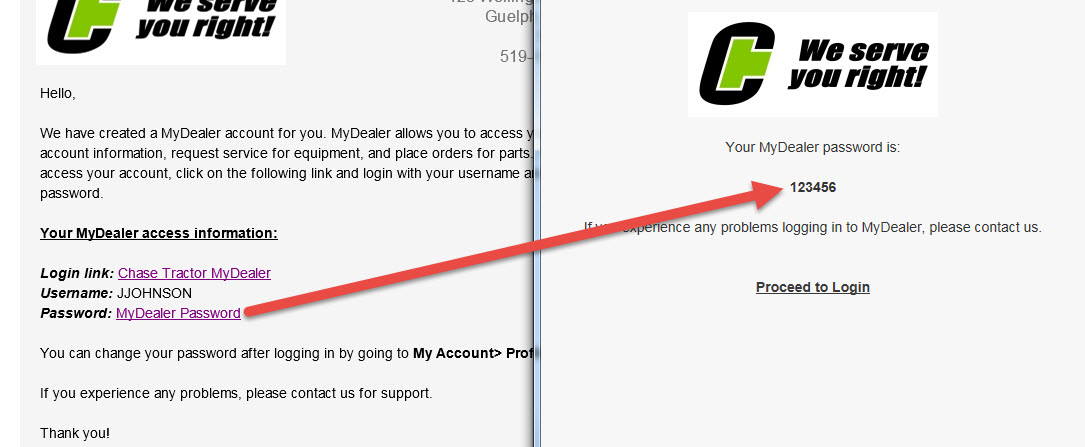
-
From the Password window, the user can copy the password, then select the Proceed to Login link.
-
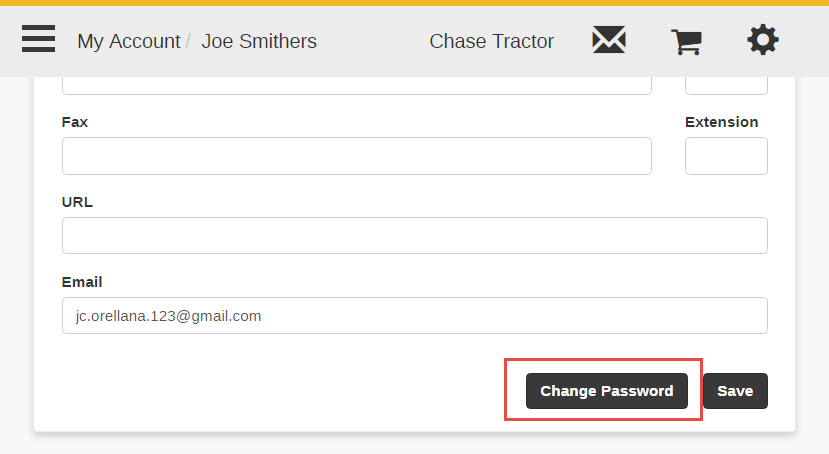
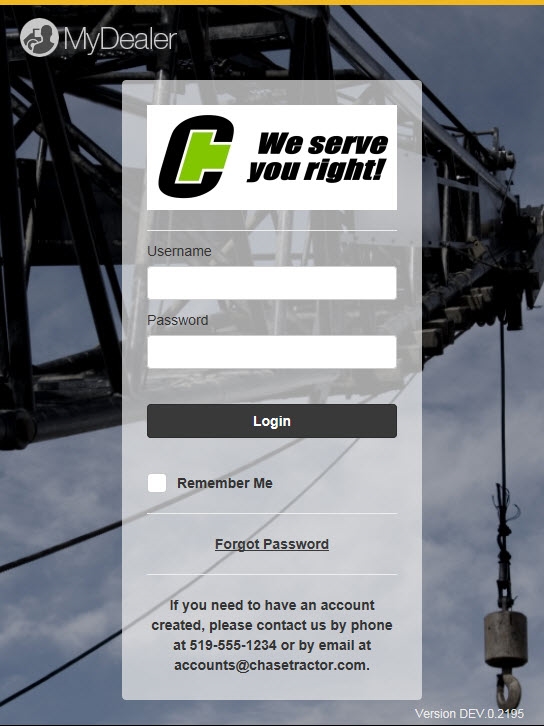
On the Login screen, the user can paste their Password and enter their Username (as specified in the Welcome email), then click Login.
-
After logging in, the user may change their assigned password by navigating to the My Account Profile screen (Main Menu> My Account> Profile) and selecting the Change Password button. See Password Requirements for MyDealer.
When the user changes their password in MyDealer, it is updated in IntelliDealer on the MyDealer Information screen.

Password Requirements for MyDealer
The requirements for a new MyDealer password are:
- Minimum 10 characters
- Maximum 128 characters
- Must include at least one uppercase letter (A–Z)
- Must include at least one lowercase letter (a–z)
- Must include at least one number (0–9)
- Must include at least one special character (e.g., ! @ # $ % ^ & *)
Enabling the MyKomatsu Button
The MyKomatsu button, used for ordering parts from Komatsu, is only available in MyDealer for registered Komatsu customers; it is not available in MyDealer's guest mode. To see the MyKomatsu button the customer must register their business email address at Komatsu. This should be the same business email address as the one listed in their IntelliDealer contact profile.