Updating PO's on a DTF Parts Receipt
-
From any IntelliDealer screen, click the Product Support tab.
The Product Support Quick Links screen will appear.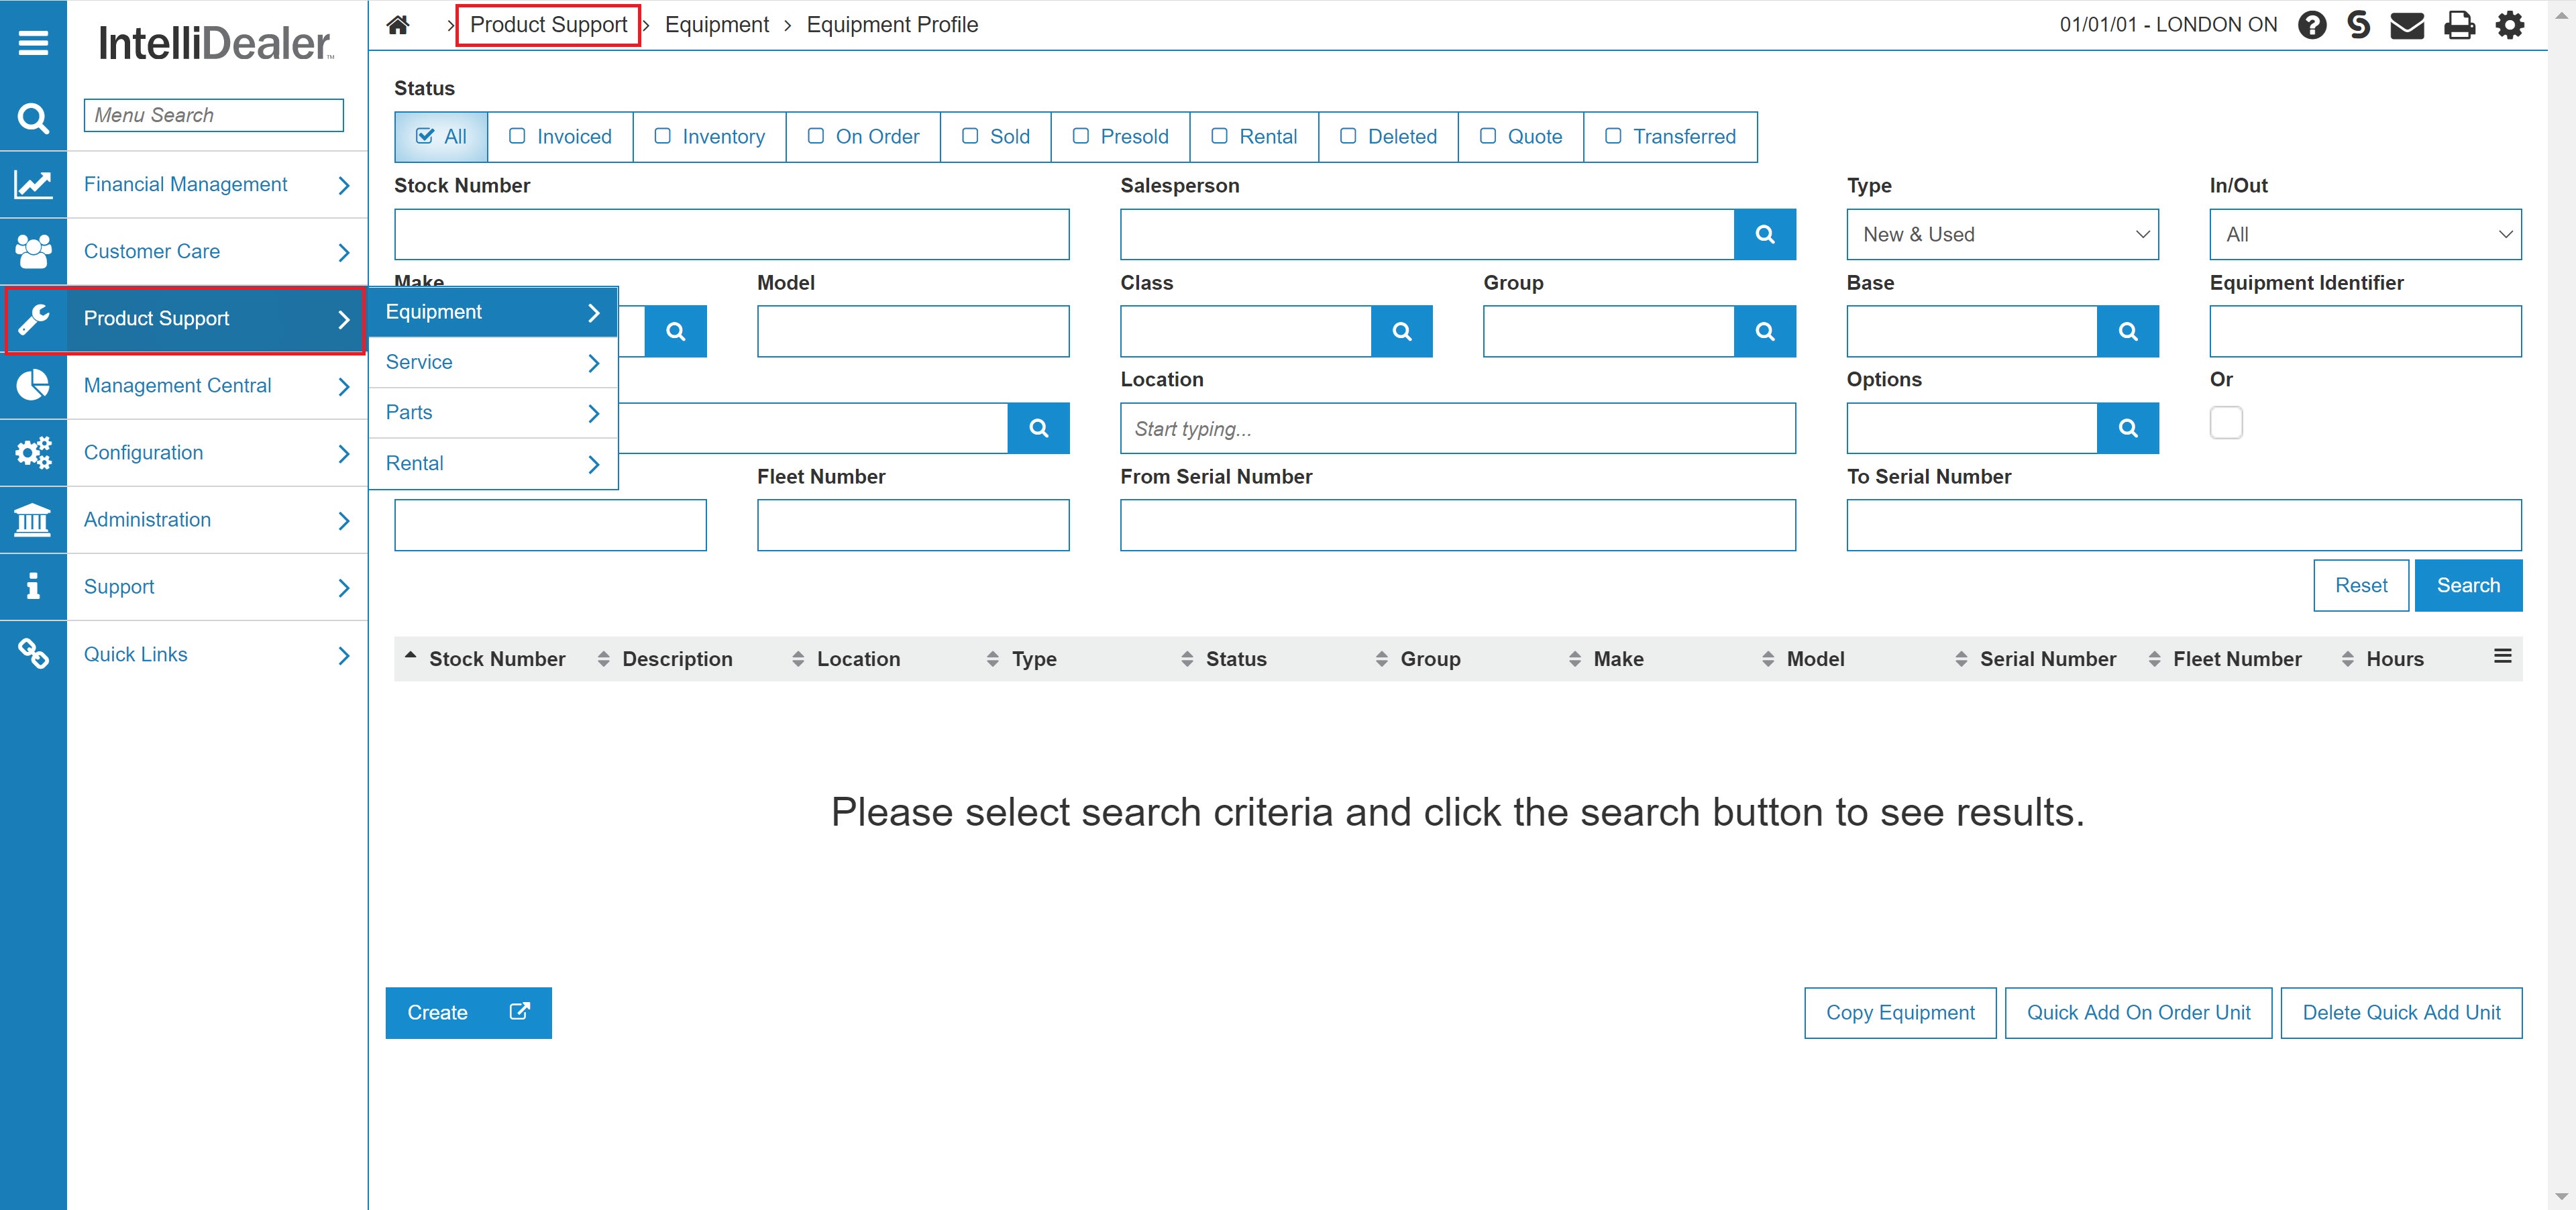
Product Support Quick Links screen
-
From the Parts list, click the Parts Ordering link.
The Parts Ordering screen will appear.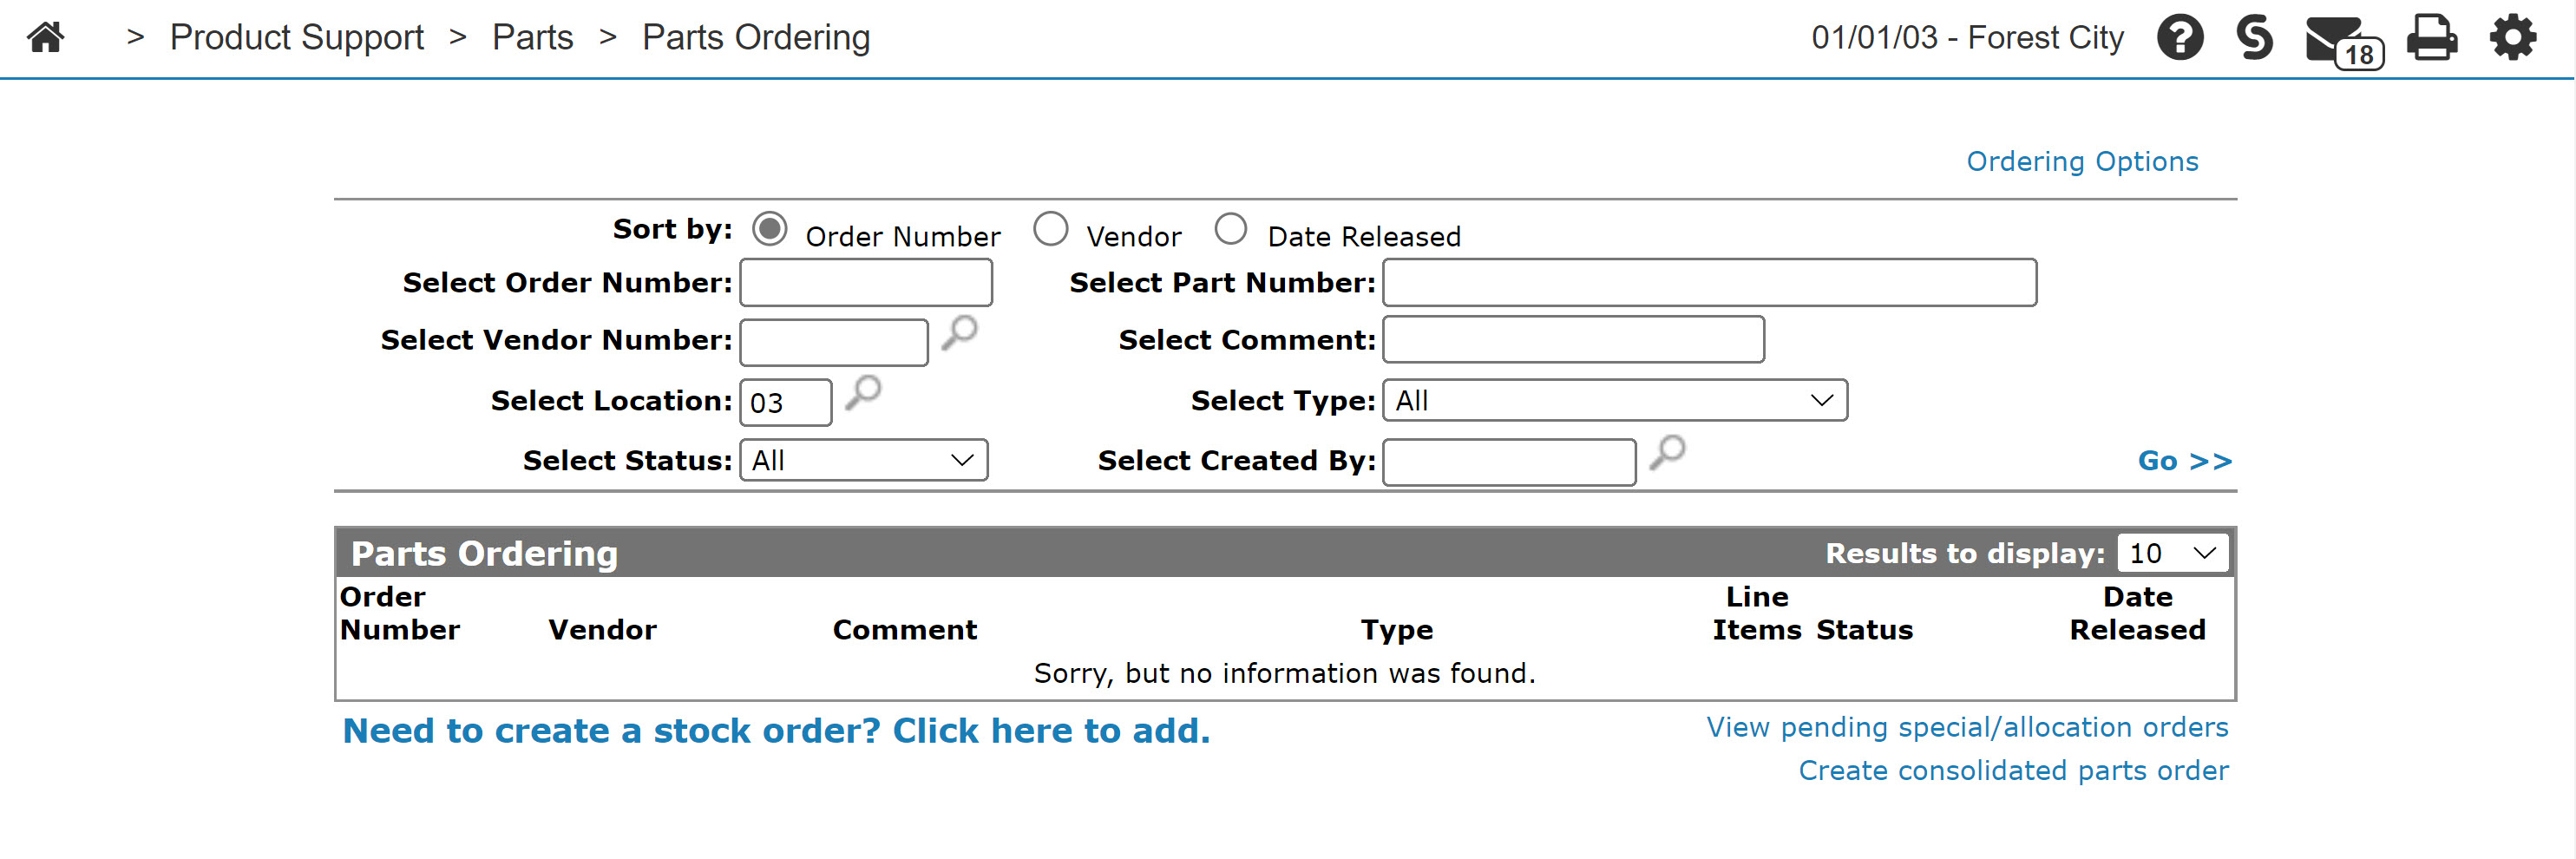
Parts Ordering screen
-
On the Parts Ordering screen, move the cursor over the Ordering Options link and select DTF Parts Receipts from the pop-up menu.
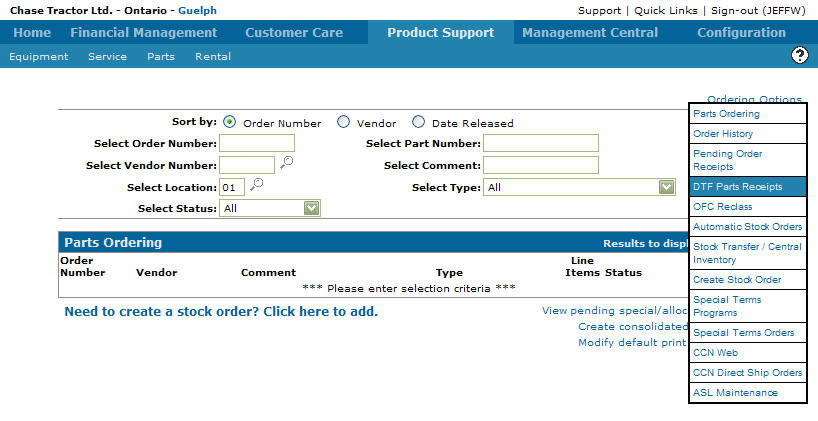
Parts Ordering screen
-
The DTF Parts Receipts screen will appear.
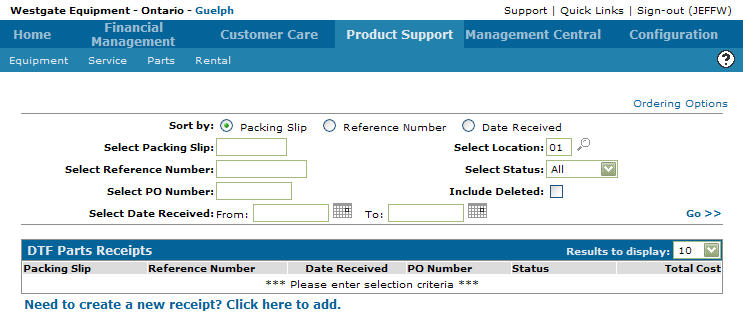
DTF Parts Receipts screen
-
On the DTF Parts Receipts screen, fill out the appropriate fields and click the Go >> link.
The DTF Parts Receipts screen will refresh listing the generated search results.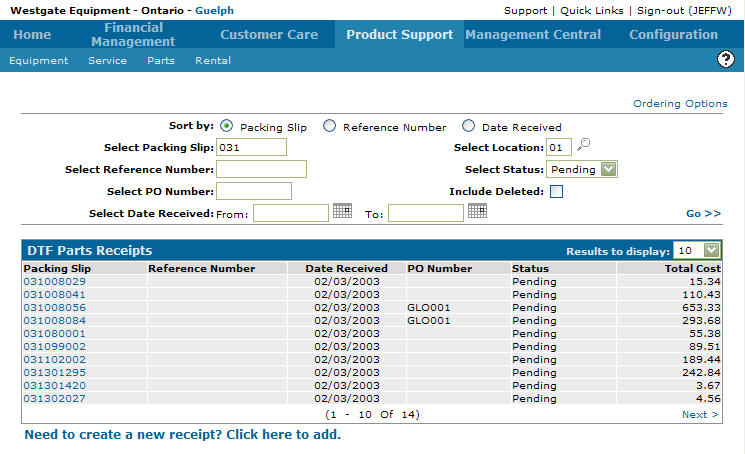
DTF Parts Receipts screen
-
Click on a Packing Slip.
The DTF Parts Receipt screen will appear.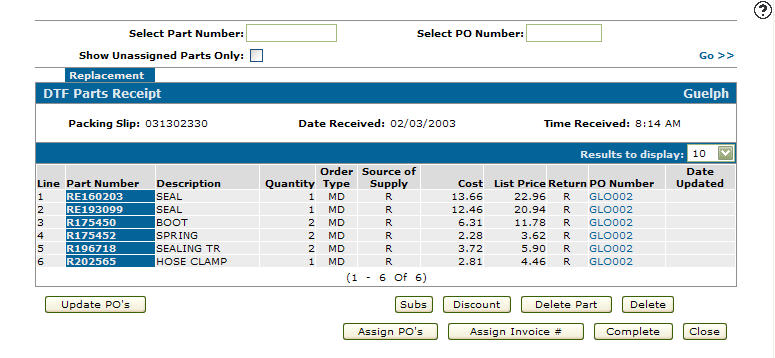
DTF Parts Receipt screen
- On the DTF Parts Receipt screen, move the cursor over each Part Number and select Add to PO from the pop-up menu.
-
Click the Update PO's button.
The DTF Parts Receipt - Update PO's screen will appear.
DTF Parts Receipt - Update PO's screen
-
On the DTF Parts Receipt - Update PO's screen, enter a Supplier Invoice Number.
Note:
The system will automatically load the Supplier Invoice Number from the DTF Parts Receipt - Assign PO's screen in the Supplier Invoice Number field, if an invoice number has already been assigned to a PO on the DTF parts receipt. -
Click the Update PO's button.
The Print Labels screen will appear.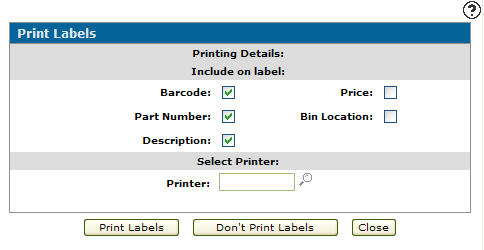
Print Labels screen
-
Click on the Print labels button to print part labels.
- or -
Click on the Don't Print Labels button to skip over the function. -
The Results screen will appear, listing the applied updates.
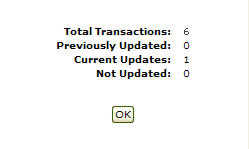
Results screen
-
On the Results screen, click the OK button.
The DTF Parts Receipts - Update PO's screen will appear indicating the update.
DTF Parts Receipt - Update PO's screen