Update Work Order
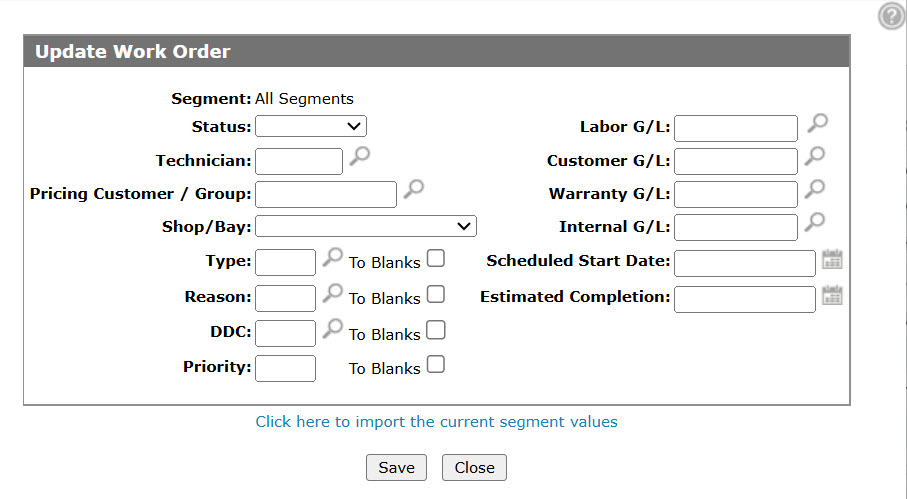
The Update Work Order screen allows you to apply a mass update to all work order segments at once.
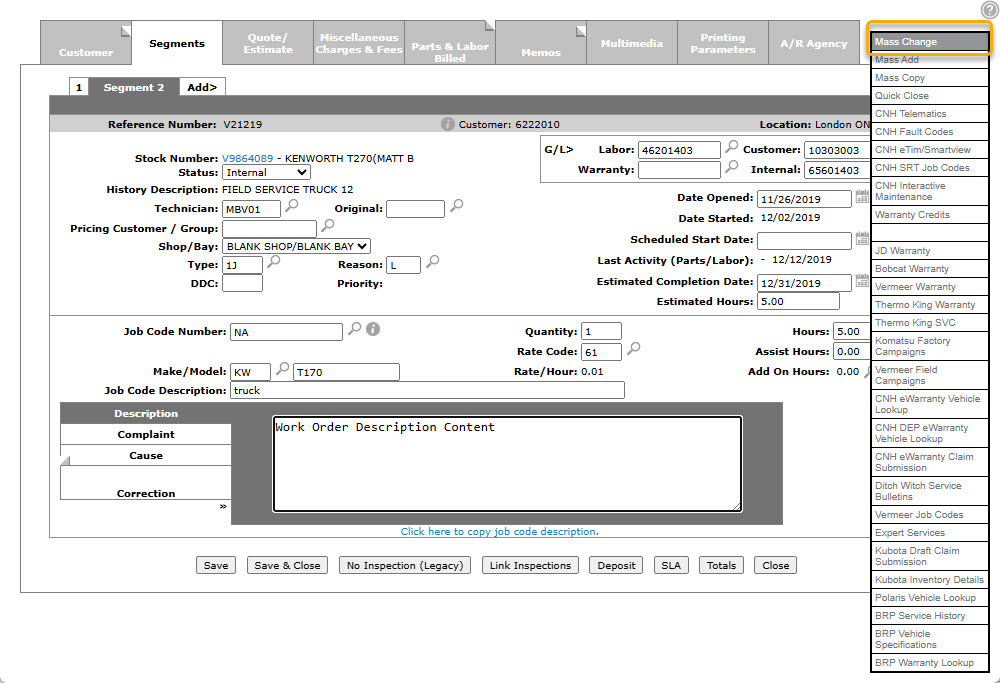
The Update Work Order screen can be accessed from the Segments tab by selecting Mass Change from the Work Order Options pop-up menu
Topics in this section are:
Mass Changing Segments
-
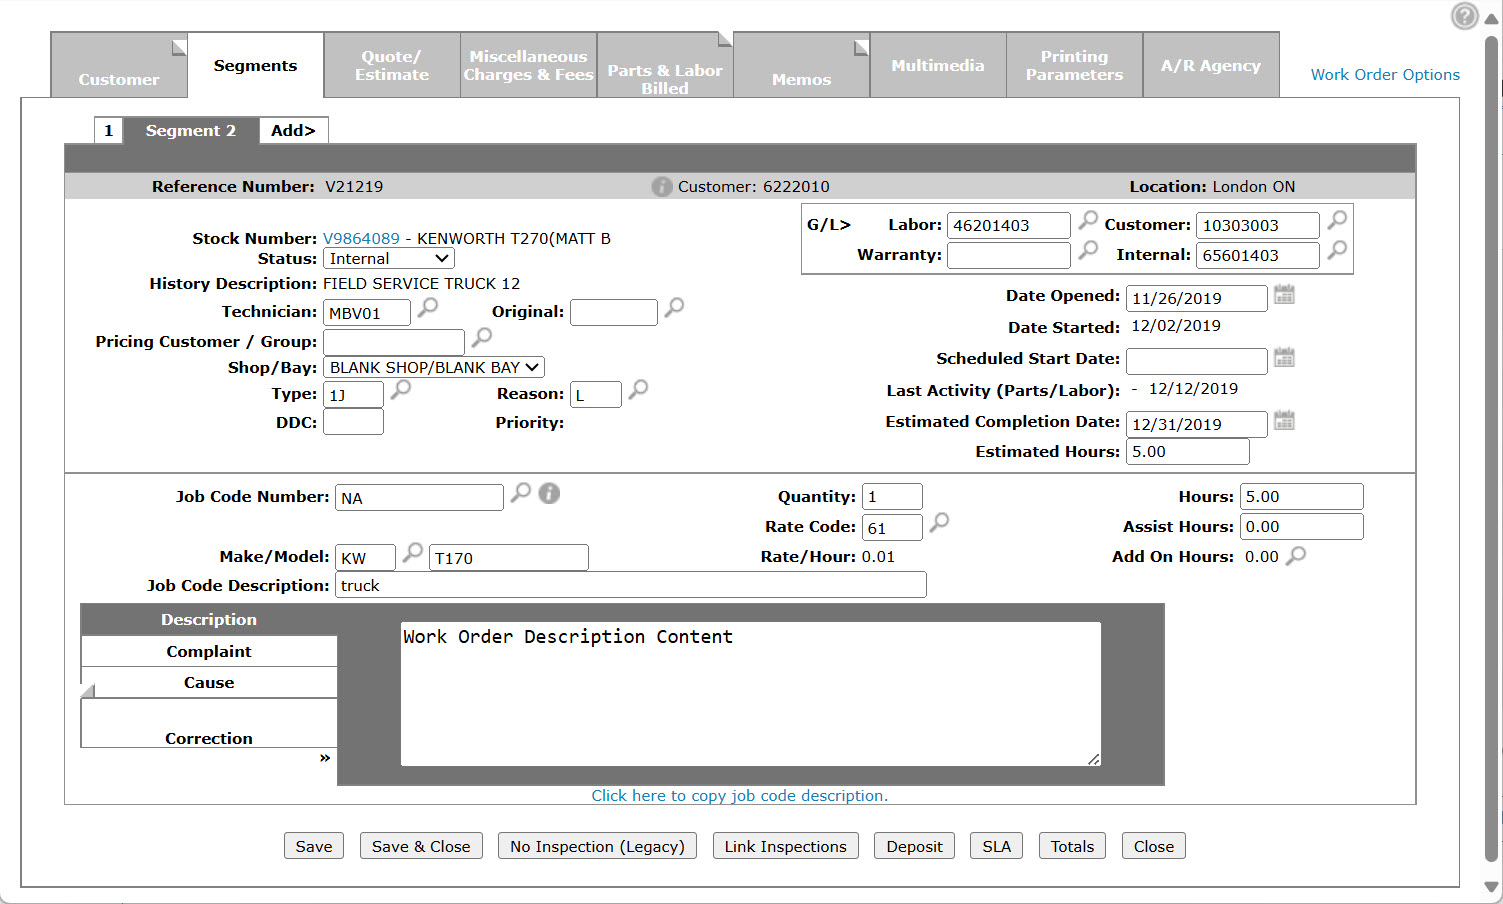
Open a Work Order, and select the Segments tab.
-
Move the cursor over the Work Order Options link and select Mass Change from the drop down list.
-
Fill out the fields you wish to mass update/change on all segments associated to the work order.
Select the Click here to import the current segment values link to import the Segment, Technician, Estimated Completion, and Estimated Hours fields from the segment you are currently working on.
-
To apply changes to all segments on the work order, click Save.
Screen Description
The fields on the Update Work Order screen are:
| Field | Description |
|---|---|
| Segment | Defaults to all segments, which indicates that all segments will be updated. |
| Status | The status of the segment on the work order (e.g. active, customer, warranty, internal, or signed off). |
| Technician | The number of the default technician assigned to work on the job. |
| Pricing Customer | The customer number to be used for pricing the work. |
| Shop/Bay | Select the shop/bay assigned to the segments. Shops and bays are defined on the Shops and Bays screens. These values are used specifically for service scheduling. |
| Type or to Blanks |
The type of repair. The values for this field are loaded on the Types screen. The to Blanks checkbox, fills in the Type Code with spaces. |
| Reason or to Blanks |
The reason for the repair. The values for this field are loaded on the Reasons screen. The to Blanks checkbox, fills in the Reason Code with spaces. |
| DDC or to Blanks |
The Downtime Delay Code, which indicates why there was a delay in completing the segment. The to Blanks checkbox, fills in the Downtime Delay Code with spaces (if spaces are set up as a valid code). |
| Priority or to Blanks |
Identifies the priority of this work order/segment in relation to the other work order/segments for this technician. You can enter up to two digits. For example, if you use priorities 1, 2 and 3, you can always code another work order/segment with 1A which will place it between priorities 1 and 2. The to Blanks checkbox, fills in the Priority Code with spaces. |
| Labor G/L | The default labor G/L account when posting hours. |
| Customer G/L |
Cash code 5 (customer) charges will be posted to the G/L account that appears in this field. |
| Warranty G/L |
Cash code 7 (warranty) charges will be posted to the G/L account that appears in this field. |
| Internal G/L |
Cash code 8 (internal) charges will be posted to the G/L account that appears in this field. |
| Date Started | The date the work on the work order started or when it is scheduled to start. |
| Estimated Completion | The estimated date the service on the work order will be completed. |
Select the Click here to import the current segment values link to update the Segment, Technician, Estimated Completion, and Estimated Hours field values import information from the corresponding work order segment.
Use these buttons to complete your work on the Update Work Order screen:
| Button | Function |
|---|---|
| Save | Saves changes made on the Update Work Order screen. |
| Close | Closes the screen you are currently on without saving and returns to the Update Work Order screen. |