Creating an Alert Message
For alert messages to be sent by the system, additional configuration is required outside of the steps outlined below. For details, see the Alert Management Overview topic.
-
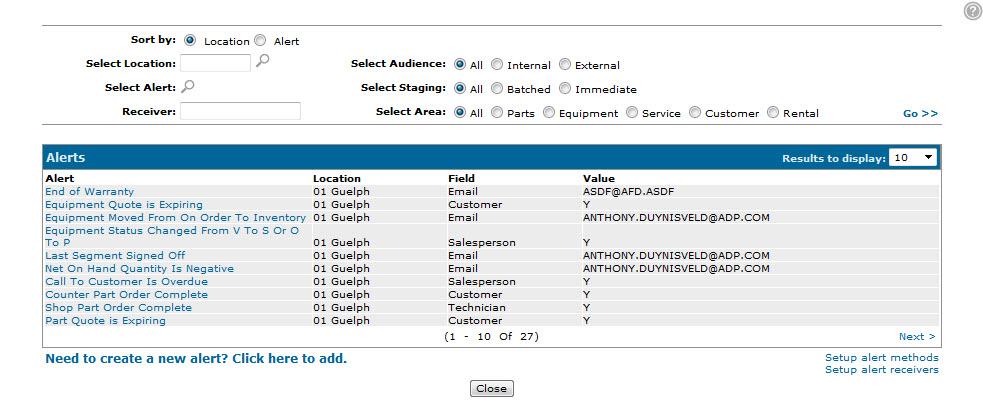
Navigate to Configuration > Miscellaneous > Other > Alert Management.
-
Click the Need to create a new alert? Click here to add link.
-
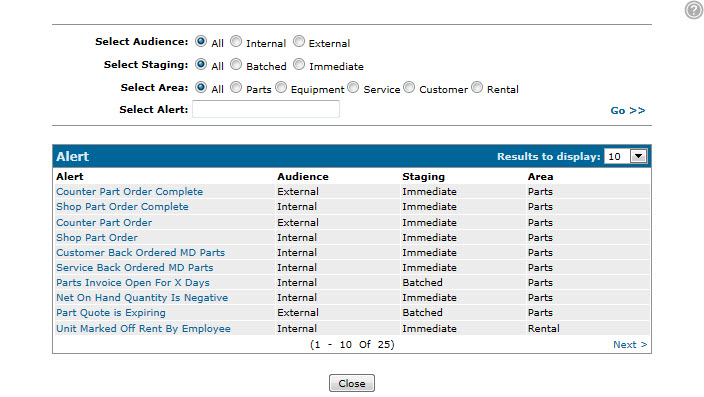
Select the Location you want to create the alert for.
-
Select the type of alert you want to create.
For example, this procedure creates a Demo/Loan alert message. Depending on the type of alert you select, the fields on the Add Alert screen may vary. For more information about each alert type, see the Alert Type Overview topic.
-
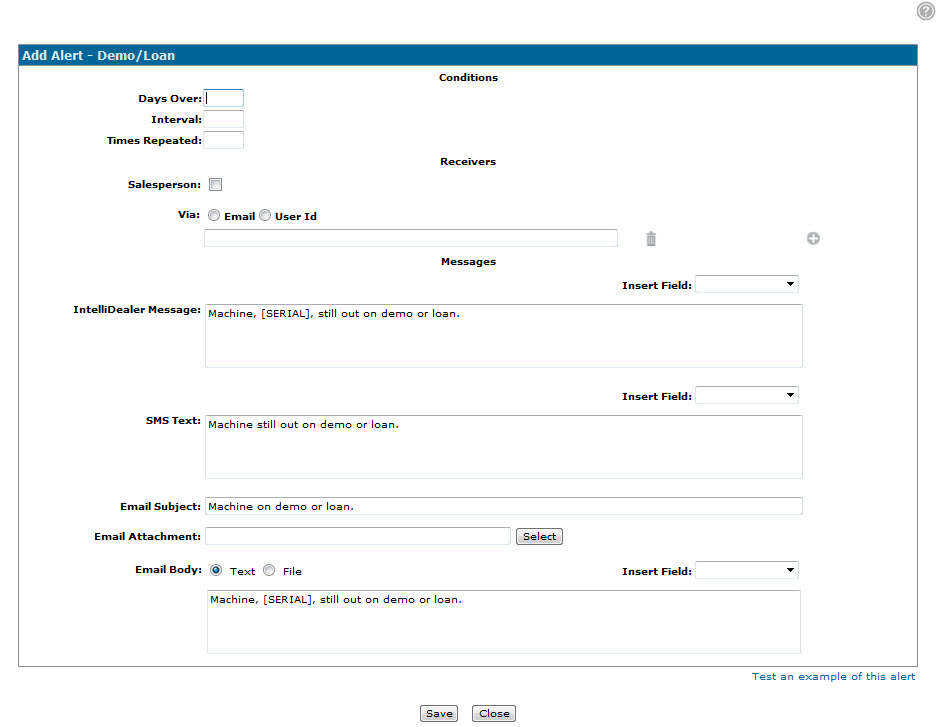
Enter the desired alert Conditions in the fields provided (if applicable).
This dictates when and how often the alert message is sent to the selected recipients. For example, with a Demo/Loan alert message, you can configure these conditions:
Condition Description Days Over The number of days into the duration of an equipment demo or loan, at which point the alert message is sent to the specified recipients. Interval The number of days between subsequent alert messages. Times Repeated The number of times to send the alert, at the specified Interval. For specific information about the available condition statements, see the Add Alert screen help topic.
-
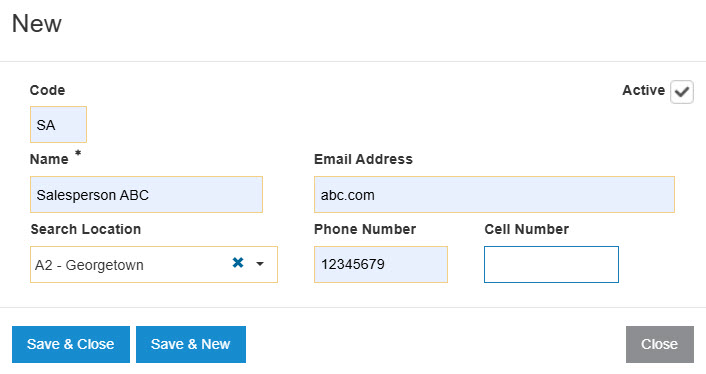
In the Receivers section, select or enter the desired recipients of the message.
Depending on the type of alert you are creating, you may be required to add each recipient individually in the Via field or use the Customer/Salesperson/Technician field to indicate that the alert message should be sent to the customer, salesperson or technician on the record associated to the alert.
For example, when creating a Demo/Loan alert, you can select the Salesperson field to indicate that the salesperson associated to the demo/loan record receives the alert. You can also enter a specific recipient using the Via field.
Note: When using the Customer/Salesperson/Technician field, only customers, salespeople or technicians that have been configured as recipients on the Alert Receivers screen receive an alert. Recipients entered in the Via field always receive the alert.
-
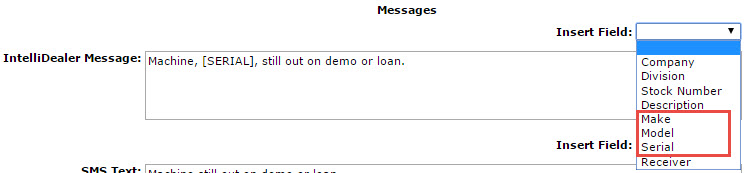
In the Messages section, enter the desired alert message text. By default, the IntelliDealer Message, SMS Text, Email Subject and Email Body fields are pre-populated with information pertinent to the selected alert type.
For example, the default IntelliDealer Message for the Demo/Loan alert type is "Machine, [SERIAL], still out on demo or loan."
Note: Only message types that have been activated on the Alert Methods screen are sent. If a recipient is not receiving an alert, check the Alert Methods screen to validate that the selected message type is active for the selected alert.
-
(OPTIONAL) For any of the available message types, (IntelliDealer Message, SMS Text, or Email Body), you may select canned text to attach to the message using the Insert Field drop down list.
The options available in the Insert Field drop down list are based on the selected Alert Type. For example, because the Demo/Loan alert type refers to a specific piece of equipment, canned text options in the Insert Field drop down list include the Make, Model, Serial number, and the Description of the unit.
-
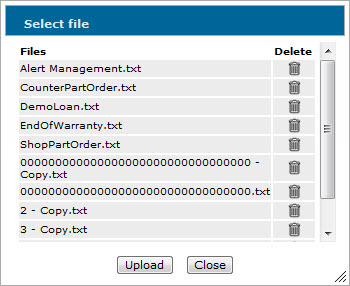
(OPTIONAL) Attach any files pertinent to the alert message in the Email Attachment field by clicking Select and selecting a file from the Select file window, or if the desired file is not listed, click Upload on the Select file window to upload a new file using the Upload Image Files screen.


Testing Alert Messages
-
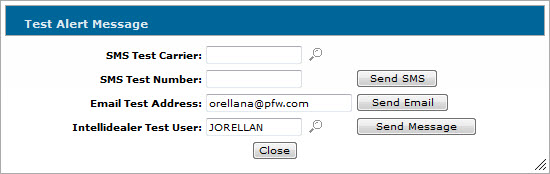
To send a test alert message, click the Test an example of this alert link to open the Test Alert Message screen.
-
Enter the appropriate SMS Test Carrier, SMS Test Number, Email Test Address or IntelliDealer Test User ID and click the corresponding Send button to send the test alert message.
Note: By default, the system populates the test fields with your user information.
-
Click Save.
The alert is automatically sent to the selected recipients whenever the selected conditions of the alert are met.
Revision: 2026.06