Exchanging a Rental Unit
A rental unit exchange is only to be used in the case of an equipment breakdown, or where the rented unit was not up to the task, and had to be changed. An exchange should only be done if it is the supplier's fault that the machine could not be used, as it forces you to enter a new rental item to be swapped out, sets the rates for that item equal to the original item, and transfers all remaining billing and usage to the replacement unit.The original item is then set to no-charge, any billing for that item is credited on the next invoice, and the new item is set up with a date out equal to the original item.
When a rental unit is exchanged mid-contract, IntelliDealer transfers all remaining billing and usage to the replacement unit. The original unit is credited for any unused rental period, and those charges are re-billed under the new unit.
The replacement unit reflects the full rental revenue and utilization for the entire contract duration.
The original unit’s contract line is closed as of the exchange date, often resulting in a net zero balance after credits are applied.
All reporting, including utilization and revenue by unit, attributes ongoing rental activity to the replacement unit.
This is expected system behavior and ensures that performance metrics accurately reflect the unit currently on rent. Example
If Unit A is rented for 3 months and then exchanged to Unit B for an additional 2 months:
-
Unit A is credited for any unused rental period after the exchange.
-
The remaining billing and usage are transferred to Unit B.
-
Unit B will show the full 5 months of rental revenue and utilization.
-
Unit A is effectively closed out as of the exchange date and typically shows no net charges beyond that point.
Note: A new inbound/outbound traffic ticket is created by this process.
-
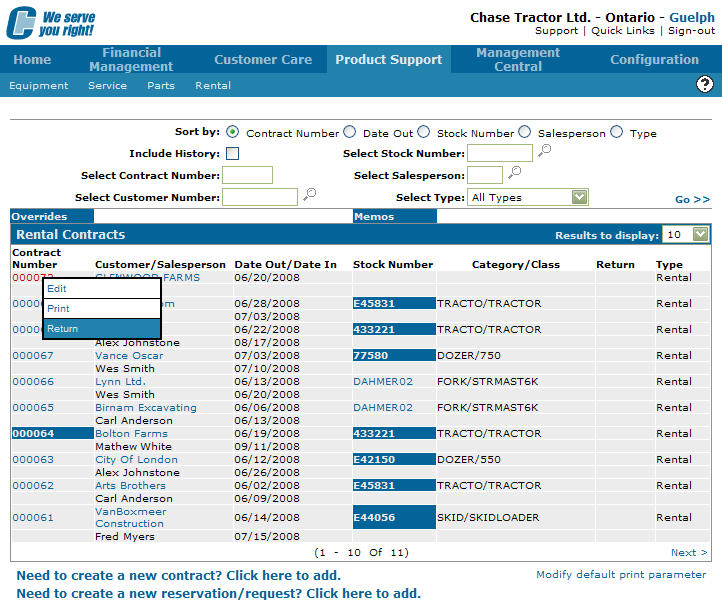
Navigate to Product Support > Rental > Rental Counter.
-
On the Rental Counter screen, hover over a Contract Number. A pop-up menu appears.
-
Select Return from the pop-up menu.
-
From the Options drop-down list, select Exchange.
-
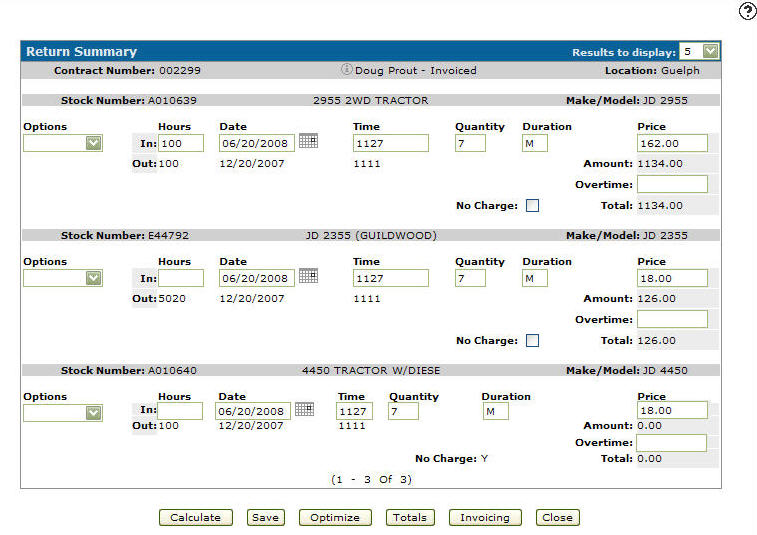
Enter the hours on the machine when it was brought back In.
The Date, Time, Quantity, Duration, Price and Overtime are automatically filled in based on the information in the original Rental Contract.
-
Click the Save button.
-
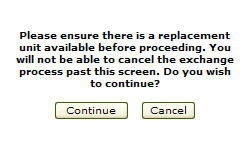
Click the Continue button.
-
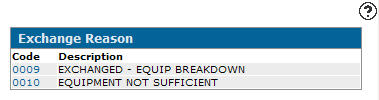
Click the Code number for the appropriate exchange reason.
-
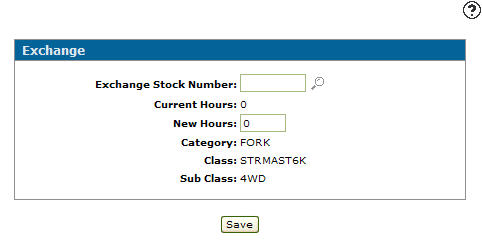
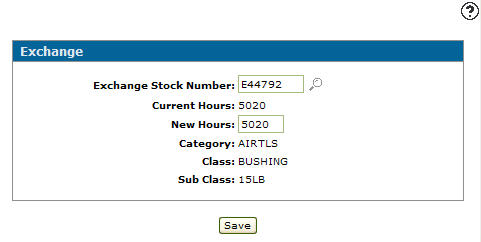
Enter the stock number of the replacement equipment in the Exchange Stock Number field.
- or -
Click the Search
 icon to open the Rental Availability screen in a new browser window and locate the replacement equipment.
 -
Identify the equipment you wish to check availability for by typing or searching for any combination of the Category, Class, Sub Class, Stock Number, Status or Location and click the Go>> link to submit your search.
 The Rental Availability screen is updated with matching rental equipment and parts, showing their availability for rental.
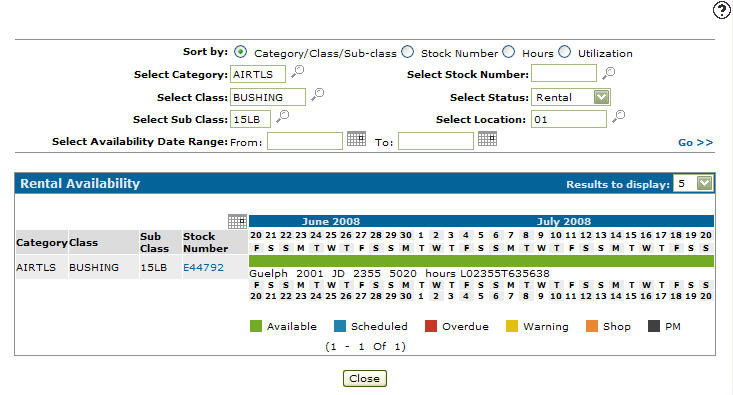
Note: If you do not see the piece of equipment you are searching for, verify that the piece of rental equipment has been properly set up with a Category, Class, and Sub-Class in your system.
-
Begin the exchange of a piece of equipment by clicking the Stock Number.
-
Click the Save button.
-
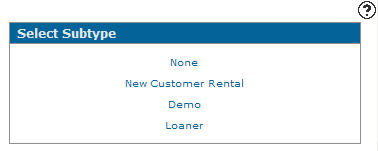
On the Select Subtype screen select a subtype either None, New Customer Rental, Demo or Loaner.
-
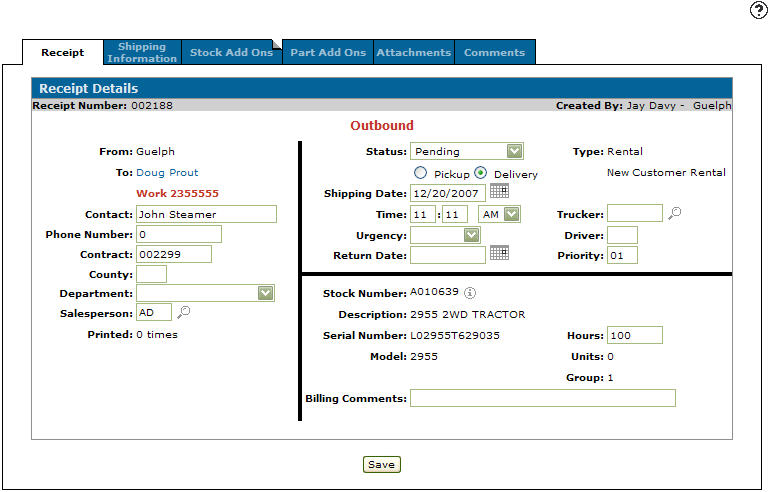
On the Receipt Details screen, type in a Contacts name.
-
Enter a Contract number.
-
Enter a County code.
-
Select a Rental from the Department drop down list.
-
Enter a Salesperson id number.
- or -
Click the Search
icon and select a salesperson from the list. -
Select a Status from the drop down list.
-
Click the Pickup or Delivery radio button.
-
Enter a Shipping Date.
- or -
Click the Search
icon. -
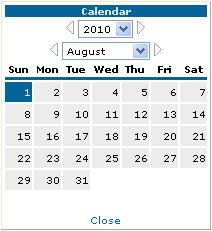
On the Calendar screen select a month and a year from the appropriate drop-down list.
-
Select a day by clicking the appropriate date button.
-
Enter a shipping Time.
-
Select AM/PM from the drop down list.
-
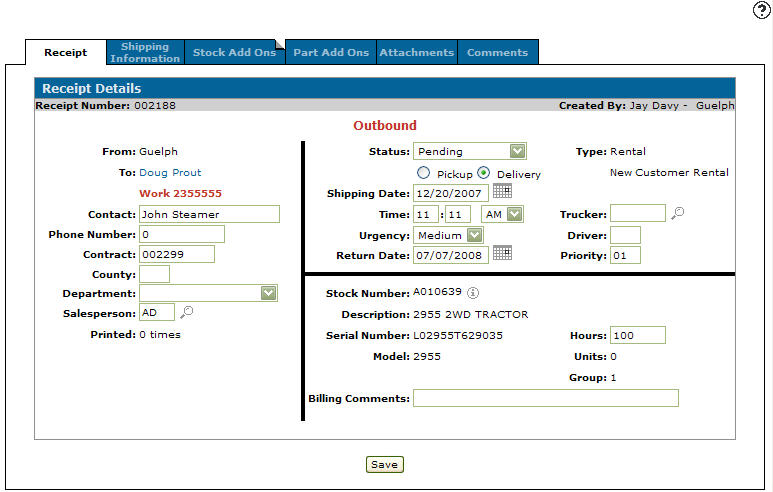
Select an Urgency option from the drop down list.
-
Enter a Return Date.
- or -
Click the Search
icon.The Calendar screen appears.
-
On the Calendar screen select a month and a year from the appropriate drop-down list.
-
Select a day by clicking the appropriate date button.
-
Enter a Trucker by selecting a vendor.
-
Enter a Driver id number.
-
Enter in a Priority code.
-
The Stock Number, Description, Serial Number, Model, Hours, Units, and Group Information are automatically copied from the original Rental Contract.
-
(OPTIONAL) Enter any Billing Comments.
-
Click the Save button to save changes made to the Receipt Details tab.
-
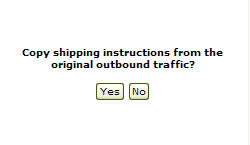
On the Instruction screen, click the Yes or No button depending on the action you wish to take.
-
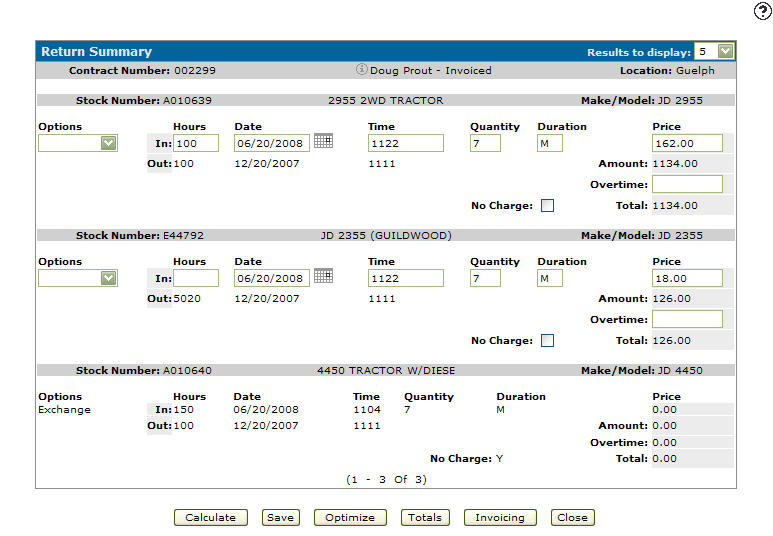
The update Return Summary screen appears.
-
The Return Summary screen has been updated with the information about this exchange of rental equipment.
-
Once you have reviewed the rental exchange you can complete your work on the exchange in many possible ways:
To Do This To save any changes made without exiting the Return Summary screen. Click the Save button. Recalculate the number of dates that the return summary produces and the charges that appear on each return summary. Click the Recalculate button. Display the line items, tax, sub-totals, and totals for the return of this contract. Click the Totals button. View and save the contracts invoicing and billing totals. Click the Invoicing button. Close the return summary without saving changes. Click the Close button.

Revision: 2026.04