Creating a Parts Kit
Note: Some of the steps outlined in this procedure must be completed from within the legacy application. If you do not have access to or are unfamiliar with the legacy application, contact your system administrator.
Note: Before you begin, you must create a dedicated Customer Profile to sell the kit to. Create the profile in the usual way, however it is recommended that you name the profile something recognizable, such as "KITS01".
-
In the legacy application, add the kit customer profile to the CMBR4 table. The steps required for this vary depending on whether you are on the hosted solution or a stand-alone server.
 Stand-alone server
-
From anywhere within the application, type WRKPFWVAL on the command line and press Enter.
The Valid Groups screen will appear. -
On the Valid Groups screen, type CMBR4 above the Table Name field and press Enter.
The screen will refresh the results. -
Type 2 in the Opt field next to the desired branch and press Enter.
The CMBR4 table for the selected branch will appear. -
On the CMBR4 table, enter the special customer profile number in the Kit Customer Number field and press Enter.
Hosted Solution
-
From the Main Menu, type 14 on the command line and press Enter.
The CNFI01 menu will appear. -
On the CNFI01 menu, type 1 on the command line and press Enter.
The Valid Groups screen will appear. -
On the Valid Groups screen, type CMBR4 above the Table Name field and press Enter.
The screen will refresh the results. -
Type 2 in the Opt field next to the desired branch and press Enter.
The CMBR4 table for the selected branch will appear. -
On the CMBR4 table, enter the special customer profile number in the Kit Customer Number field and press Enter.
-
-
In IntelliDealer, create a kit part number, outlining each part required for the kit on the Kits tab.
Configuring the kit
-
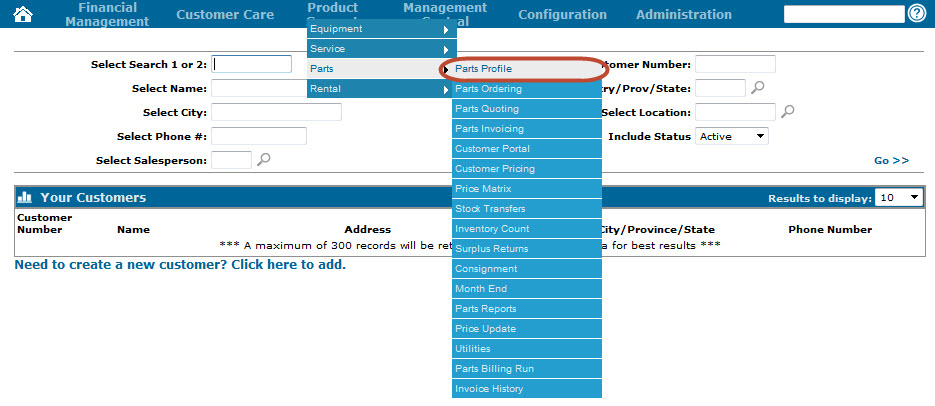
From anywhere within IntelliDealer, hover over the Product Support link and select Parts> Parts Profile from the drop down list.
-
The Your Parts Inventory screen will appear.
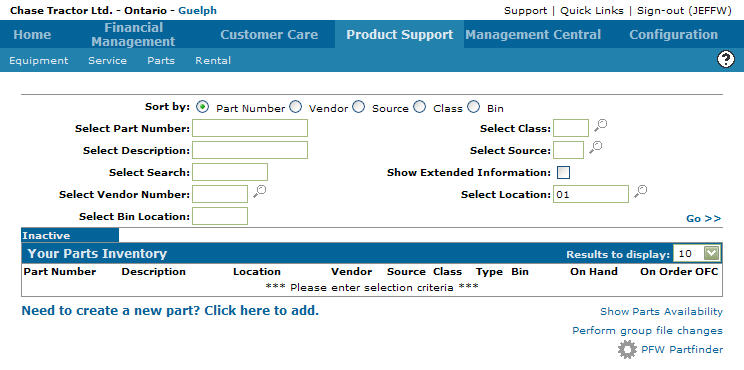
Your Parts Inventory screen
-
On the Your Parts Inventory screen, click the Need to create a new part? Click here to add link.
The Add Part screen will appear.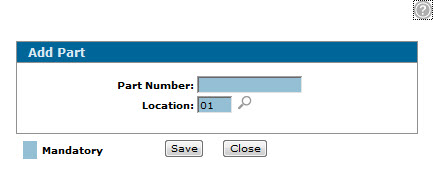
Add Part
-
On the Add Part screen, enter the desired Part Number and branch Location in the available fields, then click Save.
The Add Part screen will appear.
Add Part screen
-
On the Add Part screen, enter a Description for the kit and the List price and Cost of the kit, then click Save.
The Parts Profile screen will appear.Note: The Cost of the kit must be equal to the total cost of all the parts that will be included in the kit. If you are not sure about the exact cost, open the part profiles of the parts that will be added to the kit and calculate the total cost.
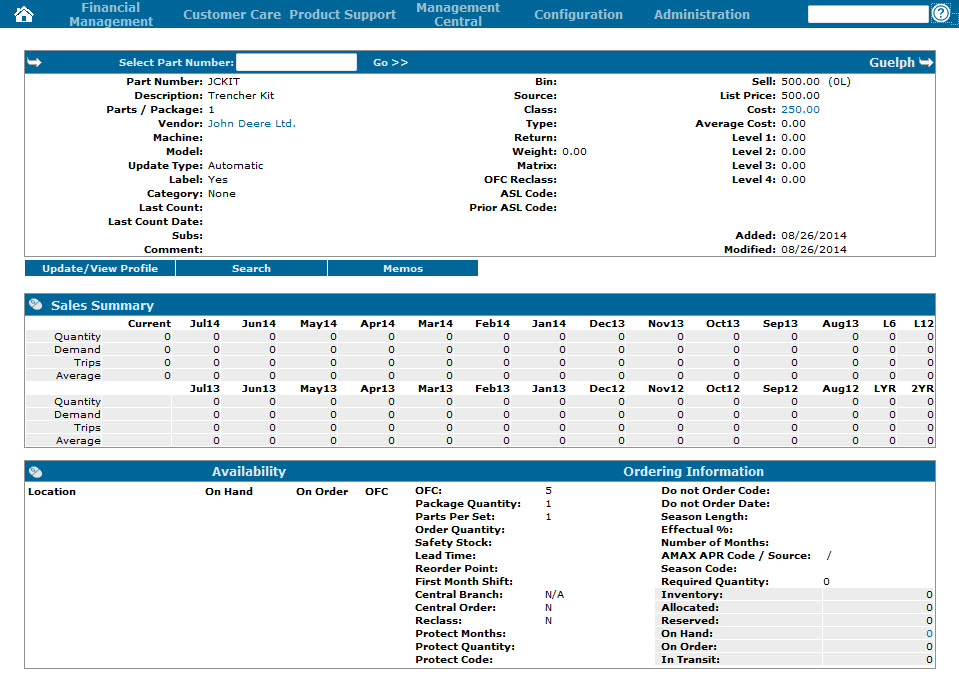
Parts Profile screen
-
On the Parts Profile screen, click the Update/ View Profile link.
The Parts Profile tab will appear.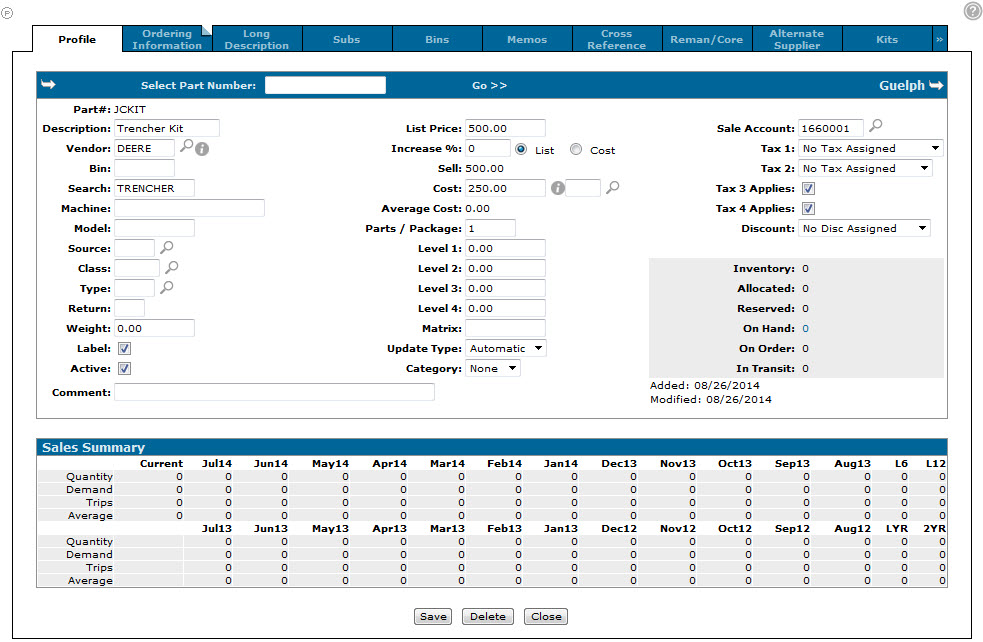
Parts Profile tab
-
From the Parts Profile tab, click the Kits tab.
The Kits tab will appear.
Kits tab
-
On the Kits tab, click the Add> link.
The Kits tab will refresh, allowing you to add the desired parts to the kit.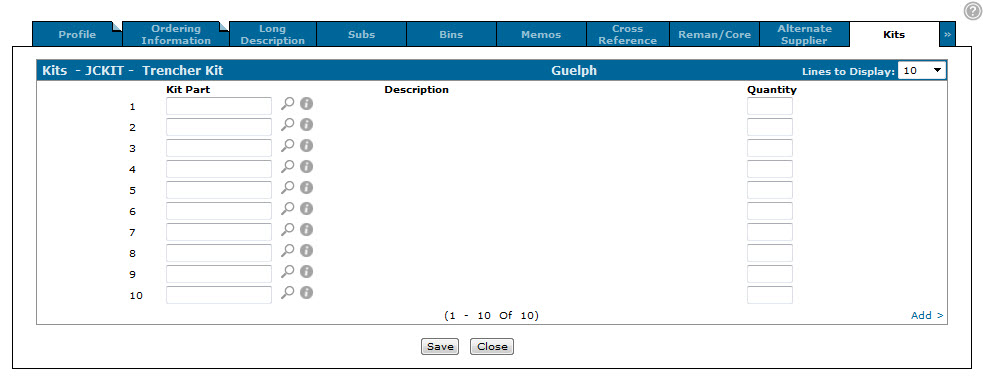
Updated Kits tab
-
On the Kits tab, enter or select the desired Kit Part numbers and the Quantity for each in the available fields, then click Save.
A message will appear confirming that the kit information was saved, as well as the Update Kit On Hand Quantity link.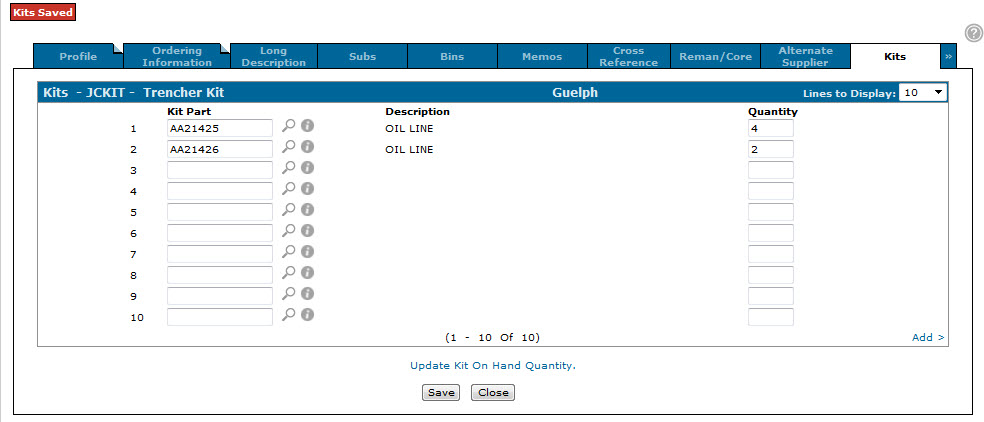
Updated Kits tab
-
-
After adding the desired parts to the kit, click the Update Kit On Hand Quantity link on the Kits tab to create the desired number of kits and the required invoices.
Creating and ordering a kit
-
From within the kit Parts Profile, click the Kits tab.
The Kits tab will appear.
Kits tab
-
On the Kits tab, click the Update Kit On Hand Quantity link .
The Update Kit On Hand Quantity screen will appear.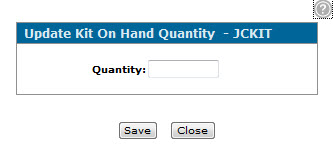
Update Kit On Hand Quantity screen
-
On the Update Kit On Hand Quantity screen, enter the number of kits you want to create in the Quantity field and click Save.
The Kits tab will appear displaying the Sales Order (parts invoice) that was created for the kit(s).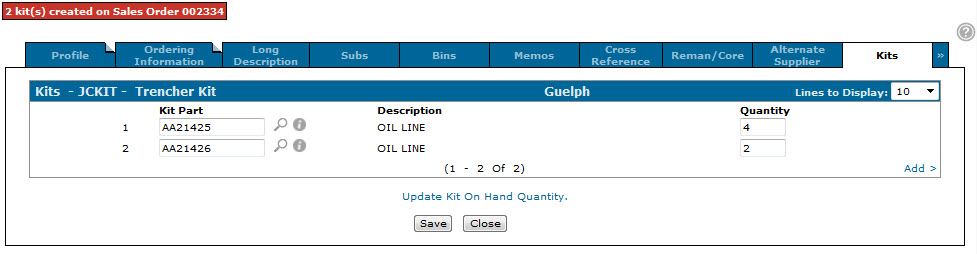
Updated Kits tab
-
(Optional) To view the invoice that was created, enter the Sales Order number in the Select Order Number field of the Parts Invoicing screen, then click Go.
The Customer - Parts Invoicing Header tab for the order will appear.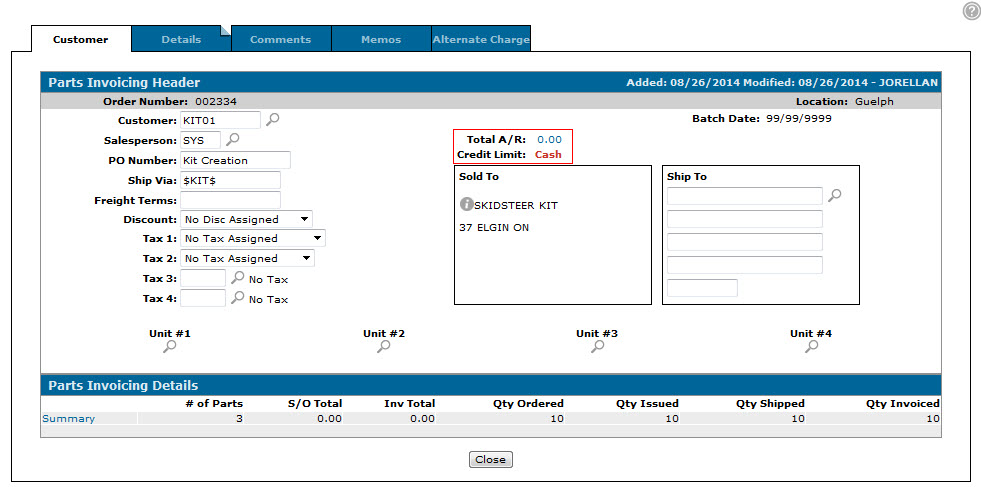
Customer - Parts Invoicing Header tab
-
Once the invoice is processed during the next parts billing run, the Inventory on the kit's Parts Profile screen will increase by the ordered amount and the Inventory for the part's on the kit will decrease by the amount on the kit.
-