Wireless Inventory Control: Parts Receipting
This option allows you to receipt parts orders as they enter your shipping/receiving area. This feature allows you to receive multiple emergency orders or a single stock order in one easy step. The information collected here is loaded directly into the existing Pending Order Receipts system in IntelliDealer for update.
Topics in this section are:
Parts Receipting - Single Location Order
-
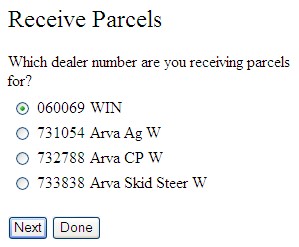
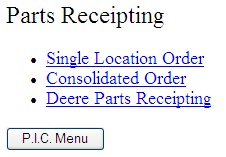
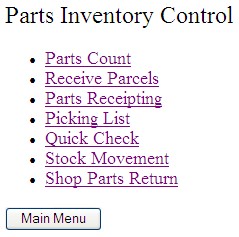
Select the Parts Receipting link on the Parts Inventory Control screen.
-
Select the Single Location Order link on the Parts Receipting screen.
-
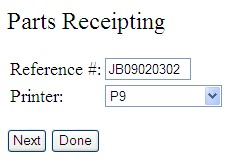
Enter a Reference Number for this transaction.
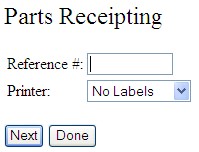
Note: This should be a unique number specific to the user and receipt and is required in IntelliDealer to perform the necessary updates.
-
Select a Printer to generate part labels on from the list, or choose No Labels to cancel label printing.
-
Click Next to begin receiving the order.
-
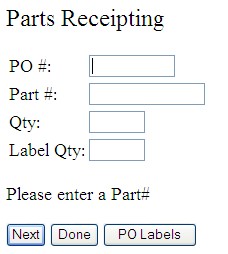
Enter the P.O. Number of the order you wish to receive.
-
Scan or enter a Part Number you are receiving on that PO.
Note: If you do not know the P.O. Number you may enter a Part Number and search for all P.O.'s where that part number appears. If the part is not on a P.O. you can use an existing P.O. and add that line to the P.O.
-
Enter the Quantity of the part being received.
-
If you selected a label printer in step 2, you may enter the Quantity of labels you wish to generate.
-
Click Next to receive the quantity of the entered part, and continue to the next part on the P.O.
Note: If the Check for early orders when receipting switch is activated in system 990 of IntelliDealer, you receive a warning message if the received part exists on orders with an earlier order date.
If the P.O. being receipted is a machine down order (MD, FI, T$, etc.) you are able to enter a specific bin (will call shelf) where the parts are stored until the customer picks them up. This is done by clicking the Enter Will Call Shelf link.
-
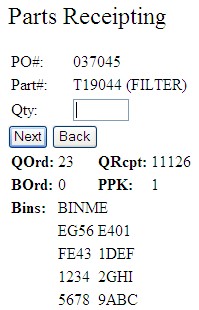
If have other parts to receive to this PO#, click Next or scan the parts.
- or -
If you wish to receive parts to another PO#, change the PO# and click Next or scan the parts.
12. Once you are finished receiving parts, click Done to stop receipting parts.
- or -
If you selected a label printer in step 2, click PO Labels to print labels for all parts on the Purchase Order.
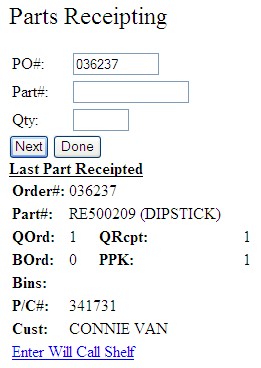
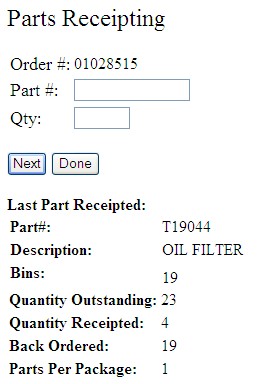
After receiving a part successfully and clicking Next, the screen updates displaying information about the last receipt transaction.
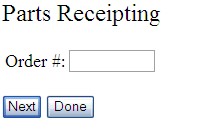
Parts Receipting - Consolidated Order
-
Select the Parts Receipting link on the Parts Inventory Control screen.
-
Select the Consolidated Order link on the Parts Receipting screen.
-
Enter an Order # for this transaction.
-
Click Next to begin receiving the order.
-
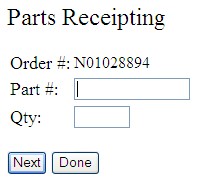
Scan or enter the Part Number you are receiving on that PO.
-
Enter the Quantity of the part being received.
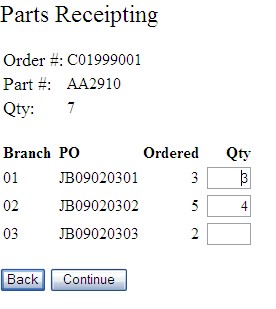
If you enter a quantity equal to the total amount ordered for the part on the consolidated order it receipts and distributes the proper quantities to each of the Pending Order Receipts and proceeds to the next part.
-
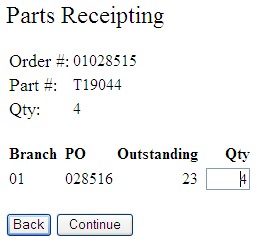
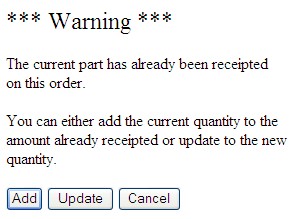
If the quantity entered does not equal the quantity ordered the following screen loads and the user needs to allocate the quantities.
Note: If a part already has a quantity receipted the following screen loads and the user needs to decide whether they want to add to the quantity already receipted or update the quantity receipted.
-
Click Continue to receive the quantity of the entered part, and continue to the next part on the P.O.
Note: If the Check for early orders when receipting switch is activated in system 990 of IntelliDealer, you receive a warning message if the received part exists on orders with an earlier order date.
- or -
Click Done to stop receipting parts.
Parts Receipting – Deere Parts Receipting
This is an interface between the Wireless Inventory Control system and the John Deere parts receipting information currently stored in IntelliDealer. This allows you to use IntelliDealer's John Deere ordering and DTF Parts Receipting functionality with the parts receipting functions of the Wireless Inventory Control system.
-
Select the Parts Receipting link on the Parts Inventory Control screen.
-
Select the Deere Parts Receipting link on the Parts Receipting screen.

-
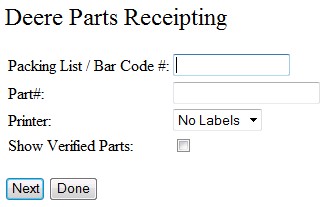
Enter a John Deere Packing List / Bar Code number to begin receiving parts.
- or -
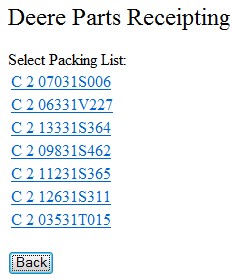
Select a John Deere Part number to begin this transaction, and then select a Packing List that the part number is on.
-
Select a Printer from the list to generate part labels, or choose No Labels to cancel label printing.
-
Select the Show Verified Parts checkbox to show verified received parts on the selected Packing List, otherwise only parts which have not been scanned are displayed on the Deere Parts Receipting screen.
-
Click Next to begin receiving the order.
If you did not select the Show Scanned Parts checkbox and you chose to receive by Packing List the next screen automatically lists the first non-scanned part on the selected Packing List. If you chose to receive by Part Number and the part is found on multiple Packing Lists, you are prompted to select the desired Packing List before you can receive the part.
-
Enter the Quantity of the listed Part number that you wish to receive.
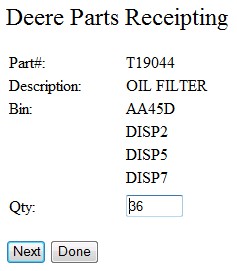
Machine Down orders also display the Customer, the Work Order or the Sales Order number and provide you with a field to specify a Will Call location; a special shelf that the parts are placed on for pick up.
-
If you selected a label printer in step 2, you may enter the Quantity of labels you wish to generate.
-
Click Next to receive the quantity of the entered part, and continue to the next part on the John Deere Packing List.
- or -
Click the Receipt All button to receive all of the outstanding parts on this John Deere Packing List.
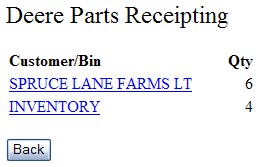
If there is more than one instance of a Part on a particular Packing List a screen appears asking you to specify which instance of the Part (listed by Customer/Bin) you wish to receive.
-
Once you are finished receiving parts, click Done to stop receipting parts and, if selected, print your labels.
Parts Receipting – Deere Purchase Order Updating
Note: You are only able to update John Deere purchase orders using the wireless inventory control system if the Access Storage Process switch is turned off in security system 990 of IntelliDealer. If you do not have access to the security settings at your dealership, contact your system administrator.
This is an interface between the Wireless Inventory Control system and the John Deere parts receipting information currently stored in IntelliDealer. This allows you to use IntelliDealer's John Deere ordering and DTF Parts Receipting functionality with the parts receipting functions of the Wireless Inventory Control system.
-
Select the Parts Receipting link on the Parts Inventory Control screen.
-
Select the Deere Parts Receipting link on the Parts Receipting screen.
-
Enter a John Deere Packing List / Bar Code number and click Next to begin receiving parts.
-
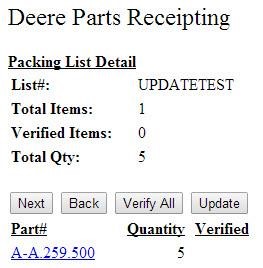
The Deere Parts Receipting screen refreshes, displaying the Packing List Details.
-
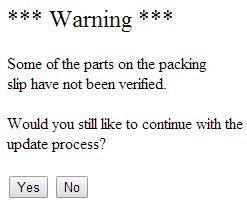
Click Update. If you have not verified (scanned) each part that you are receipting, the system displays a warning message indicating that only verified parts are updated.
-
Click Yes on the Warning screen.
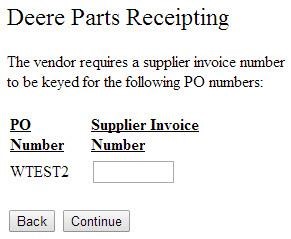
The Deere Parts Receipting screen refreshes, allowing you to enter the Supplier Invoice Number.
-
Enter the Supplier Invoice Number and click Continue.
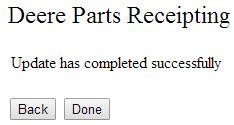
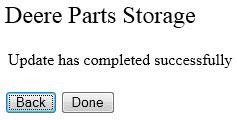
The Deere Parts Receipting screen refreshes, indicating that the update was successful.
-
Click Done.
Parts Receipting – Deere Parts Storage
Note: You are only able to use the Deere Parts Storage facility if the Access Storage Process switch is activated in security system 990 of IntelliDealer. If you do not have access to the security settings at your dealership, contact your system administrator.
This is an interface between the Wireless Inventory Control system and the John Deere parts inventory information currently stored in IntelliDealer. This allows you to set the bin location that John Deere parts are stored in using the parts receipting functions of the Wireless Inventory Control system.
The Deere Parts Storage process allows for the put away of parts that have been scanned at the bin and updating of the parts order. The dealer presorts the parts by bin and puts them on the cart prior to doing the scanning process.
-
Select the Parts Receipting link on the Parts Inventory Control screen.
-
Select the Deere Parts Storage link on the Parts Receipting screen.
-
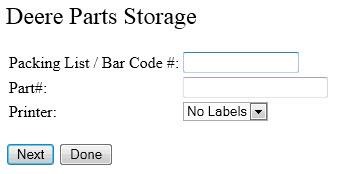
On the Parts Receipting screen, enter a John Deere Packing List / Bar Code number. - or - Select a John Deere Part number and then select the Packing List that the part number is on.
-
Select a Printer from the list to generate part labels, or choose No Labels to cancel label printing.
-
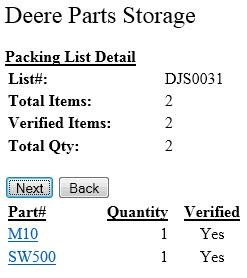
Click Next to view the Packing List Detail screen.
-
Click on a Part number on the Packing List Detail screen to view the Part Information screen.
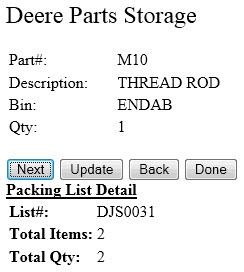
-
Click Update on the Part Information screen to open the Scan Bin Location screen.
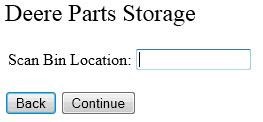
-
Scan or enter the bin number that the part is stored in and click Continue.
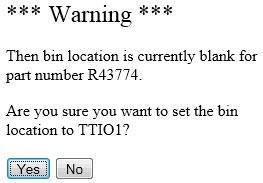
If the Parts Profile for the part you are storing does not currently specify a bin location in the Bin field, a Warning screen appears allowing you to update the Parts Profile with the bin location you have selected.
-
Once you are finished setting the bin location for the part, click Done to stop the John Deere parts storage process and, if selected, print your labels.
On DTF Parts receipts only the quantity of 6 just receipted in the above example shows as actual quantity scanned.
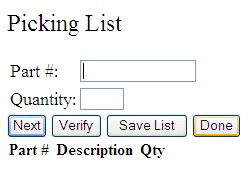
Picking List
Use the Picking List to add parts and corresponding quantities to an inventory pick list which can then be easily imported into IntelliDealer Insight. As you walk down your parts aisles and select items off the shelves, the list can easily be created by scanning the bar code or entering a part number. This eliminates the need for keypunching, reduces errors and speeds up the checkout process.
You may save a pick list for the purpose of importing the items into a parts invoice, requisition or quote.
-
Select the Picking List link on the Parts Inventory Control screen.
-
Type or scan a Part to be saved to the picking list.
-
Enter a Quantity.
Create a pick list with a negative quantity to create a parts return invoice.
-
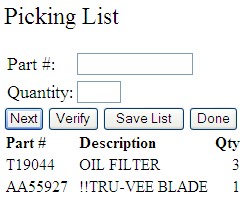
Click Next to add the quantity of the part to the pick list and continue to the next part.
or -
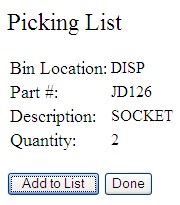
Click Verify to confirm the part and quantity information against the existing inventory and if desired Add the part to your list.
-
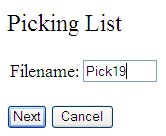
Click Save List to record the items you have added to this pick list.
-
Enter a Filename and click Next to save this list.
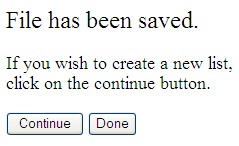
If the file name has already been used you are asked if you wish to rename the file or replace the existing file.
-
Click Continue to add more parts to this pick list.
or -
Click Done to finish working on this list.
Quick Check
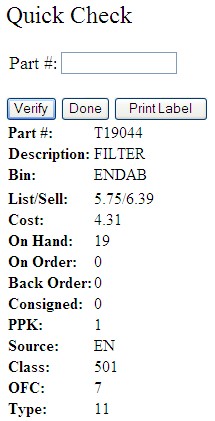
Use Quick Check to look up a part and view key information about the item including description, bin, on-hand and on-order, and Order Formula Codes (OFC). This can help in determining if parts should be relocated (i.e., there are only a couple items left and the part is a non-stocking part).
-
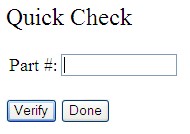
Select the Quick Check link on the Parts Inventory Control screen.
-
Enter a Part Number to check.
-
Click Verify to look up the part number.
-
Click Done to finish working with Quick Check.
- or -
Click Print Label to print a label for your parts.
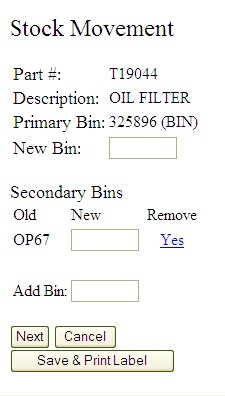
Stock Movement
Quickly and easily modify the bin location without having to write the number down and remember to change the parts record in the system. The change you make is instantly reflected in the system. The result is an elimination of lost or misplaced parts.
-
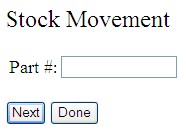
Select the Stock Movement link on the Parts Inventory Control screen.
-
Enter a Part Number.
-
Click Next to begin moving that part.
-
Enter a New Bin number.
-
If necessary, enter a secondary bin number in the Add Bin field.
If you wish to remove the secondary bin click the Yes link.
-
Click Next to complete the stock movement.
or -
Click Cancel to stop changing the part's bin location.
or -
Click Save & Print Label to complete the stock movement and print a new parts label.
Shop Parts Return
Shop Parts Return allows for a work order to be specified for the purpose of returning parts. This is useful as credits can be offered at the point of entry, and eliminates the need to subsequently access the work order to make adjustments.
-
Select the Shop Parts Return link on the Parts Inventory Control screen.
-
Enter the Work Order Number, select Segment, and if desired enter a Part Number.
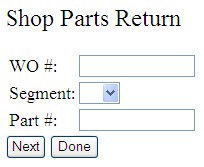
The Segment number, and Part Number fields are optional.
-
Click Next.
-
Select a Quantity of a part (or parts) to return.
-
If a salesman is not already assigned, enter a Salesperson to assign the part return to.
-
Choose whether or not to create a PICPAK.
-
Select a Printer to send the forms to.
-
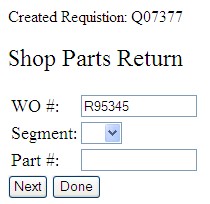
Click Save to add the parts to the existing requisition and complete the return.
This creates negative lines on a requisition to reverse the parts from the work order.
If the requisition does not exist for the selected work order number, the system creates a new requisition.
Security: 990 - Wireless Inventory