Creating a Work Order Quote From Within IntelliTech
-
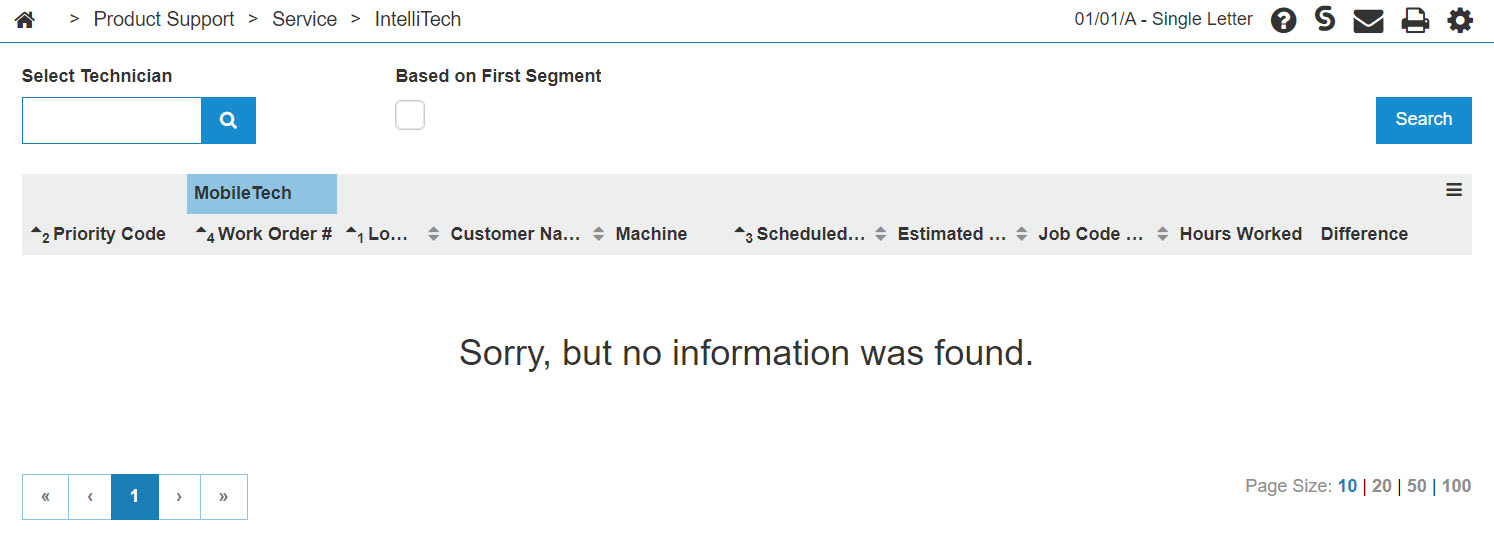
Navigate to Product Support > Service > IntelliTech.
-
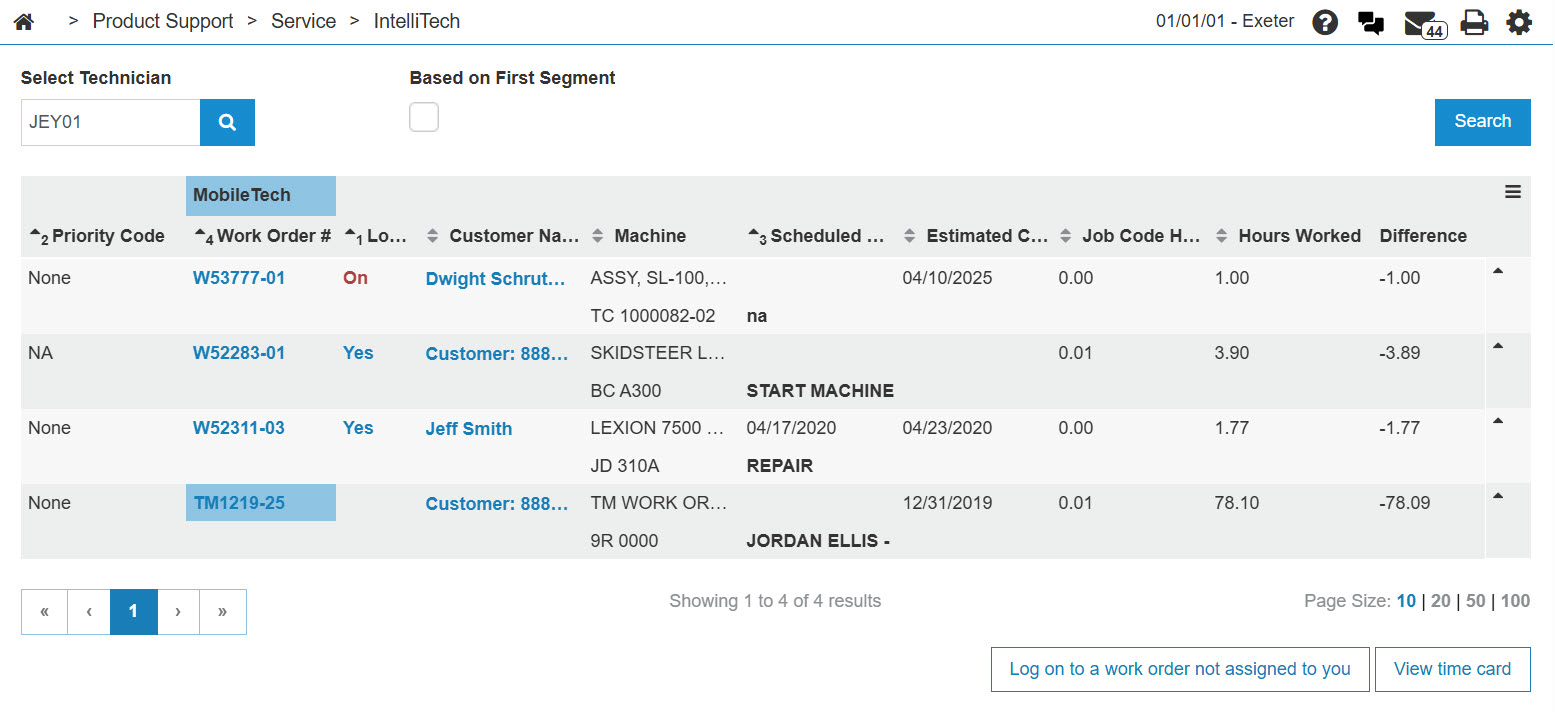
To search for a technician, enter a technician's number into the Select Technician field, then click GO>>.
-
On the required work order, click the Yes link in the Log On field.
-
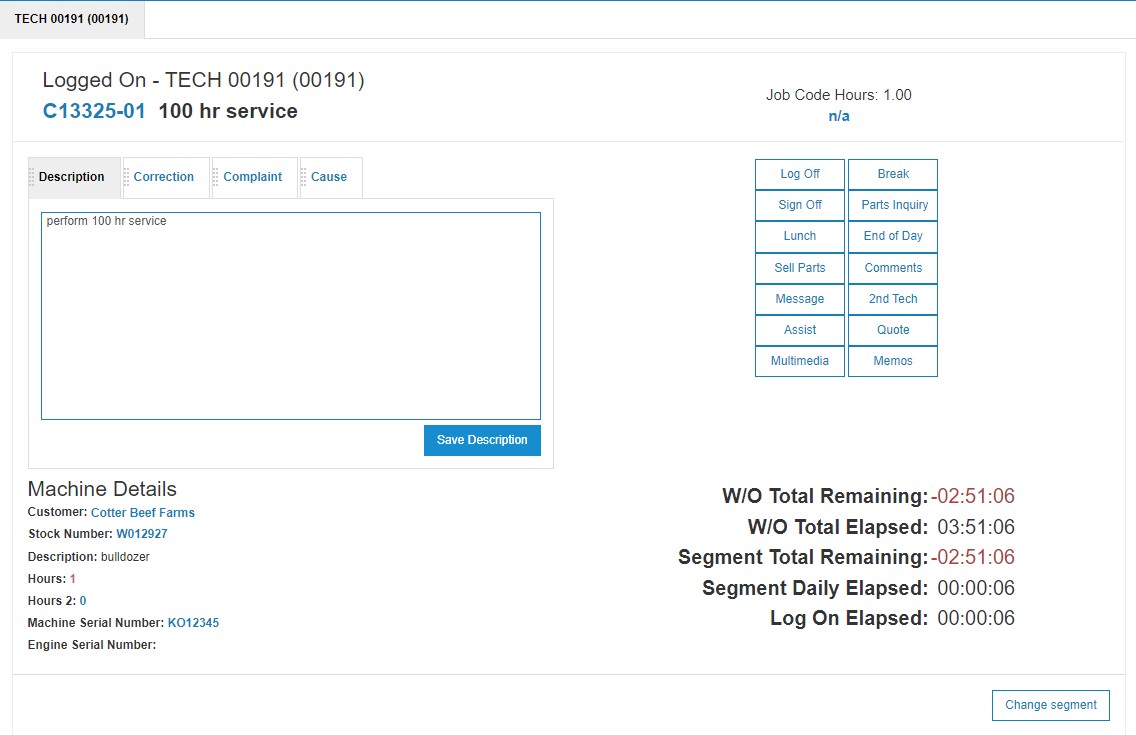
Click the Quote button.
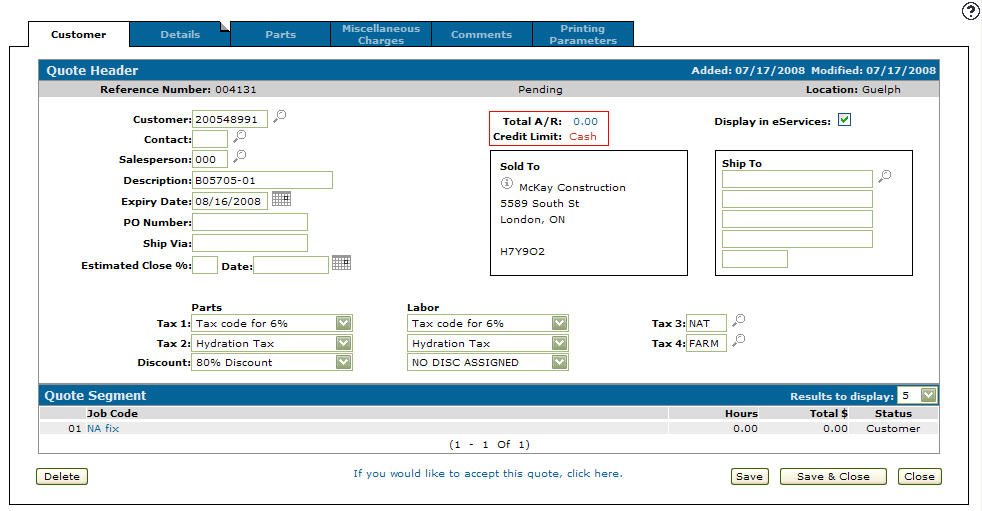
 The Customer - Quote Header screen appears.
The Customer - Quote Header tab automatically adds the customer number and any customer information found in the customer's profile.
-
Fill in the fields as required, referring to the Customer - Quote Header help page.
-
To review the customer's accounts, click the Total A\R link.
Click Close when you are done with your review.
-
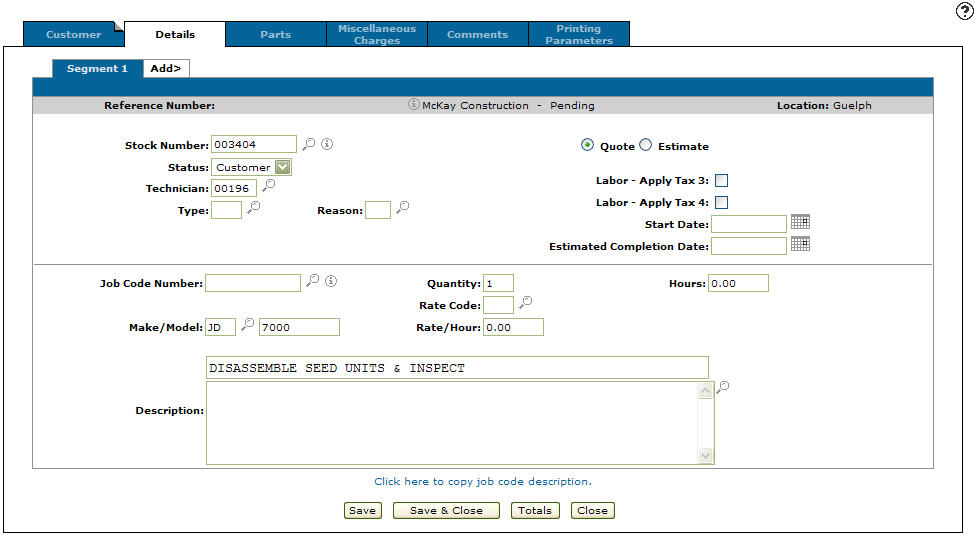
Once you are satisfied with the Customer - Quote Header tab, click the Details tab.
- or -
Click on the Description link on the Quote Segment section of the Customer - Quote Header tab.The Details tab appears.
The Stock Number, Status, Technician, Make/Model, and Description fields are automatically be filled out by the system.
-
Fill in the remaining fields, referring to the Details tab help page.
-
Save the quote by clicking the Save button.
-
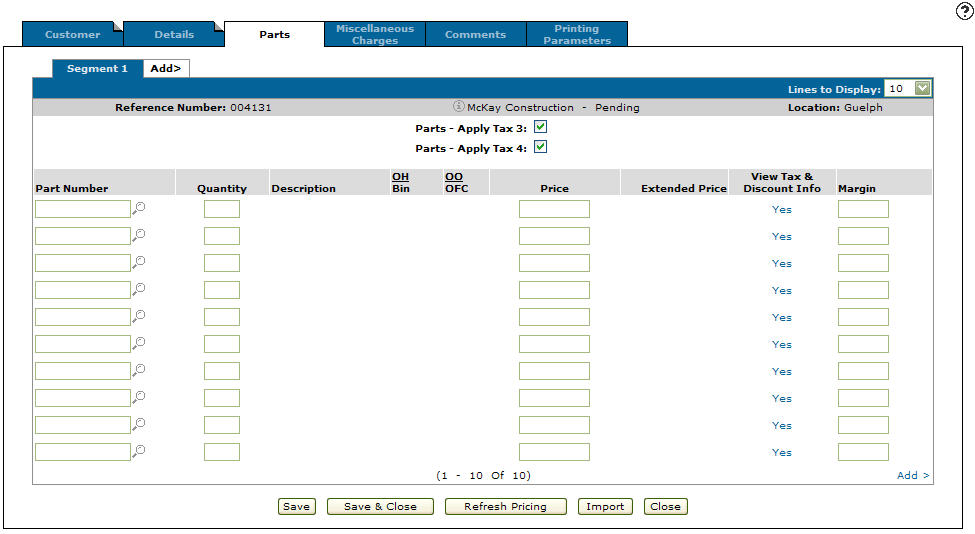
Click the Parts tab.
-
Add the required parts.
You can type in a Part Number - or - click the Search
 icon to open the Parts Search screen in a new browser window and locate the correct part.
If the part information from the parts master was loaded with a ‘?’ in the last position of the Description field, you are required to enter a description.
-
To save the part number(s) and update the information fields with inventory and pricing information about the added part, click Save.
You may change the Quantity, Price, and Margin fields on the quote then click the Save button to update the quote.
-
Once you have finished quoting parts, you can complete your work on the quote in many possible ways:
To Do This Save changes to the quote and continue working and refreshes the fields on the screen. Click the Save button. Save changes to quote and exit. Click the Save/Exit button. Refreshes the extended price value. Click the Refresh Pricing button. Import a parts list from another source. Click the Import button. Close the invoice without saving changes. Click the Close button.

Optionally, you can add further information to the quote using these steps:
-
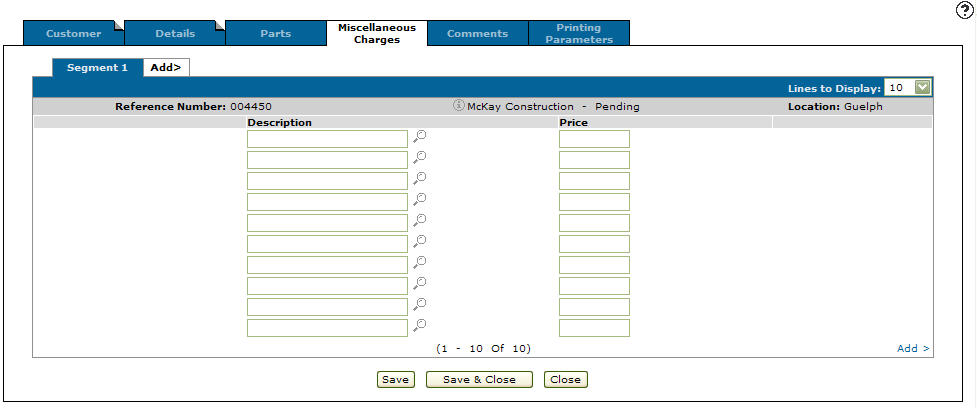
Click the Miscellaneous Charges tab.
-
Enter a charge Description - or - click the Search
 icon to search for and select one.
Selecting a miscellaneous charge imports the price into the quote.
-
Click Save to update the quote.
-
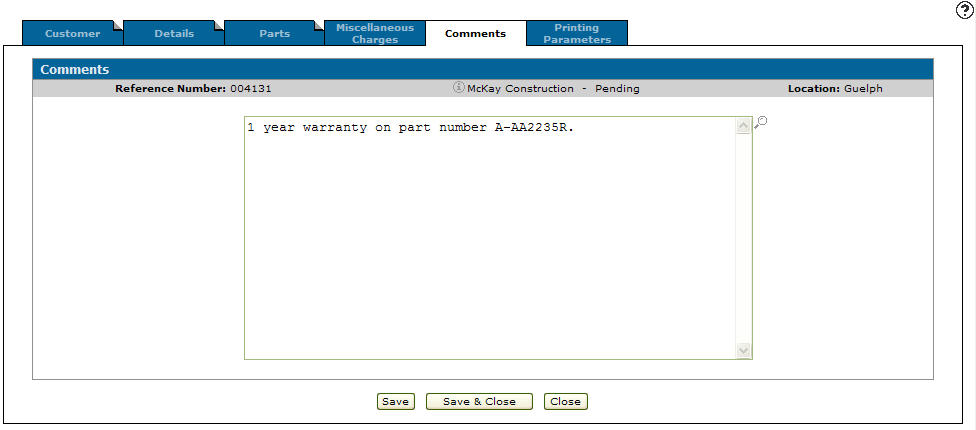
Click the Comments tab, then enter a comment on the quote.
-
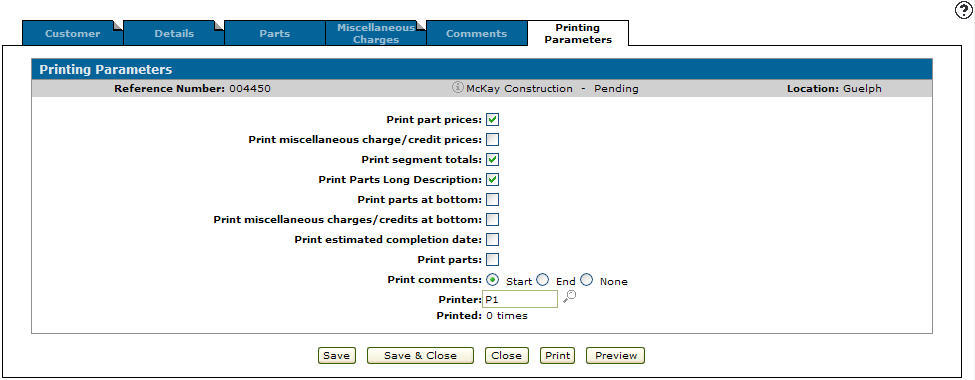
To print the quote, click the Printing Parameters tab.
-
Fill out the appropriate fields.
-
Once you have finished quoting parts, you can complete your work on the quote in one of these ways:
To Do This Save changes to the quote and continue working. Refreshes the fields on the screen. Click the Save button. Save changes to quote and close the quote. Click the Save & Close button. Close the invoice without saving changes. Click the Close button. Print the selected quote. Click the Print button. Preview the selected quote Click the Preview button.