Drag and Drop Service Scheduling Overview
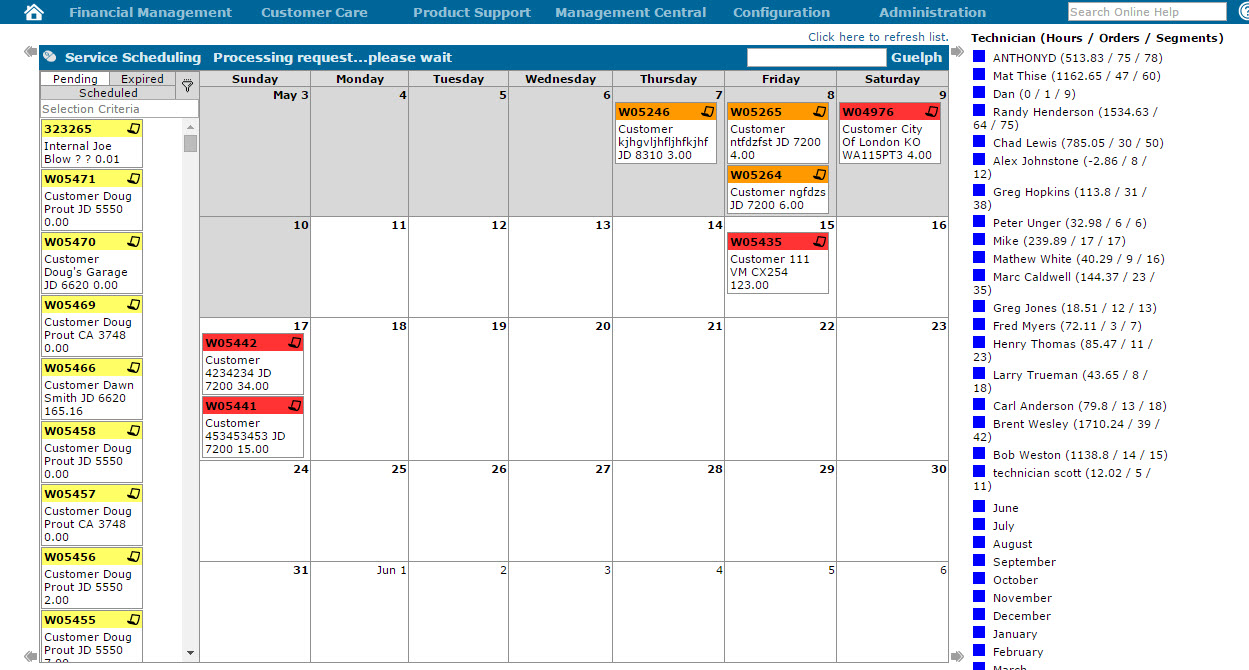
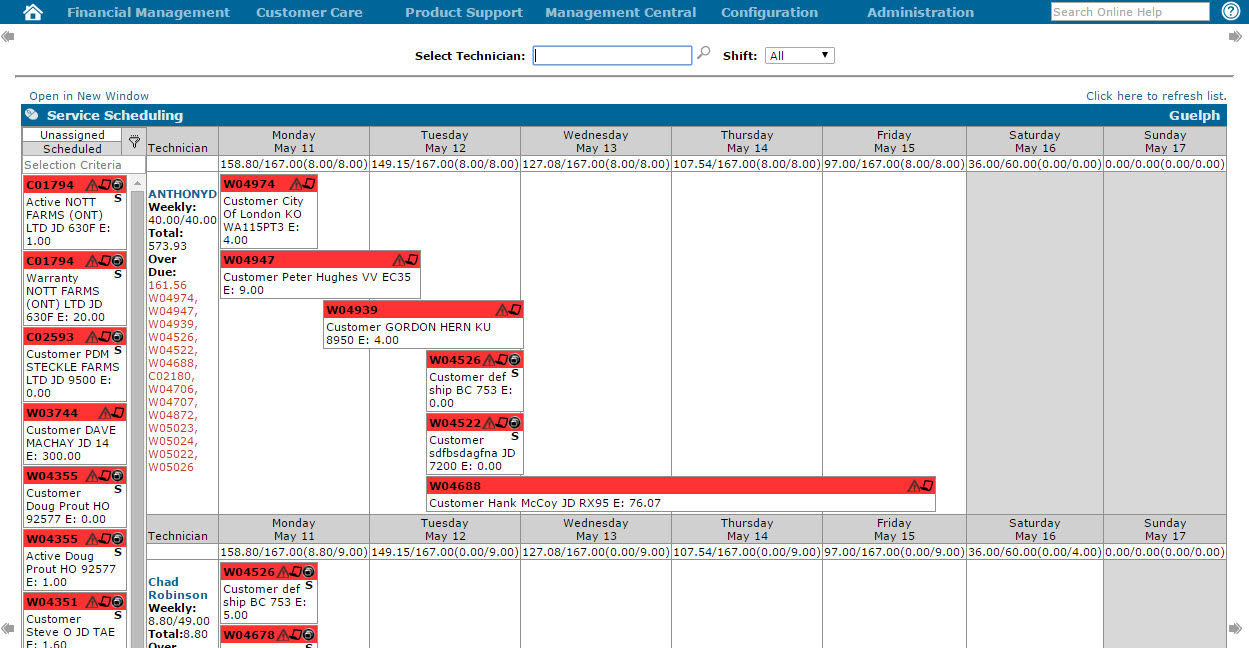
The scheduling drag and drop functionality allows you to schedule service for specific dates and technicians by dragging the desired work order/ segment onto a calendar. You can use this on either the Work Order Service Scheduling screen, or the Technician Service Scheduling screen, however the presentation and overall function of the Service module at your dealership changes depending on the screen you decide to use.
Note: For best performance, use the Work Order Service Scheduling screen or the Technician Service Scheduling screen in Google Chrome.
Pre-requisites
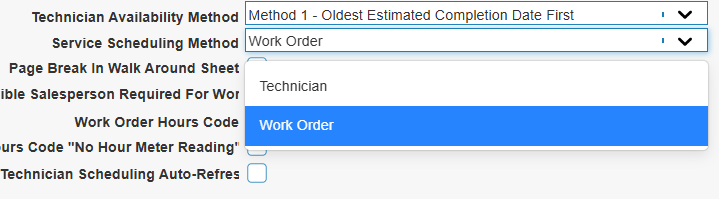
You can access either screen within IntelliDealer at Product Support > Service > Service Scheduling, but which screen is displayed depends on the Service Scheduling Method setting on the Configuration > Miscellaneous > Other > System Settings > Location tab screen.
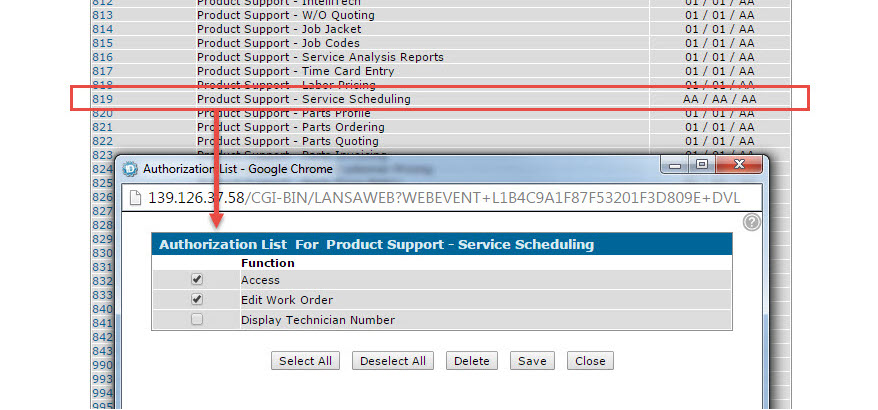
You must also activate the Access switch on the System Switch 819 Product Support - Service Scheduling screen.
The system relies on the Estimated Hours configured for each work order segment to determine whether service can be completed on time. As such, regardless of whether you plan to use the Work Order Service Scheduling screen or the Technician Service Scheduling screen, it is STRONGLY recommended that you set the Work Order Estimated Completion switch in the System Settings - Location tab to Estimated Hours and Date Required or Only Hours Required so that the Estimated Hours field on the work order Segments tab are mandatory. If the Estimated Hours field is not mandatory and users leave it blank when creating a new work order/segment, the system is not able to calculate the length of time required for the service to be completed, and the Work Order Service Scheduling/Technician Service Scheduling screens do not function properly.