Configure Printers (New)
IntelliDealer now offers a cloud-based printing service to ultimately replace the iSeries (Legacy) printing. Cloud-based printing is a simpler way to set-up and use printers with IntelliDealer. Users can quickly configure and use printers without associating them to the IBM iSeries print functions.
Cloud printing delivers a modular printing system which allows a computer to act as a print server. When a computer is running cloud printing it can accept print jobs and send them on to the appropriate printer, allowing for a broader range of printers and an overall improved user experience.
The Configure Printers (New) screen allows you to search for, view printer configurations, and gives you access to add a new printer from the Cloud. Printers added to the system appear on the Printers screen and can be used as a valid printer throughout the system. The Printers screen can be accessed by clicking the Search![]() icon next to any searchable Printer field.
icon next to any searchable Printer field.
To open the Configure Printers screen, navigate to Configuration > Miscellaneous > Printing > Configure Printers (New).
How to Add a Printer
-
On the Configure Printers screen, click Add Legacy Printer or for ASP dealers, you can click Add Cloud Printer.
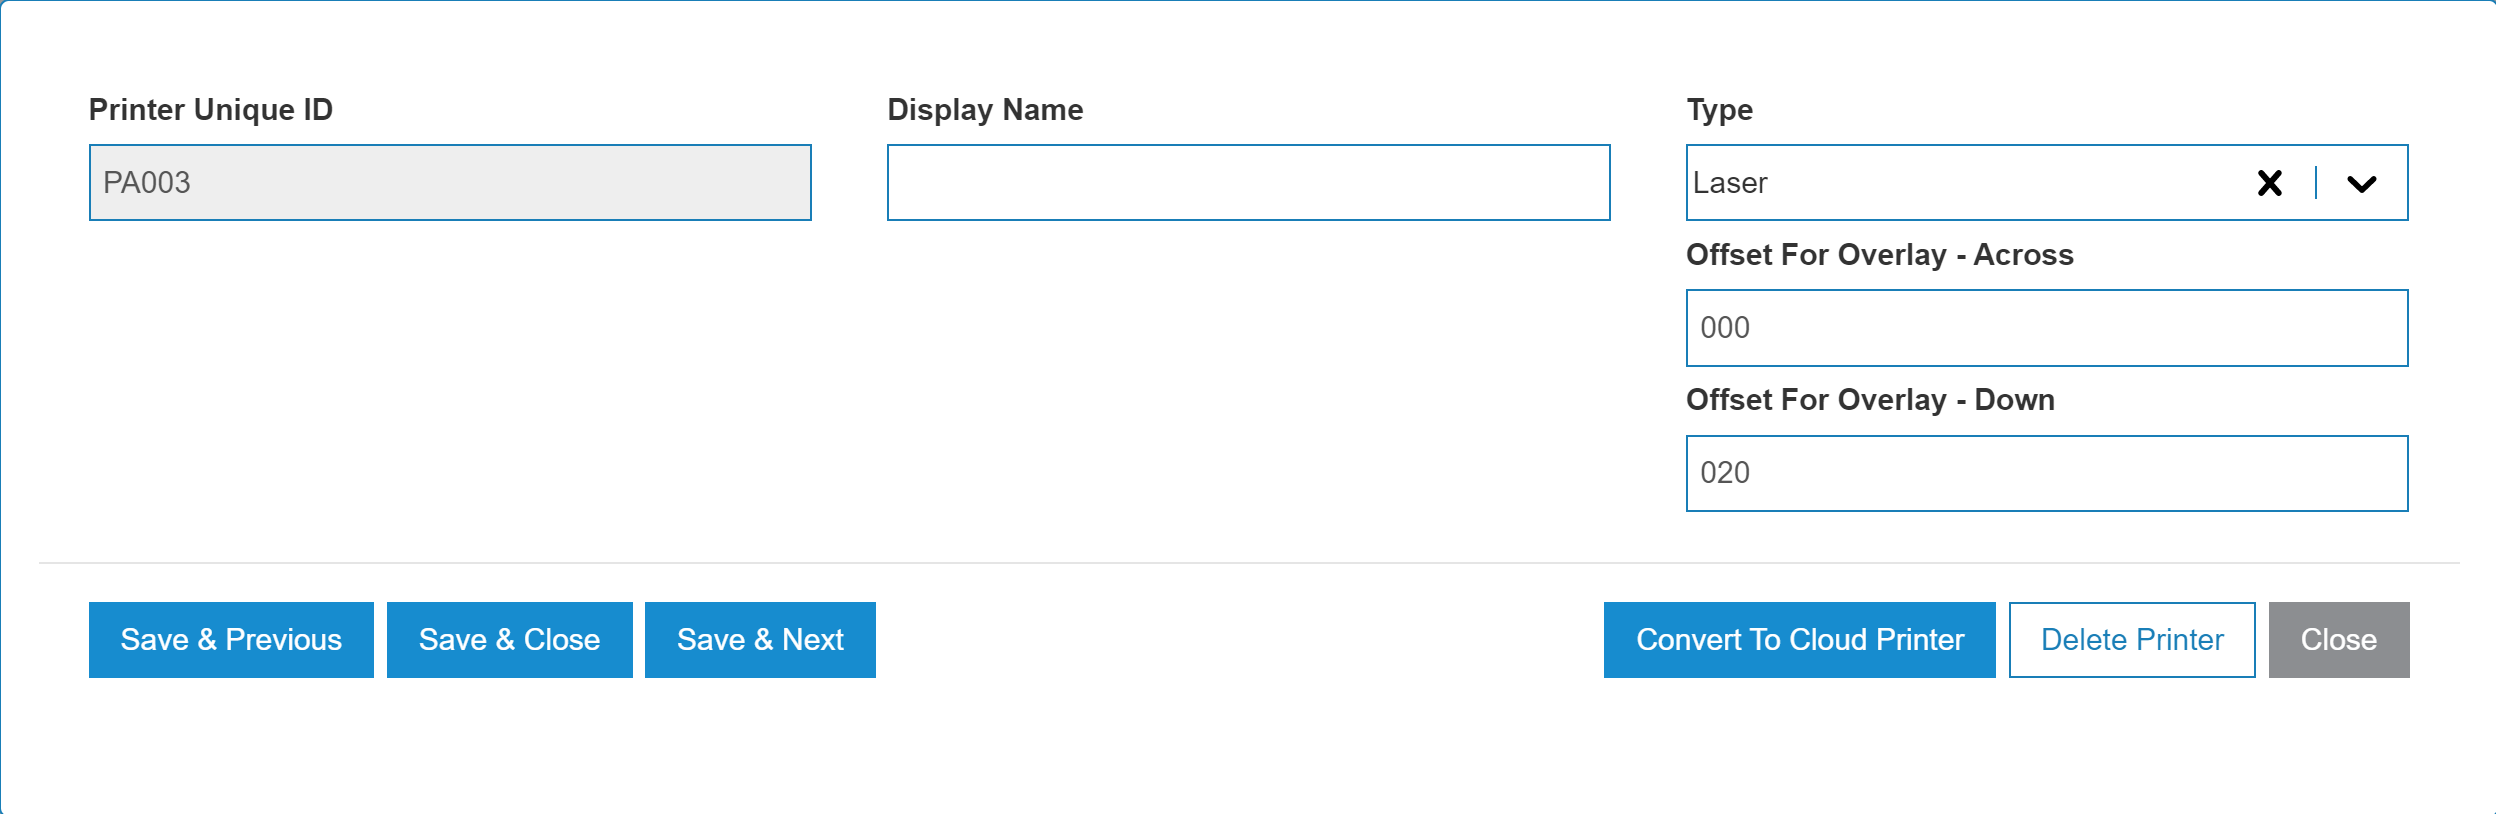
The New Printermodal opens.
-
Fill in the fields, where red fields are required, referencing the table below. Note that not all fields are available for all printer types.
Field Description Valid for Printer Type Printer Unique ID A unique ID for this printer.
For legacy printers, it must be a unique ID at least 2 characters long to a maximum of 10 characters.
For ASP dealers, the printer ID always starts with P7 and the dealer's library number which is automatically added. You must also specify:
-
the 2-digit location number, which is two alphabetic (A-Z) characters. Recommended practice is to use the first two letters of a location, for example LONDON = LO
-
the 2-digit printer ID, where one alphabetic character represents the printer type - L = Laser, Z = Label (Zebra), O=Other and one digit (0-9)
Legacy and Cloud IP Address The Network address translation (NAT) IP address of the printer.
Do not use your local IP. Users need to contact IntelliDealer Support to request a NAT IP address and provide the following information:
-
Physical Location (store address) of the printer
-
Local IP of the printer in the location’s network
-
Make and model of the printer
-
Contact information for someone at the dealership location to assist with printer testing
Cloud (for Add and Edit)
and Legacy (for Add)
Display Name/Description A display name or description for the printer. Legacy and Cloud Type The type of printer. One of:
-
Laser - a laser printer. Only laser printers can properly apply any laser overlays configured for your dealership.
-
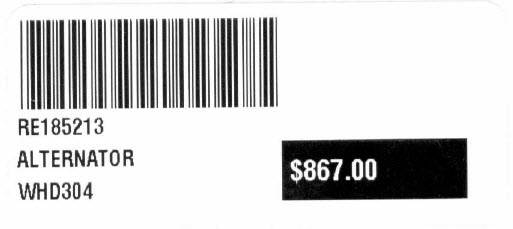
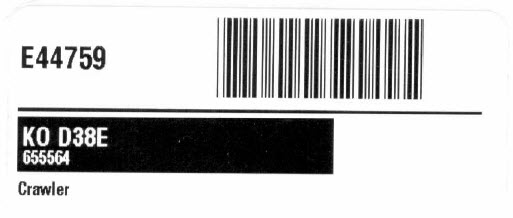
Label - a printer designed to only print labels, such as Zebra. The layout of the printed label is not configurable, however you can configure the data to include for parts and equipment labels. Depending on the formatting options you select when printing labels, you can produce labels in a number of formats.
See Running Customer Labels, Creating Parts Labels, and Running Equipment Labels.
Some examples are:
-
Other - any other printer type.
Legacy Tear Bar The amount of spacing use to properly align the page to compensate for the tear bar, when using a dot matrix printer. Legacy Offset - Across Sets the printer offset across the page. If you are using a non-IPDS printer, the offset across is used to adjust the overlay position on the print out.
Valid values are in the range 000-999. Laser printers default to 000 for new printers.
Legacy Offset - Down Sets the printers offset down the page. If you are using a non-IPDS printer, the offset down is used to adjust the overlay position on the print out.
Valid values are in the range 000-999. Laser printers default to 020 for new printers.
Legacy -
-
Click one of these buttons:
-
Save & Close to save the new printer and close the modal.
-
Save & New to save the new printer and configure another.
-
Close to close the modal.
-
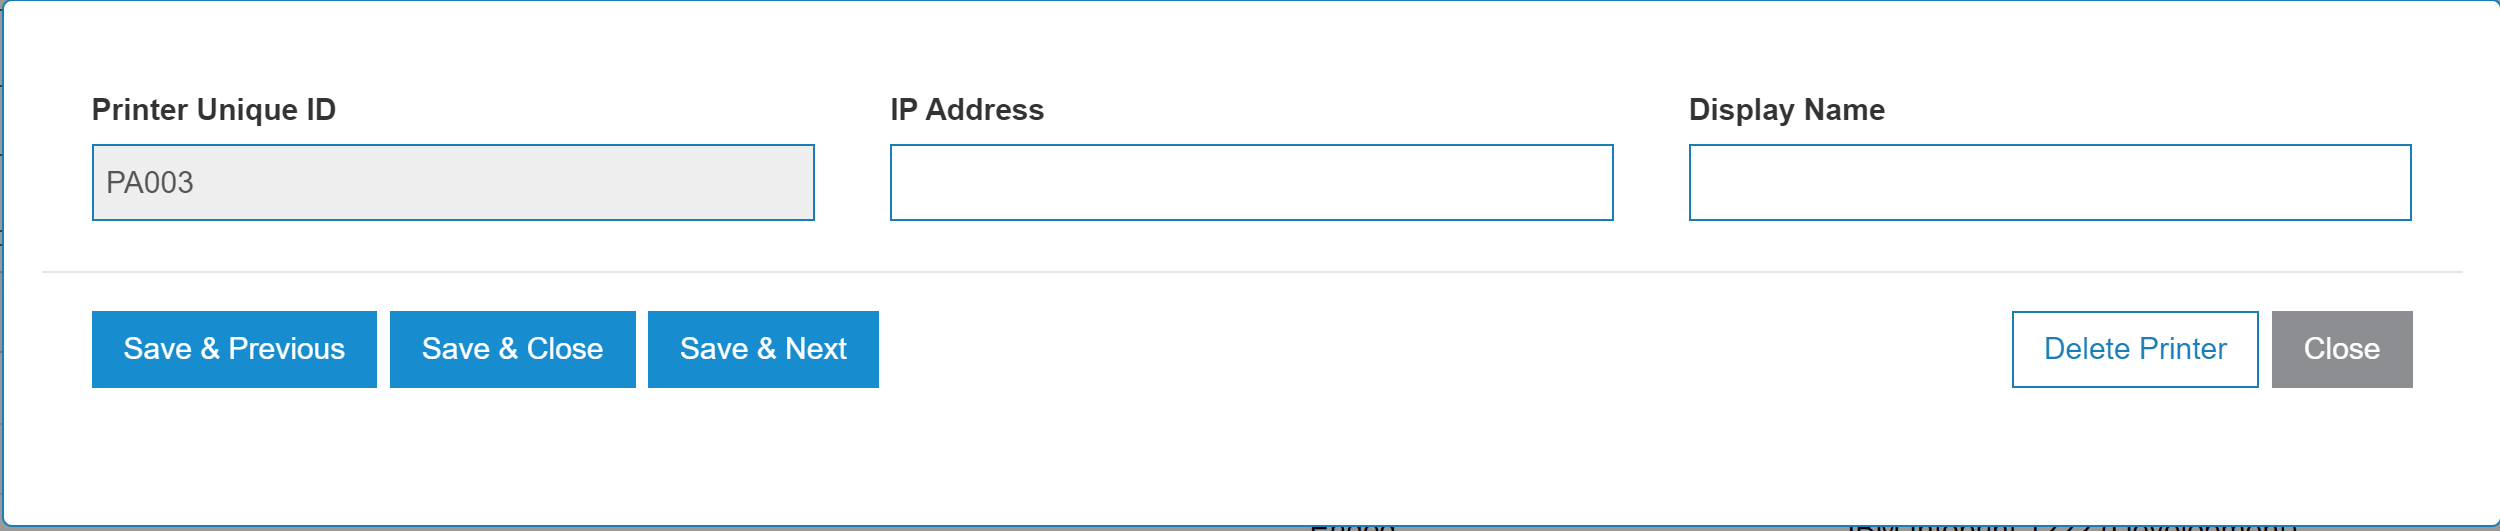
How to Modify a Printer
-
On the Configure Printers screen, search for a printer, then click on a Printer name.
The Configure Printers modal appears. The modal shows only those fields that are required for the printer type, either Legacy, or Cloud. -
Edit any of the available fields within the selected printer configuration.
-
Click one of these buttons:
-
Save & Previous to save the printer and open the previous printer in the list for editing.
-
Copy & Close to save the printer and close the modal.
-
Save & Next to save the printer and configure the next.
-
Delete Printer to delete the printer configuration.
-
Close to close the modal.
-
Configure Printers (New) Screen Description
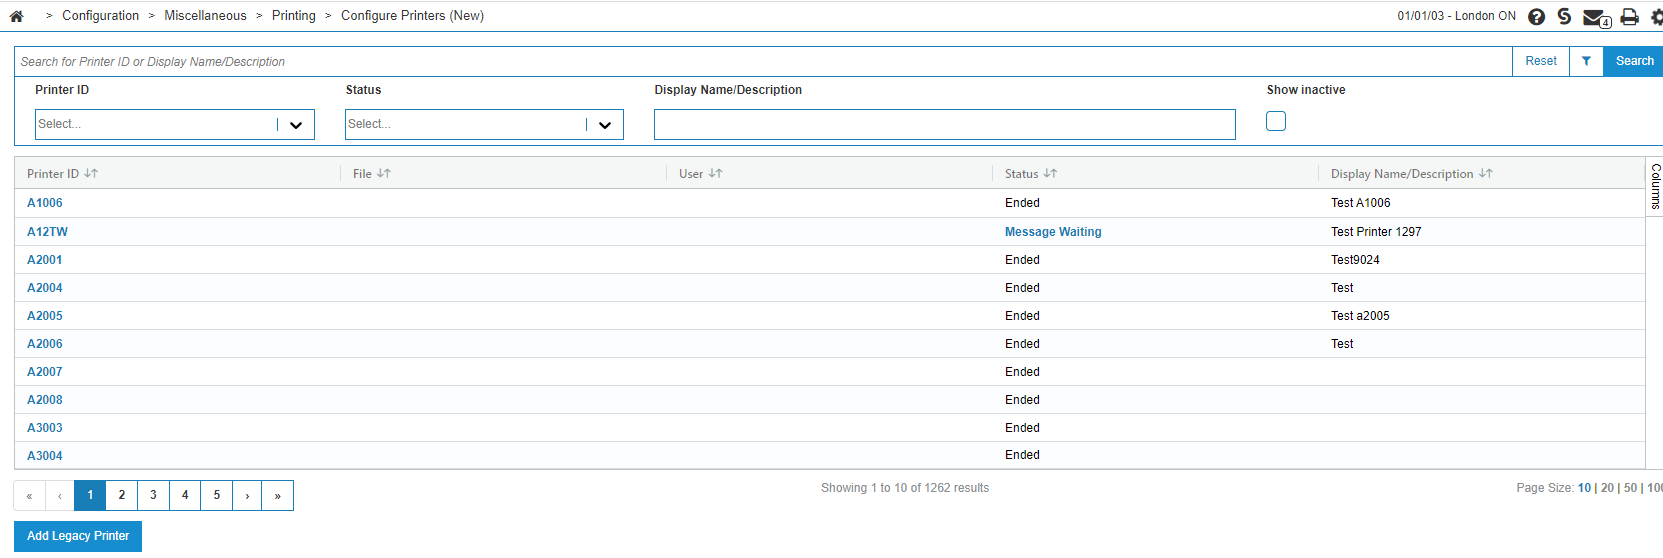
The sorting options on the Configure Printers screen are:
| Sort by | |
|---|---|
| Field | Description |
| Printer Id | Search by printer ID. |
| Status | Filter the results by selecting a status from the drop down. |
| Display Name/Description | Sort the search results by printer name/description. |
| Show inactive | Select this checkbox to also show inactive printers in the list. |
The fields on the Configure Printers screen are:
| Field | Description |
|---|---|
| Printer ID | The ID of the printer. |
| File | The name of the file this printer is printing. |
| User | The name of the user who initiated the print job. |
| Status |
The status of the printer. Can be one of:
|
| Display Name/Description | The display name or brief description of the printer. |
Data Source: PFWTAB
Revision: 2024.08