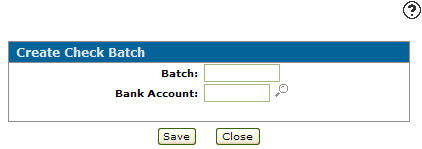
Create Check Batch
You can use the Create Check Batch screen to create a batch for the purpose of printing checks.
Note: Each batch can only be run for one bank account. If you have more than one bank account then you must create multiple batches.
To open the Create Check Batch screen, click the Need to create a new batch? Click here to add link on the Check Run Batches screen.
Topics in this section are:
Reports
The reports produced during the check run process are:
| Report | Description |
|---|---|
| GL9200 | A/P Journals |
| AP6000F | Final Totals |
| AP5051 | Accounts Payable |
| AP5080 | Accounts Payable Outstanding |
Creating a Check Run by Batch
-
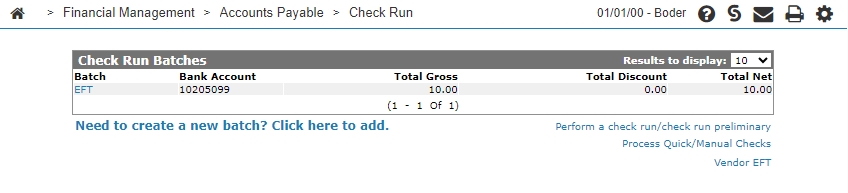
Navigate to Financial Management > Accounts Payable > Check Run.
-
Click the Need to create a new batch? Click here to add link.
-
Enter a Batch and a Bank Account referring to the Screen Description below.
-
Click Save.
-
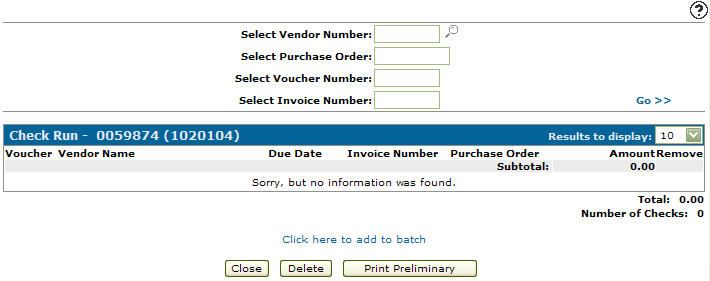
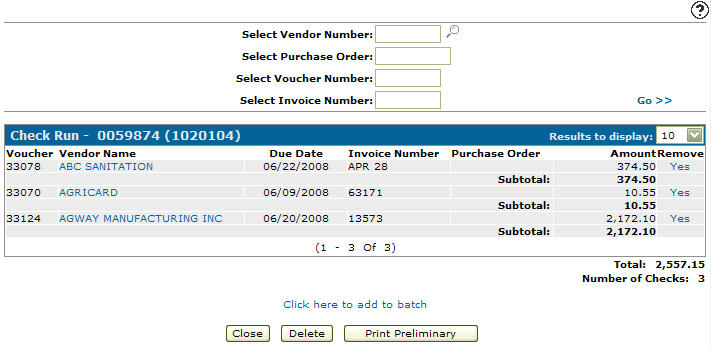
Click the Click here to add to batch link.
-
Locate the desired voucher by entering the search criteria and clicking Go>>.
-
To add a voucher, click a checkbox next to a voucher to select it, then click Add to Batch.
-
Click Close.
-
Click Close.
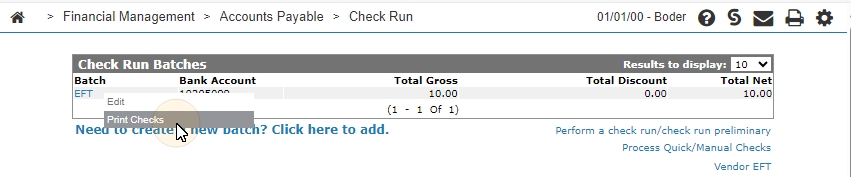
The Check Run Batches screen appears. -
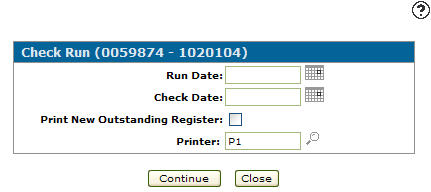
On the Check Run Batches screen, move the cursor over the Batch number and select Print Checks from the pop-up menu.
-
Fill in the fields:
-
Enter a Run Date and a Check Date. - or - Click on the Search
 icon top select a date from the calendar.
 -
(OPTIONAL) select the Print New Outstanding Register checkbox to include it in the check run.
-
Enter a Printer.
- or -
Click on the Search icon and select a printer from the list.
-
-
Click Continue.
The check run by batch starts.
Completing the Check Run
If the Other - Select/Change Different Bank Accounts security switch on system 601 is active the system automatically changes the bank account to the check batch bank account for vouchers with different back account numbers.
If the switch is inactive you must perform these steps:
-
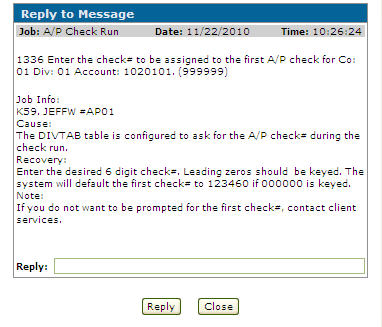
Go to the Home screen and on the Submitted Job Message section click on the message description.
-
On the Reply to Message screen, enter a check number for the first A/P check in the check run, then click Reply.
-
Click the Refresh link for the job to continue to check run process.
-
Read the messages that appear and click the Refresh link to continue to the next step of the process.
Once the check run process is complete, the message description reads *** Normal end of job*** and a Remove link appears in place of the Refresh link .


Screen Description
The fields appear on the Create Check Batch screen are:
| Field | Description |
|---|---|
| Batch |
Enter your batch number which can be up to 10 alphanumeric characters long. |
| Bank Account | Enter the bank account number that will apply to the batch. |
Use these buttons to complete your work on the Create Check Batch screen:
| Button | Function |
|---|---|
| Save | Saves changes made on the Create Check Batch screen. |
| Close | Closes the Create Check Batch screen without saving and returns to the Check Run Batches screen. |