Returning Core Parts to a Vendor
The tasks to perform when returning core parts to a vendor are:
If there is already a relevant return customer and/or return part in the system, you can skip these tasks.
Create a Return Customer
-
Navigate to Customer Care > CRM > Customer Profile link.
The Customer Profile: Listing screen appears.
-
Click Create.
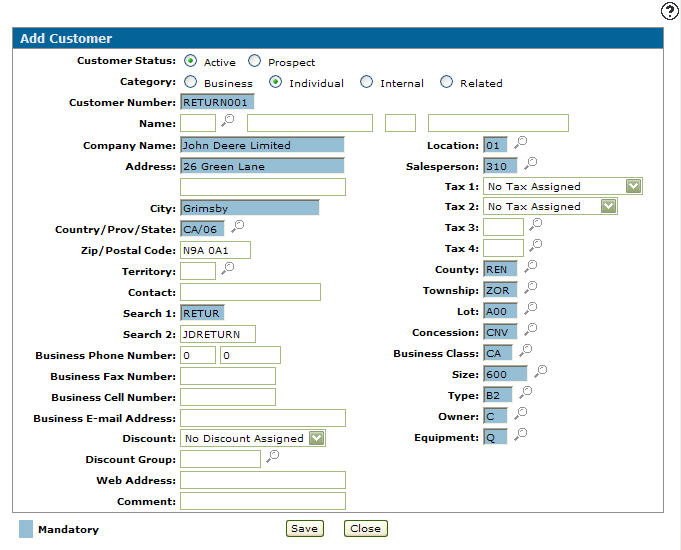
The Customer Profile screen appears.
-
Create the customer with RETURN001 in the Customer Number field and RETUR in the Search 1 field.
-
Click Save.
The Customer Profile screen appears.
Create a Return Part
-
Navigate to Product Support > Parts > Parts Profile.
The Parts Profile: Listing screen appears.
-
Click Create.
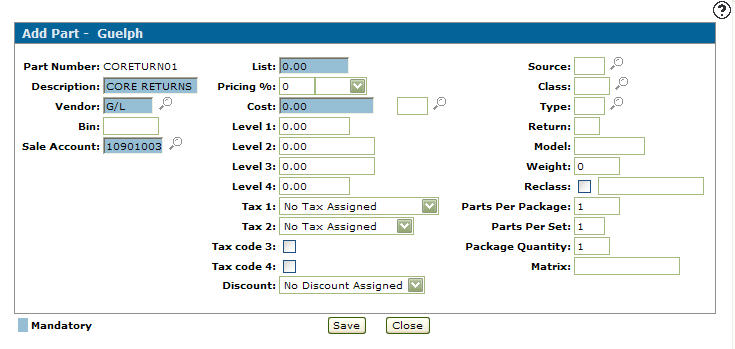
TheAdd Part screen appears.
-
Enter the Part Number CORETURNXX, where xx is the location.
-
Click Save.
The Add Part screen refreshes, displaying added information fields.
-
Enter a description (CORE RETURNS).
-
Enter the Vendor G/L and select the proper Sales Account (one that has been set up for returns).
-
Click Saveand then Close to return to the Your Parts Inventory screen.
Create a Return Invoice
-
Navigate to Product Support > Parts > Parts Invoicing.
The Parts Invoicingscreen appears.
-
Click Create.
The Parts Invoicing Header - Customer tab appears.
-
Enter RETURN001 as the Customer Number and enter a Salesperson.
-
Click the Details tab.
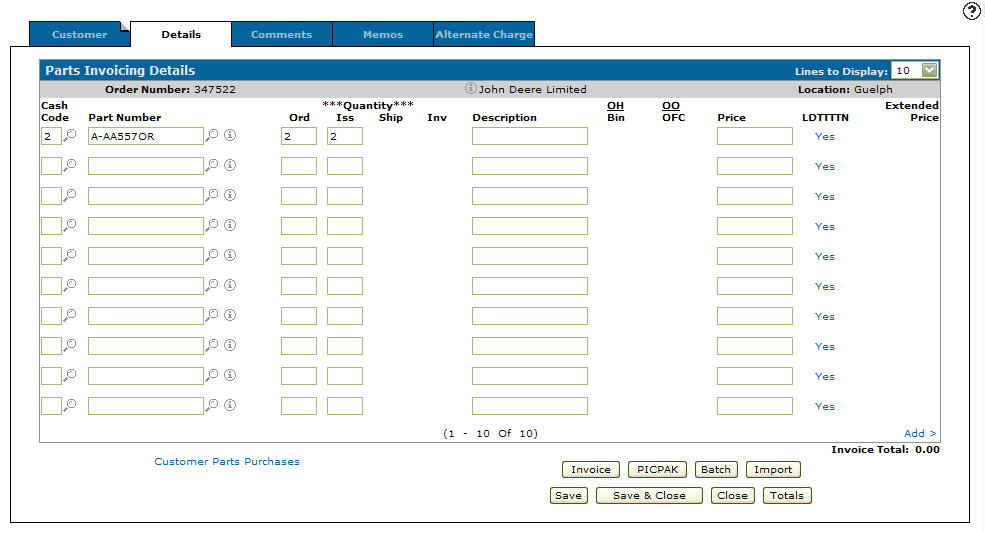
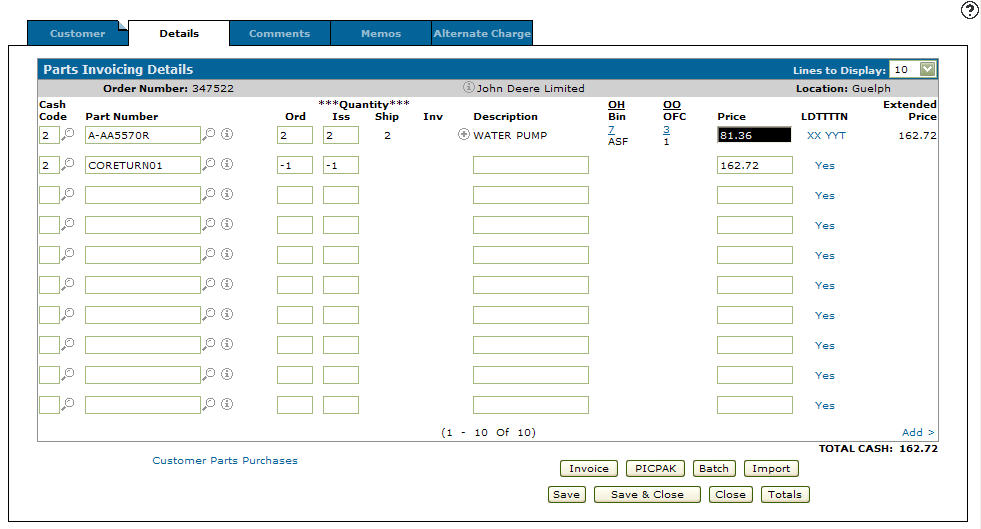
The Parts Invoicing Details tab appears.
-
Enter Cash Code 2 and the core Part Number you are returning.
-
Enter the quantity in the Ord and Iss fields.
-
Click Save.
The system populates the remaining fields. The Part will be returned at cost.
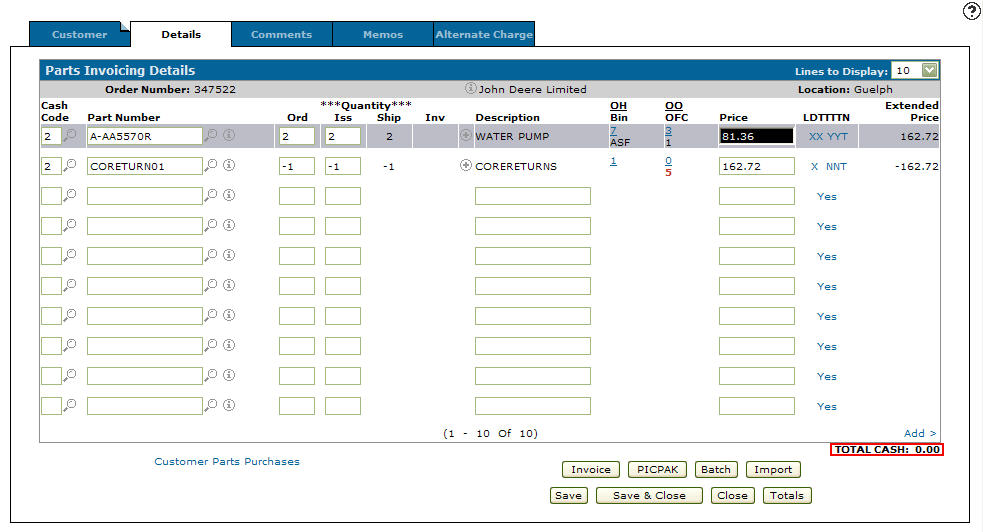
-
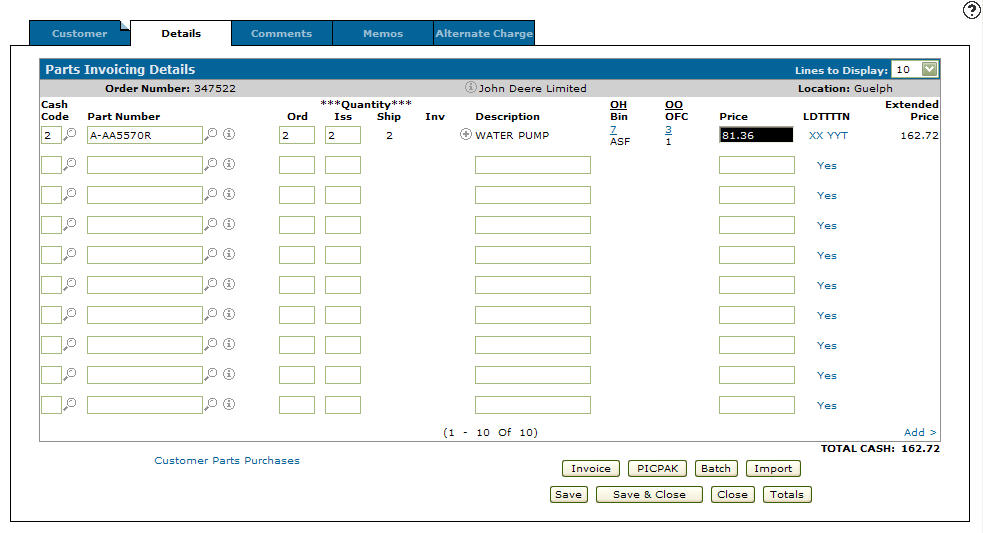
On the next line enter Cash Code 2 and CORETURN01 in the Part Number field.
-
Enter a negative Ord and Iss value.
-
Enter the Price to reflect the invoice Total.
-
Click Save.
-
Click Invoice, to print the invoice and make the appropriate entries to the parts pad and general ledger accounts.
Revision: 2026.03