Running a Vendor Labels Report
The reports produced are:
| WFMAP02B | Labels Page - Vendor |
| WFMAP02D | Labels Individual |
-
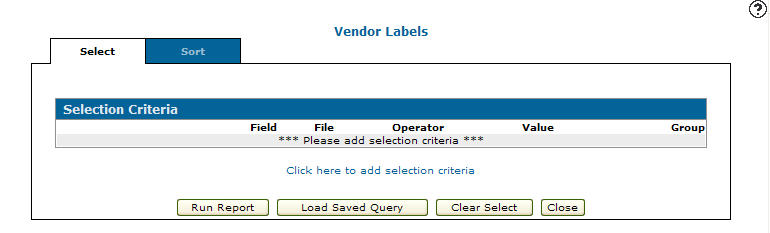
From any IntelliDealer screen, navigate to Financial Management > Accounts Payable > A/P Reports > Vendor Labels.
-
Click the Click here to add select criteria link.
-
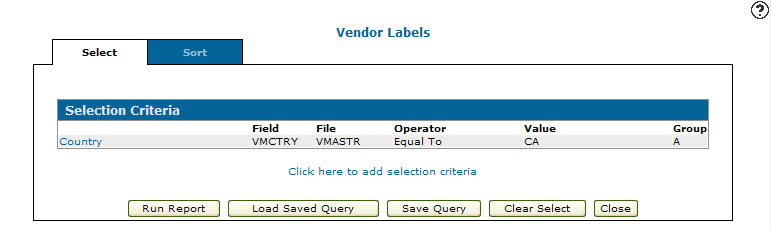
Select a field Group code.
-
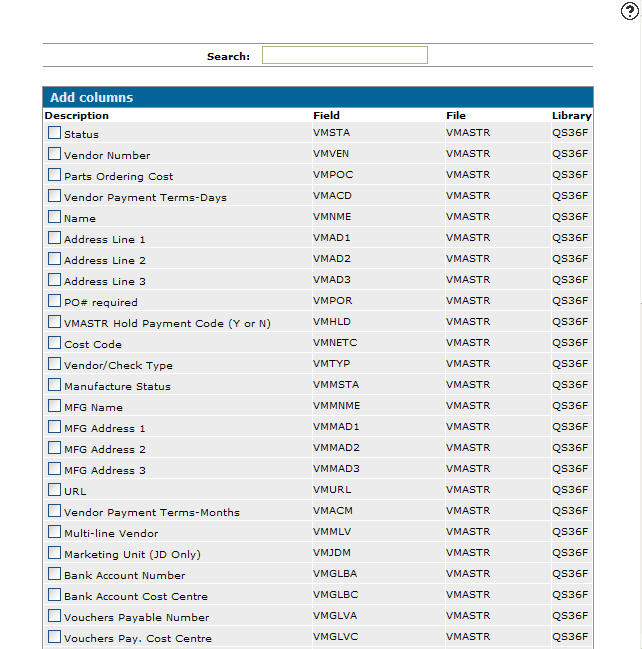
Enter a Field, or click the Search
 icon to search for and select a field from the Select Field screen.
 -
Select an Operator value from the drop down list.
-
Enter a Value. Depending on the field selected, you may also click on the Search
icon or Calendar icon to select a value. -
(OPTIONAL) Click the More
 icon to add more values.
 -
Click Save to save your selection criteria and remain on the Selection Criteria screen.
-OR-
Click the Save/Exit button to save your selection criteria and return to the Selection Criteria tab.
-
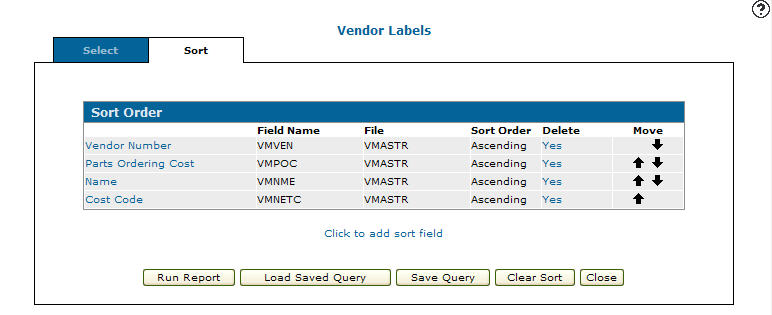
Click the Sort tab.
-
Click the Click to add sort field link.
-
Select the columns you wish to use for the sort order on the report.
-
When done, click Save.
-
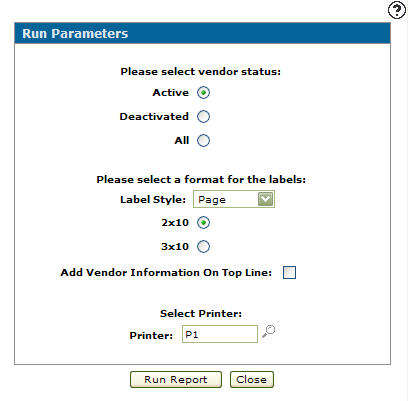
If you are ready, click Run Report.
-
Select a Vendor Status indicating the vendors you wish to include in the run.
- Select a Label Format.
Page—requires you to select page dimensions (2x10 or 3x10).
Individual
-
Select the Add Vendor Information On Top Line checkbox to print an addition vendor information line (vendor's number and phone number) at the top of the label.
-
Enter the Printer to print the vendor labels.
- or -
Click on the Search icon and select a printer from the Printers screen. -
Click the Run Report button to submit the vendor labels report.


Security: 601 - Accounts Payable, Other - Access A/P Reports
Revision: 2024.04