
Surplus Returns: Details
Use the Surplus Returns screen to edit a surplus return.
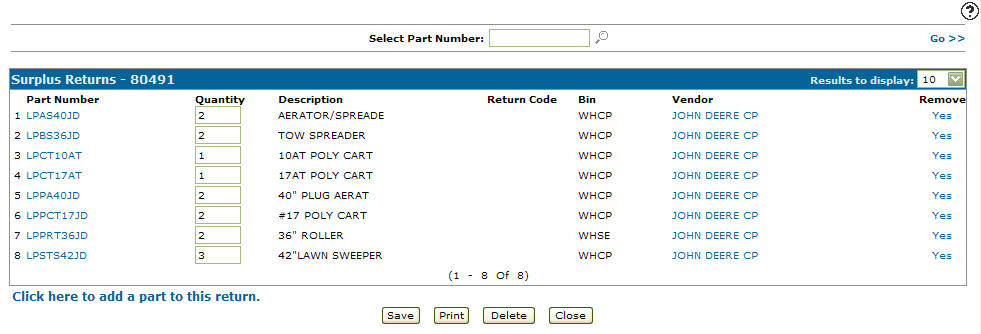
To open the Surplus Returns screen, hover over a Return Number on the Surplus Returns screen and select Edit from the pop-up menu.
Topics in this section are:
Adding Parts to a Surplus Return
-
Navigate to Product Support > Parts > Surplus Returns.
-
Fill out the appropriate fields and click the Go >> link.
The Surplus Returns screen refreshes listing the generated search results.
-
Move the cursor over a Return Number and select Edit from the pop-up menu.
-
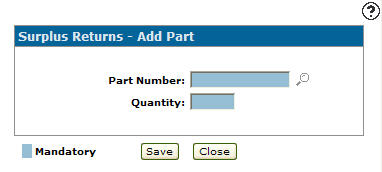
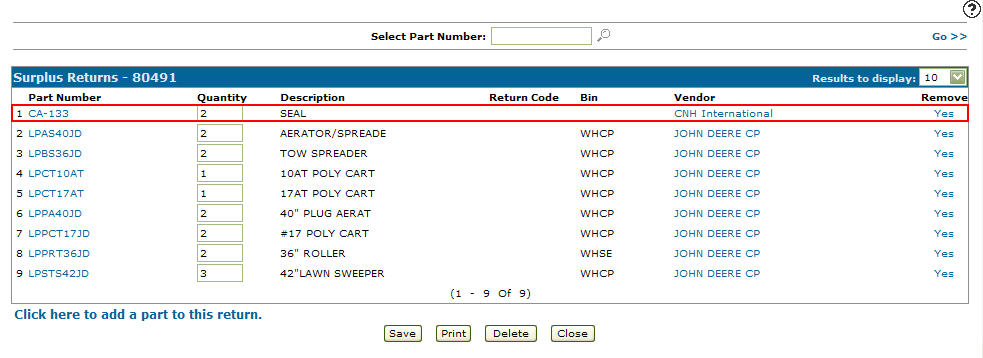
Select the Click here to add a part to this return link.
-
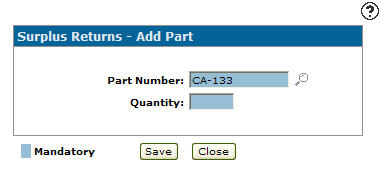
Enter a Part Number - or - click on the Search
 icon.
icon.The Parts Search screen appears.
-
Fill out the appropriate fields and click the Go >> link.
The Parts Search screen refreshes listing the generated search results.
-
Click a Part Number.
-
Enter the Quantity of part.
-
Click Save.
 The
The 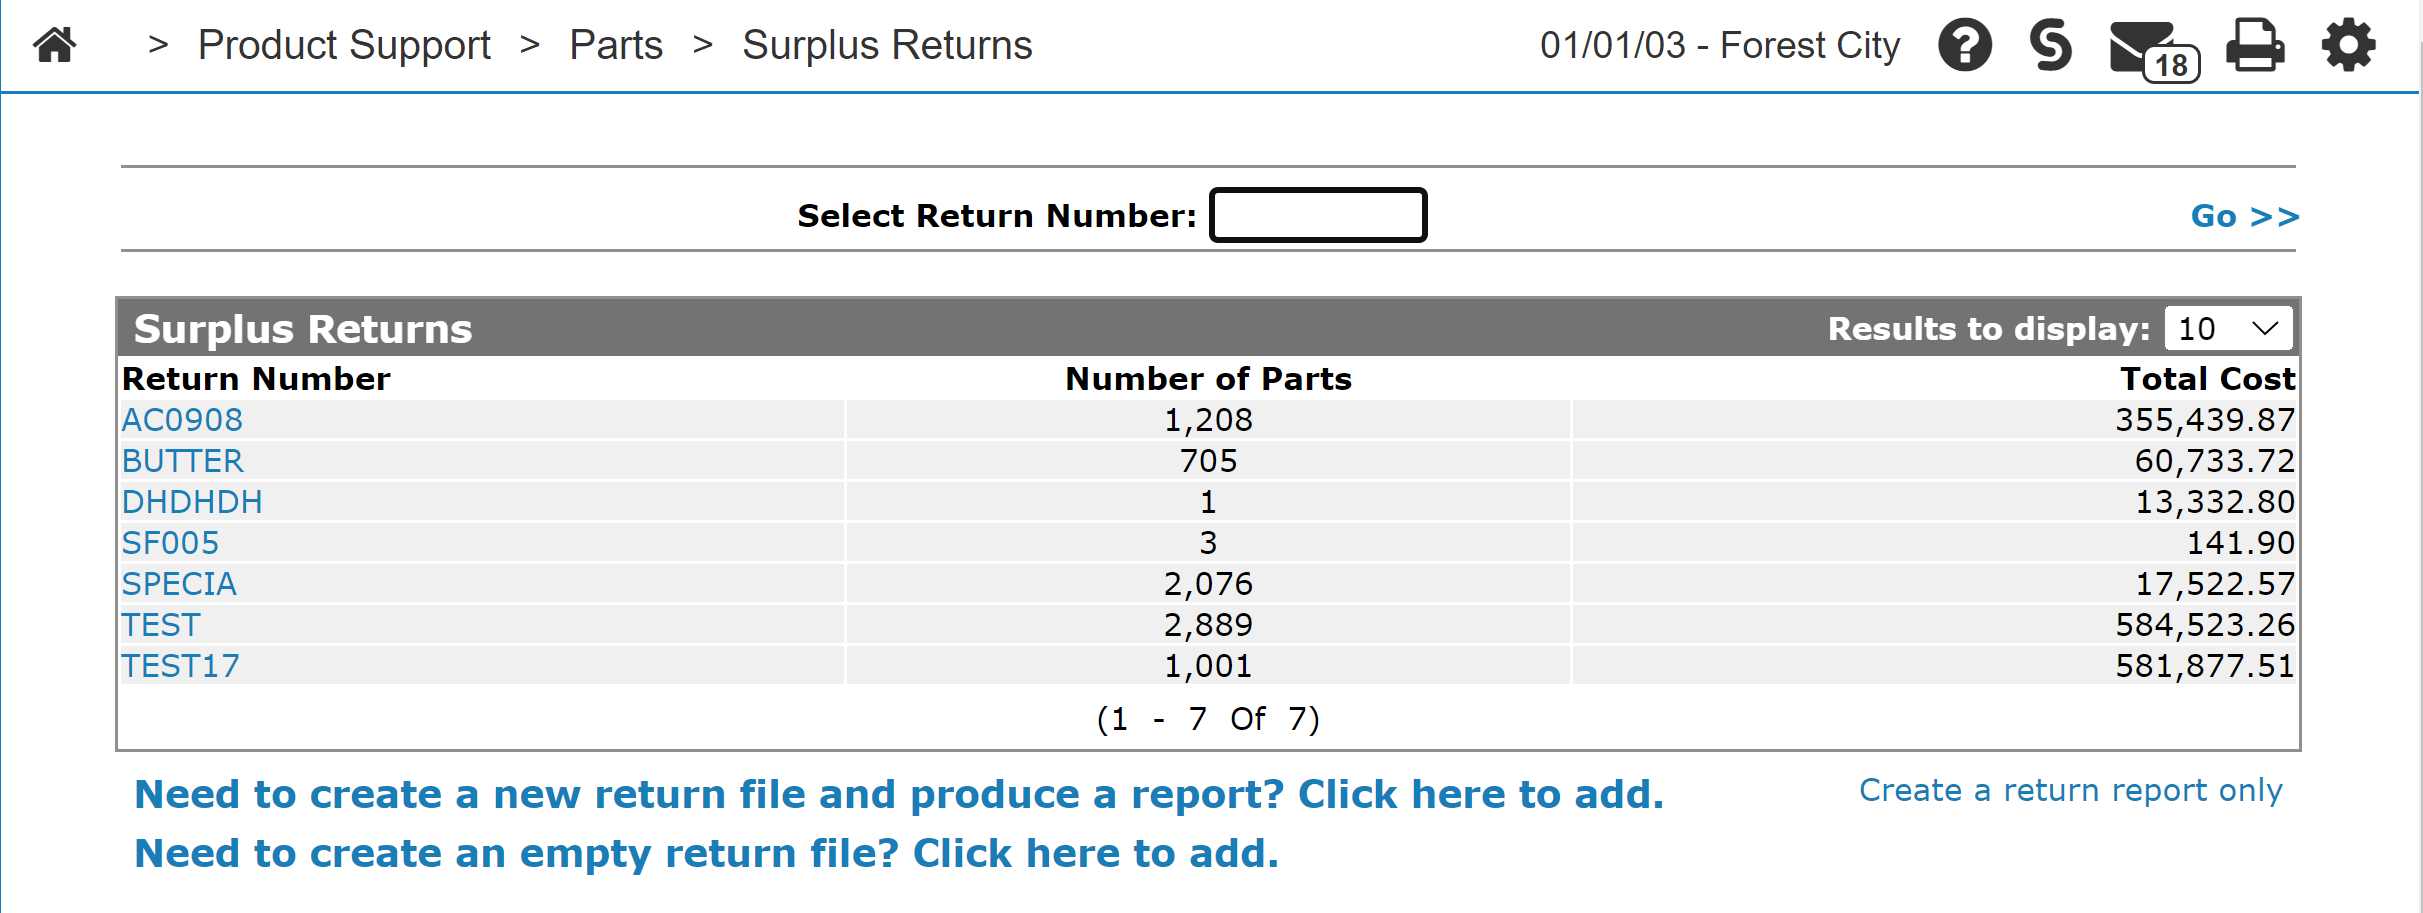
Removing Parts from a Surplus Return
-
Navigate to Product Support > Parts > Surplus Returns.
-
Fill out the appropriate fields and click the Go >> link.
The Surplus Returns screen refreshes listing the generated search results.
-
Move the cursor over a Return Number and select Edit from the drop down list.
-
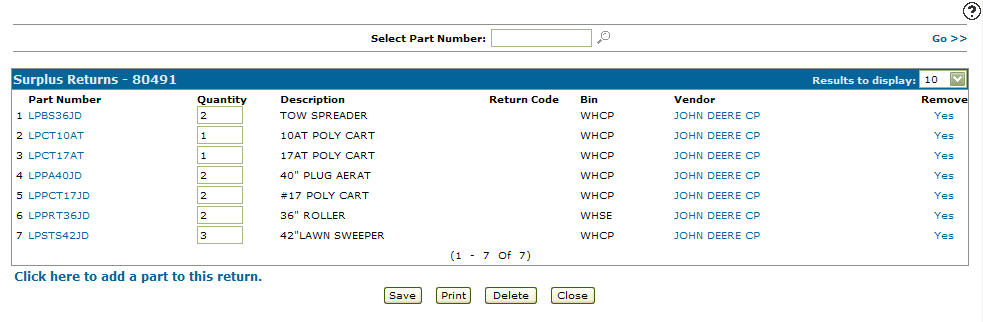
Click the Yes link under the Remove column for the part you wish to remove from the surplus returns.
Screen Description
Search field on the Surplus Returns screen is:
| Field | Description |
|---|---|
| Select Part Number |
Search for a surplus return by entering a part number. The search field also allows you to use partial part numbers (fuzzy search). |
Fields on the Surplus Returns screen are:
| Field | Description |
|---|---|
| Line | The line number of the corresponding part on the surplus return. |
| Part Number | The part number that is being returned. |
| Quantity | The number of parts being returned. |
| Description | A brief description of the part. |
| Return Code |
Can be one of:
Return Codes are set up on the Return Codes screen. |
| Bin |
Indicates the part's physical location. A reverse image Bin number indicates that alternate bins exist. Hover over the Bin number to view alternate Bin location numbers. |
| Vendor | The vendor name associated with the part. |
| Remove | Click the Yes link to remove the part for the surplus return. |
Note: You cannot add or import parts whose vendor is GL. Each part on the return must exist in the Parts Profile for the location; the system prevents Save if any line is not in the part master. Quantity must be from 1 to 9999; entering 0 removes the part from the return.
Click a Part Number to open the Parts Profile screen.
Click a Vendor name to open the Vendor Profile screen.
Click the Click here to add a part to this return link to add parts to a surplus return.
Use these buttons to complete your work on the Surplus Returns screen:
-
Click Save to save changes made on the Surplus Returns screen.
-
Click Print to print the surplus return.
-
Click Import to open the Import screen, allowing you to import a parts list for the return.
-
Click Delete to delete the surplus return.
-
Click Close to close the Surplus Returns screen without saving and return to the Surplus Returns screen.