Assigning a PO Number to a Part on a DTF Parts Receipt
-
From any IntelliDealer screen, click the Product Support tab.
The Product Support Quick Links screen will appear.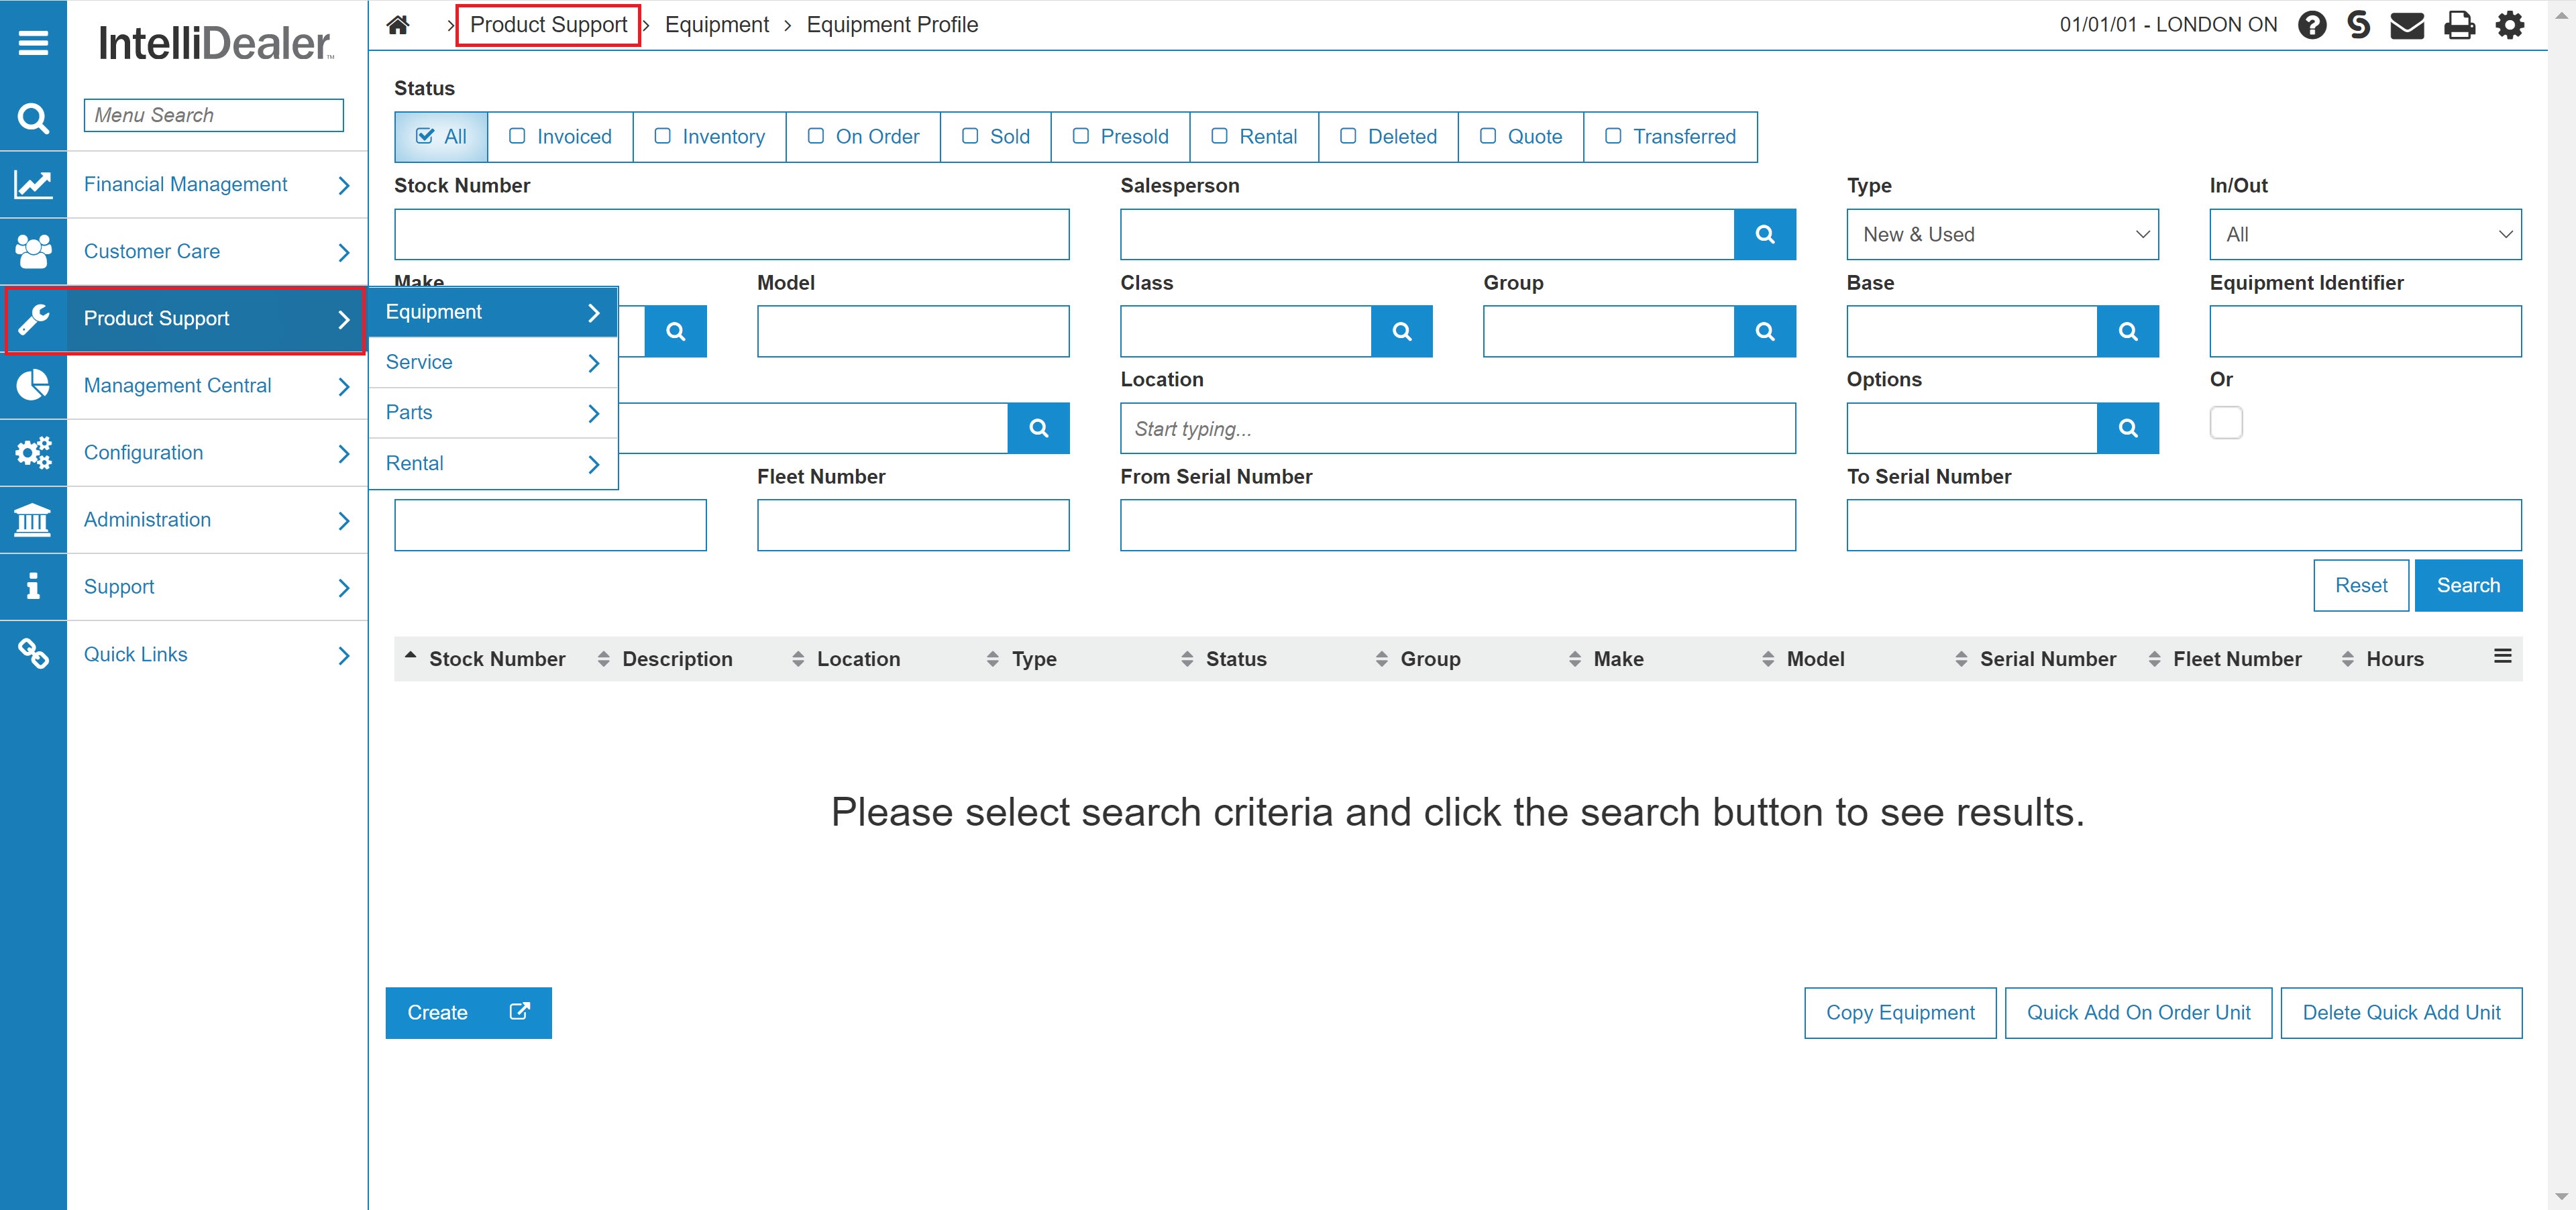
Product Support Quick Links screen
-
From the Parts list, click the Parts Ordering link.
The Parts Ordering screen will appear.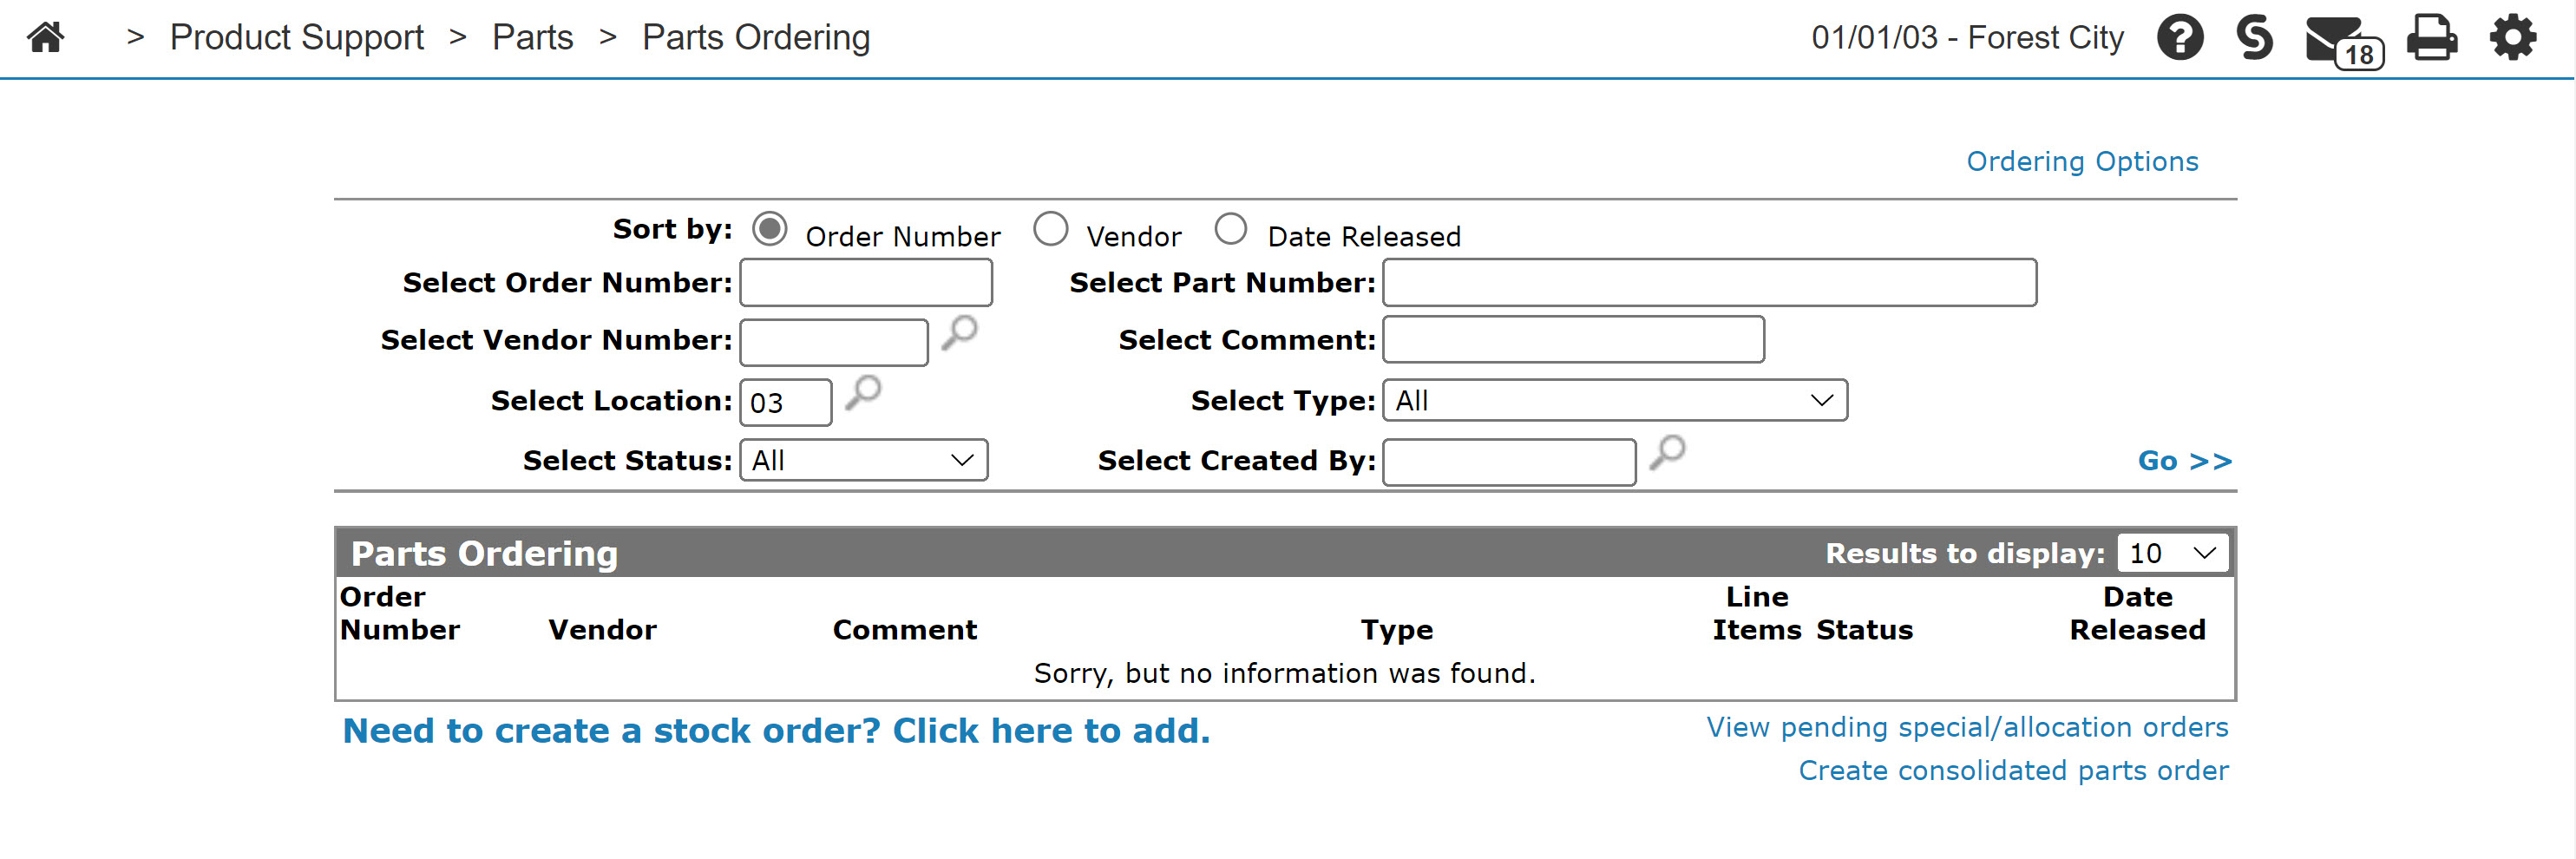
Parts Ordering screen
-
On the Parts Ordering screen, move the cursor over the Ordering Options link and select DTF Parts Receipts from the pop-up menu.
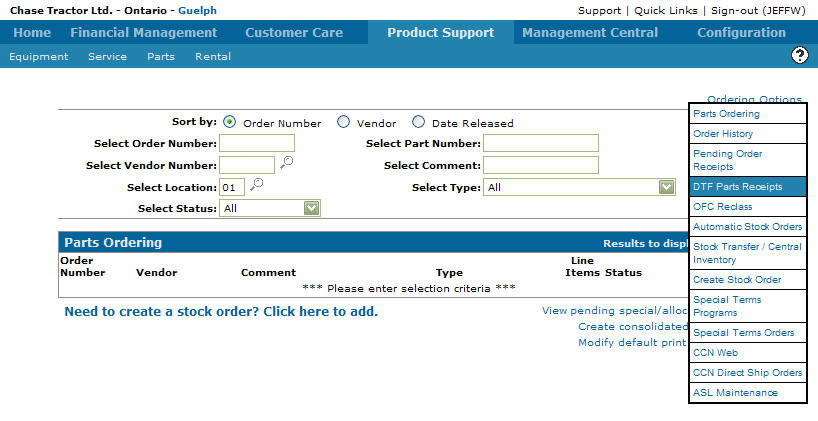
Parts Ordering screen
-
The DTF Parts Receipts screen will appear.
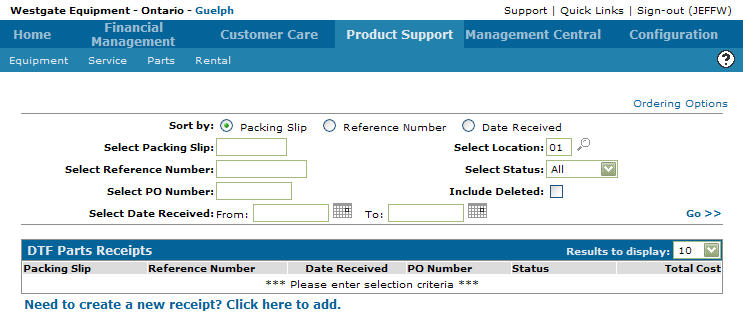
DTF Parts Receipts screen
-
On the DTF Parts Receipts screen, fill out the appropriate fields and click the Go >> link.
The DTF Parts Receipts screen will refresh listing the generated search results.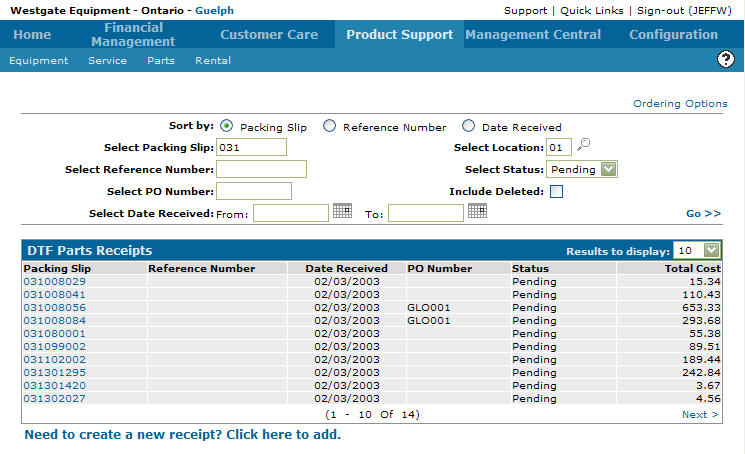
DTF Parts Receipts screen
-
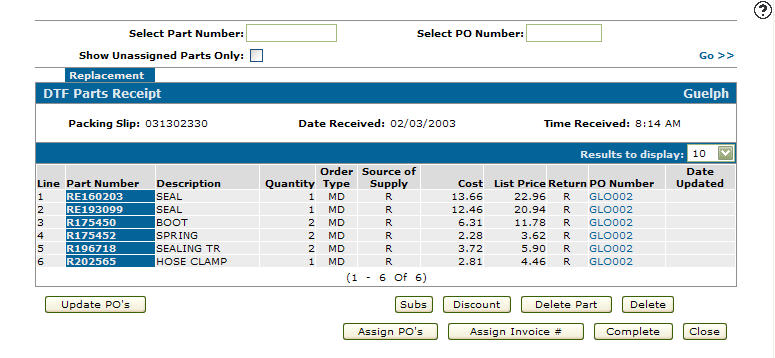
Click on a Packing Slip.
The DTF Parts Receipt screen will appear.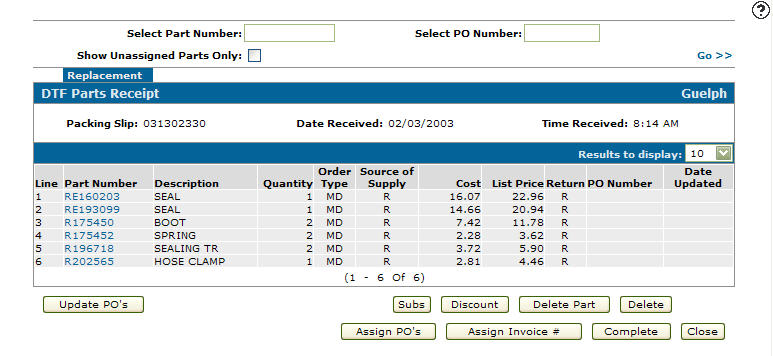
DTF Parts Receipts screen
-
On the DTF Parts Receipt screen, click the Assign PO's button.
The DTF Parts Receipt - Assign PO's screen will appear.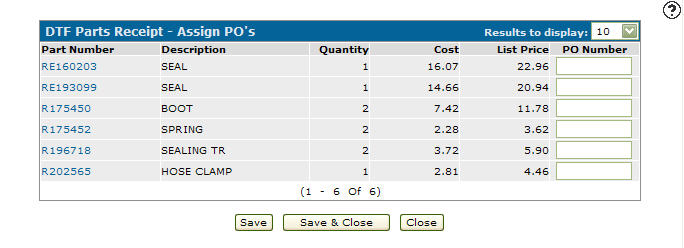
DTF Parts Receipt - Assign PO's screen
-
On the DTF Parts Receipt - Assign PO's screen, enter a PO Number for the corresponding part number.
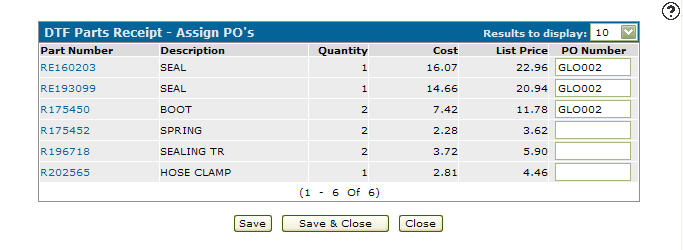
DTF Parts Receipt - Assign PO's screen
-
Click the Save & Close button to save the added PO number and return to the DTF Parts Receipt screen.
DTF Parts Receipt screen