Making Parts Inventory Adjustments
Making a parts inventory adjustment will do the following:
-
Parts on hand will by updated correctly
-
The inventory general ledger will be updated, however the average cost on the part will not be corrected
-
An invoice will be produced recording the adjustment
-
Allows you to view all the adjustments by the purchase history of the customer INVADJD1 or through the parts history screen of the part ADJUST
-
Navigate to Financial Management > Accounts Receivable > Customer Profile.
The Your Customers screen appears.
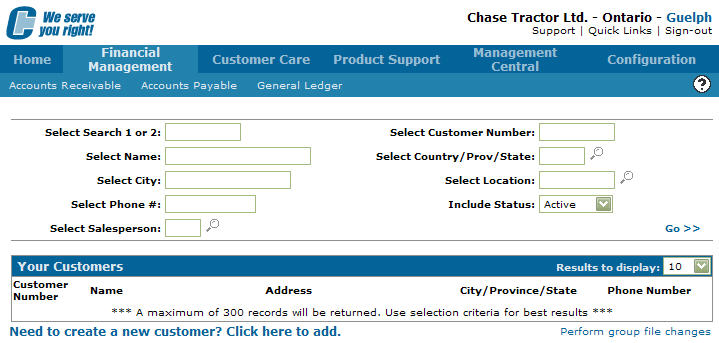
Your Customers screen
-
On the Your Customers screen, click on the Need to create a new customer? Click here to add link.
The Add Customer screen will appear.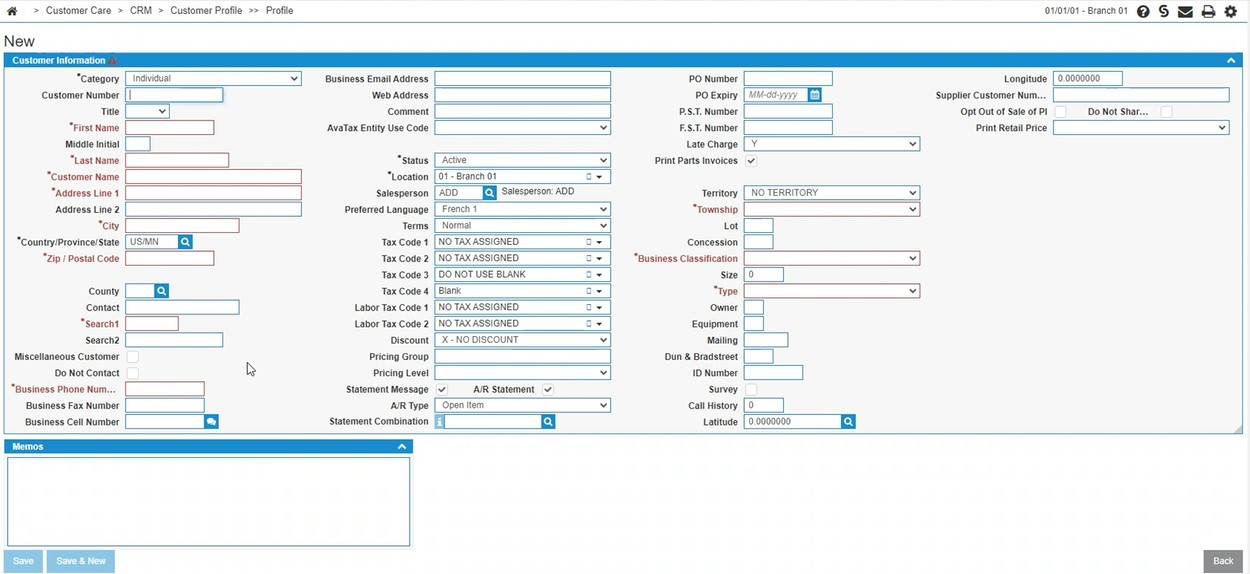
Add Customer screen
-
On the Add Customer screen, enter in a Customer Number.
-
Type in INVENTORY ADJUSTMENTS in the Company Name.
-
Type an X into the address field.
-
Type a City name.
-
Type a search word in the Search 1 and 2 fields.
-
Click the Save button to save any changes made.
-
On the Customer Profile screen, click on the Update/View Profile link.
The Customer Profile tab will appear.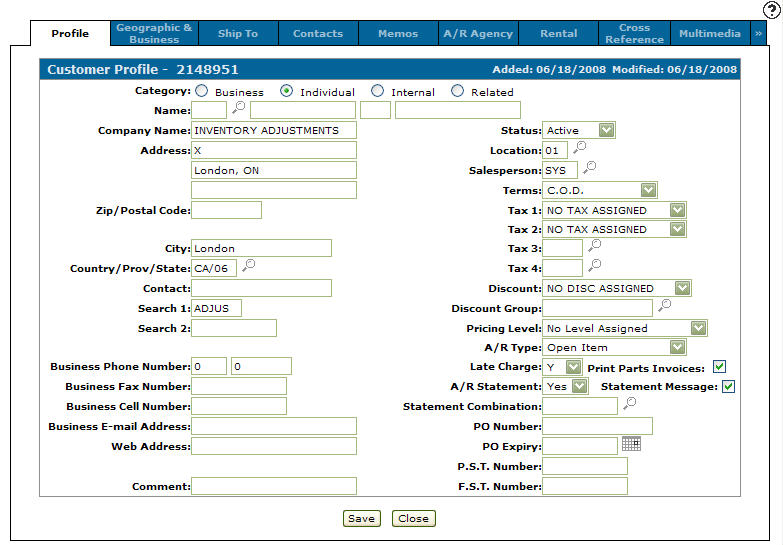
Customer Profile tab
-
On the Customer Profile tab, select Transfer from the Terms drop down list.
-
Select Average Cost from the Pricing Level drop down list.
-
Click on the Save button to save changes made to the customer profile.
Next you need to set up a part number for completing the adjustment.
-
Navigate to Product Support > Parts > Parts Profile.
The Parts Profile listing screen will appear.
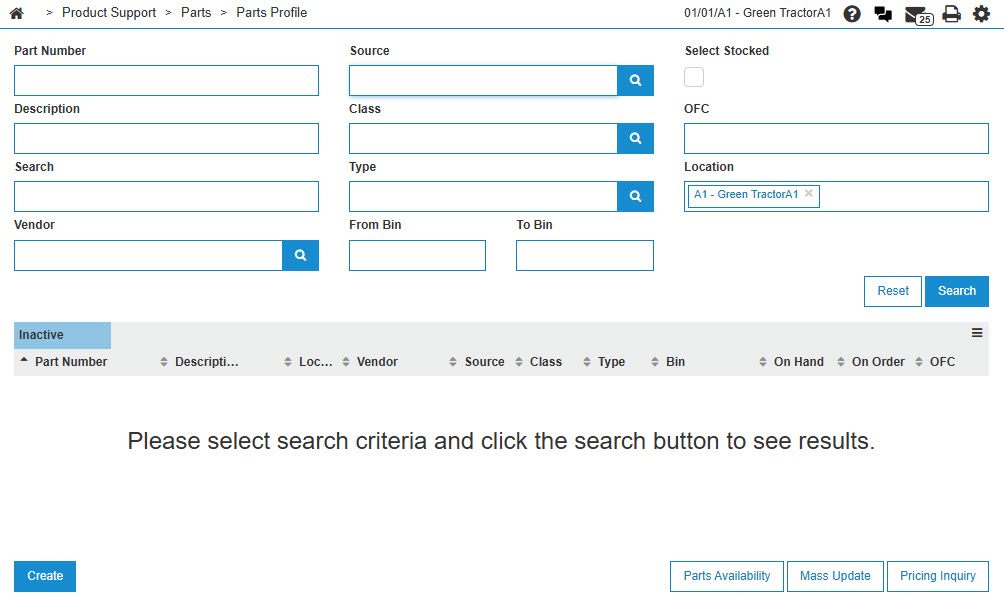
Your Parts Inventory screen
-
On the Your Parts Inventory screen, select the Need to create a new part? Click here to add link.
The Add Part screen will appear.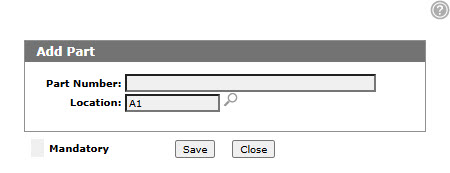
Add Part screen
-
On the Add Part screen, enter ADJUS into the Part Number field.
-
Click on the Save button, the Add Part screen will refresh with add fields.
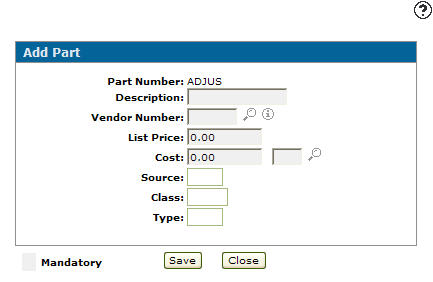
Updated Add Part screen
-
Enter an Inv Adjustment for the Description.
-
Enter GL as the Vendor Number.

Updated Add Part screen
-
Click the Save button.
The Part Profile tab will appear.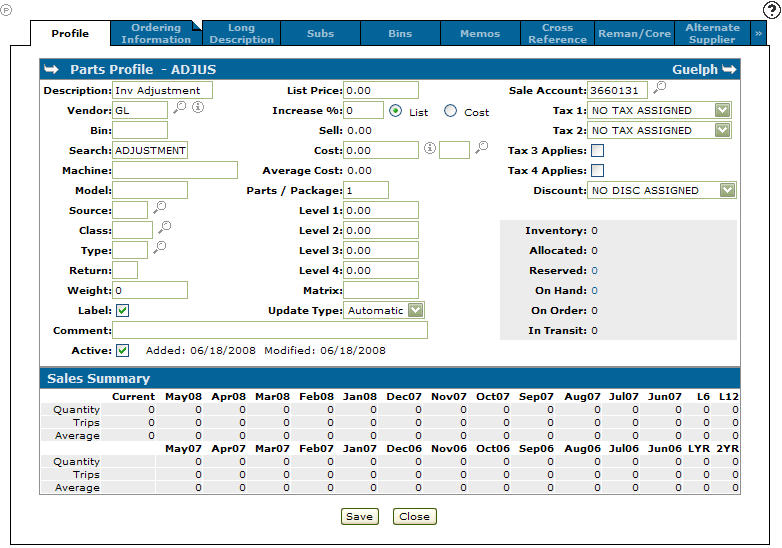
Parts Profile tab
-
On the Parts Profile tab, enter 99 as the Source code.
-
Enter a sales account number,which points the sales account to the General Ledger you want the adjustment debit or credit to hit (post to).
- or -
Click on the Search icon.
icon.
The Account Lookup screen will appear.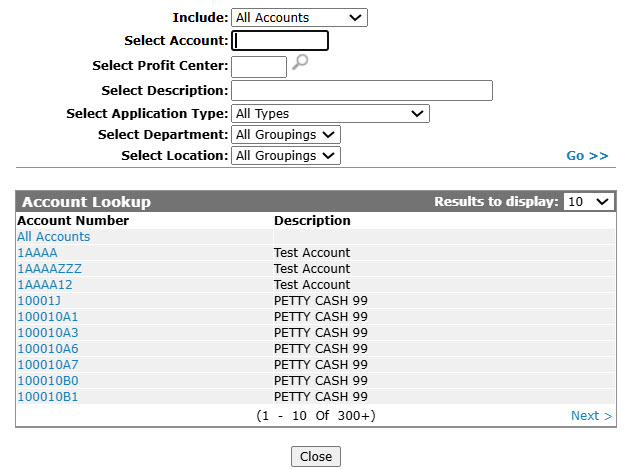
Account Lookup screen
-
Enter the search criteria and click the Go>> link to locate the desired account.
-
Click on the account number, the Parts Profile tab will appear with the selected account number in the Sales Account field.
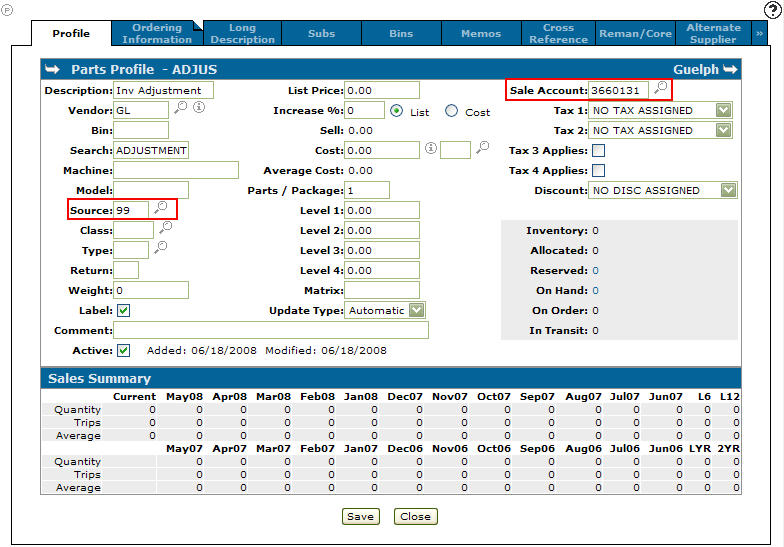
Updated Parts Profile tab
Next you need to open a parts invoice for the Inventory Adjustment Customer that was previously created.
-
Navigate to the Product Support > Parts > Parts Invoicing.
The Parts Invoicing screen will appear.
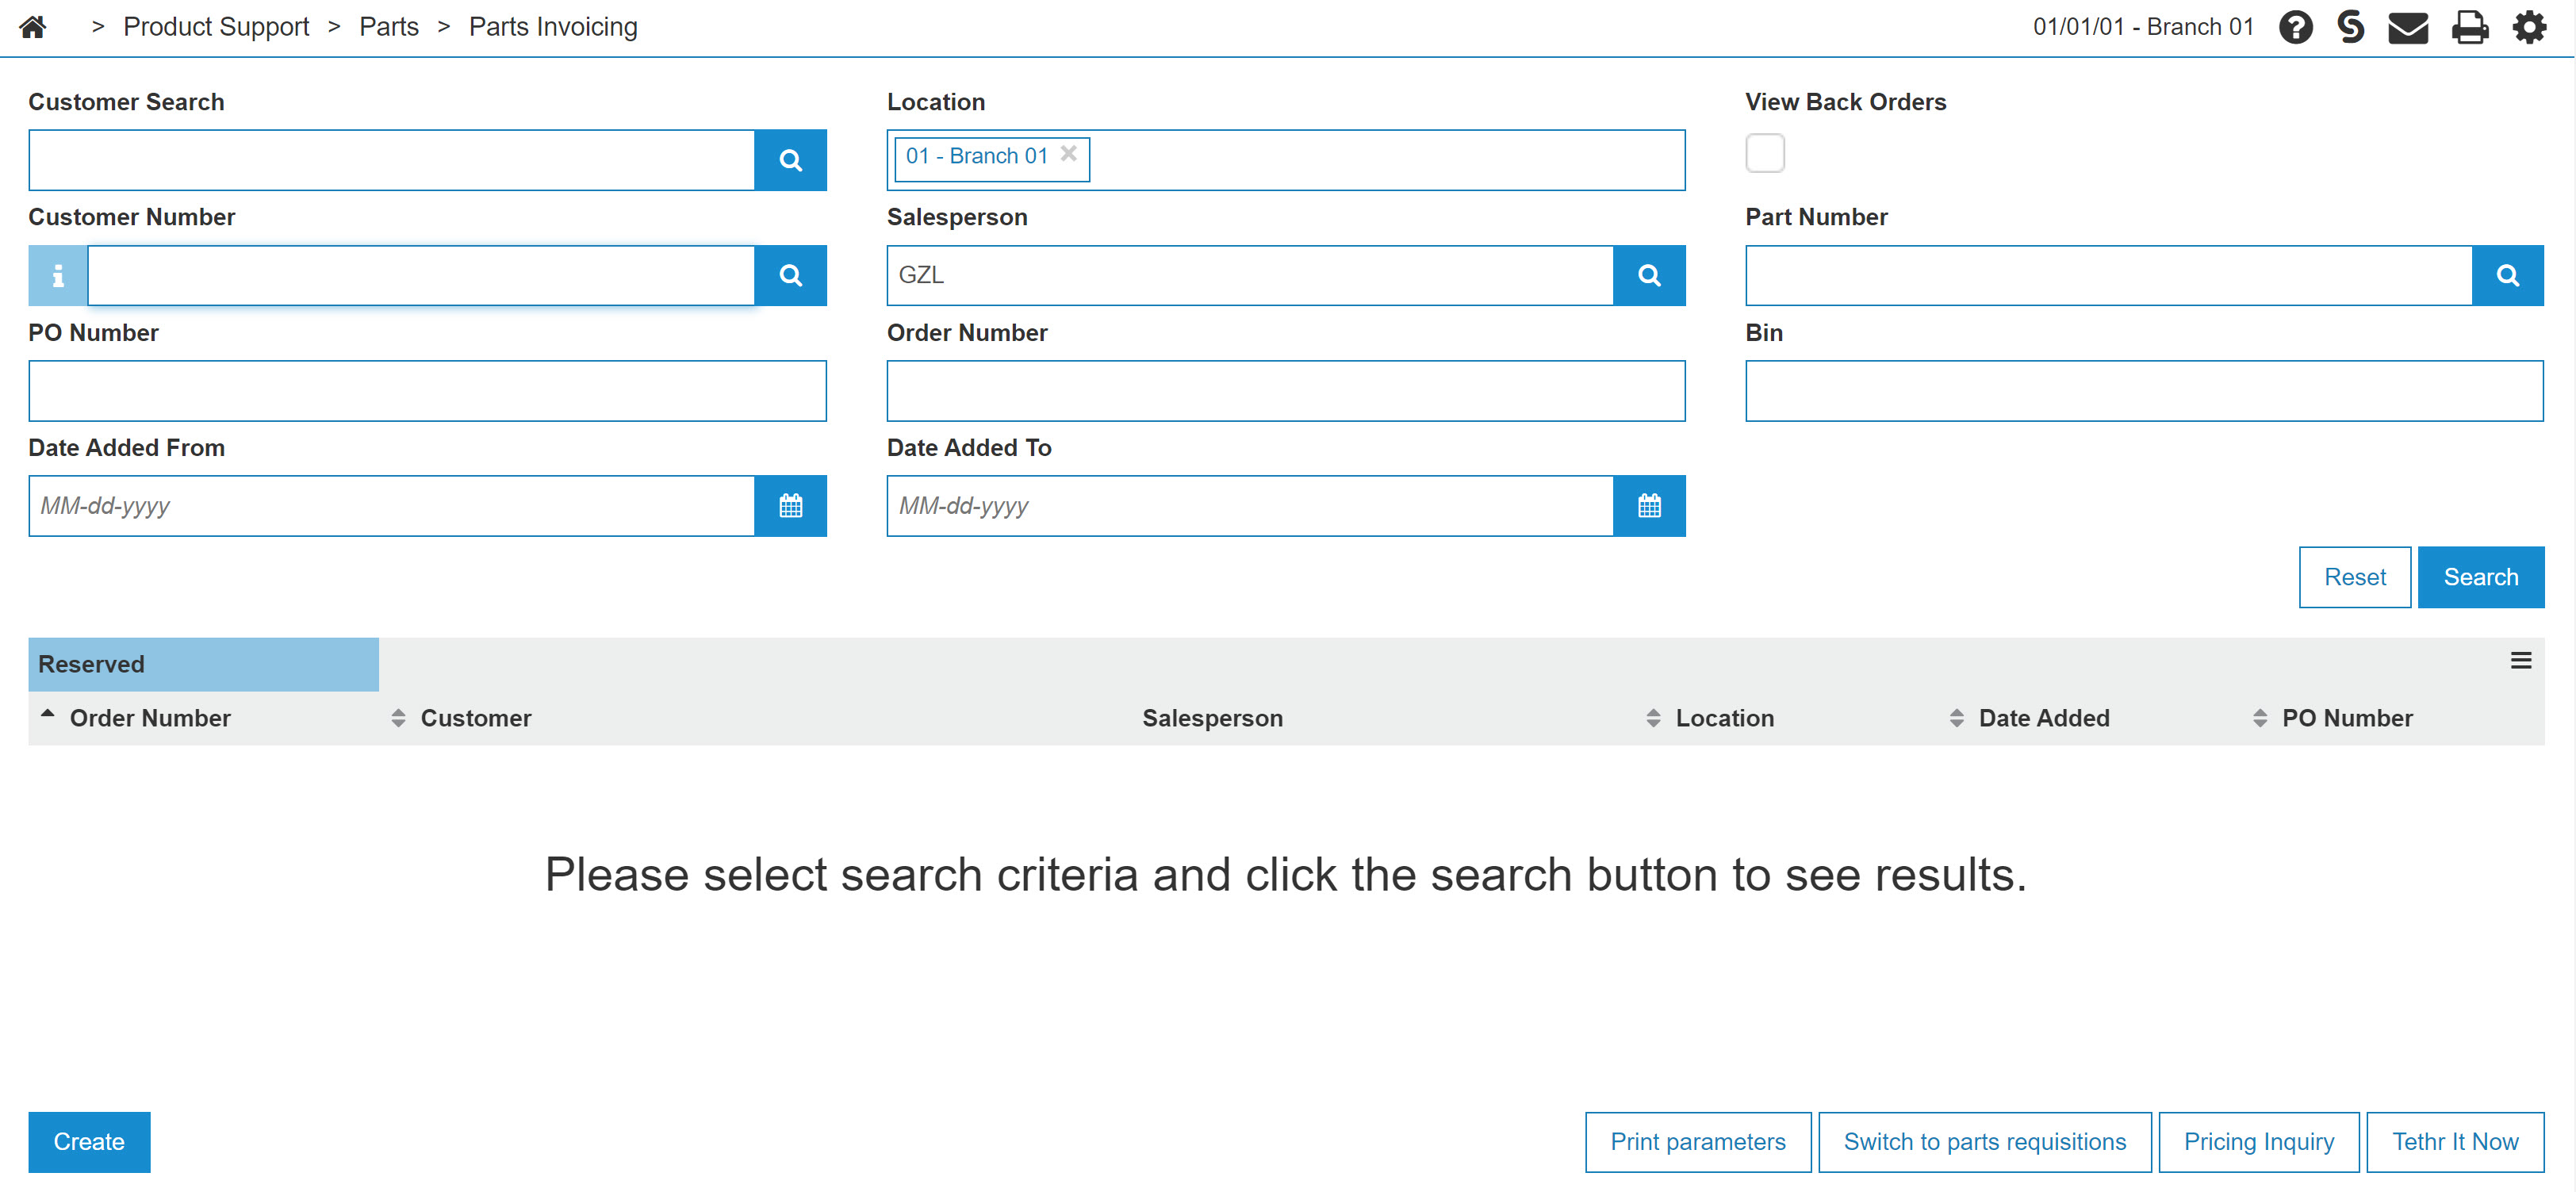
Parts Invoicing screen
-
On the Parts Invoicing screen, click on the Need to create an invoice? Click here to add link.
The Customer - Parts Invoicing Header tab well appear.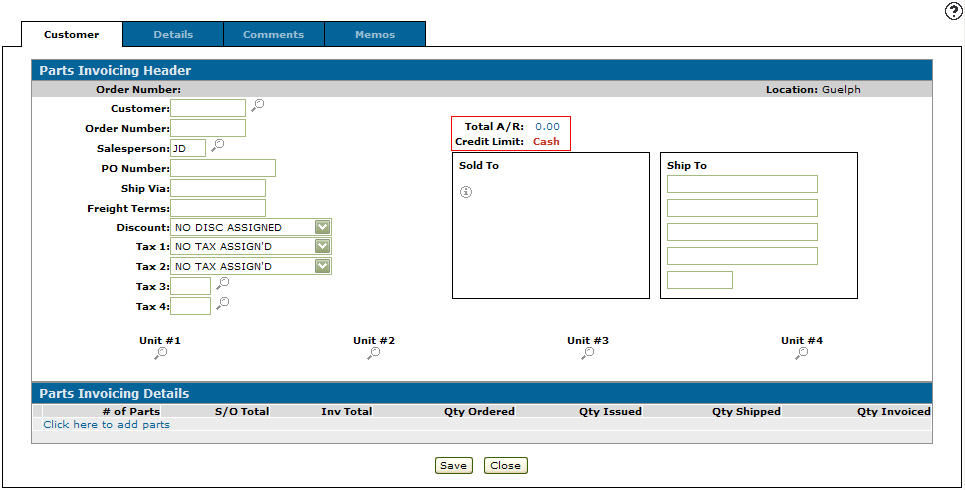
Customer - Parts Invoicing Header tab
-
On the Customer - Parts Invoicing Header tab, enter the adjustment Customer Number previously created.
-
Click the Save button to refresh the Customer - Parts Inventory Header tab with your customers information.
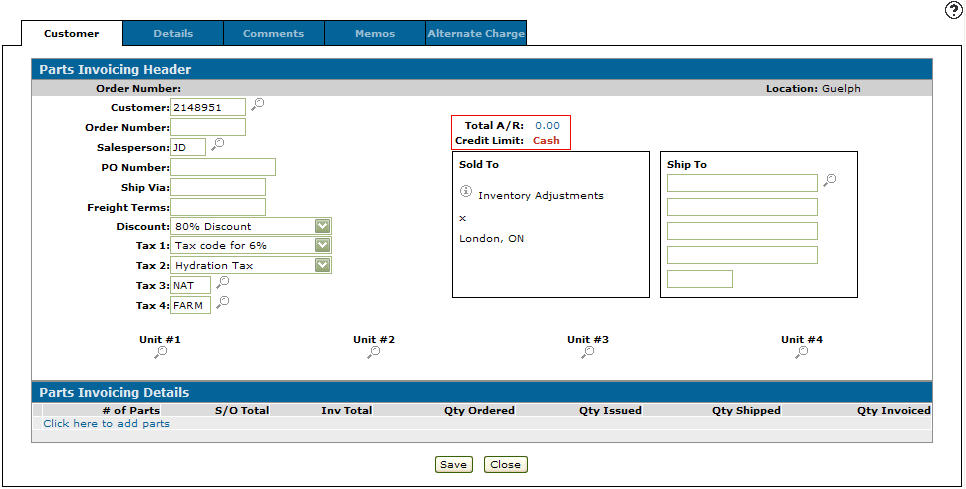
Updated Customer - Parts Invoicing Header tab
-
Select the Click here to add parts link.
- or -
Click on the Details tab.
The Parts Invoicing Details tab will appear.In this example we are removing 2 items from the inventory.
The entry would move the debit to the general ledger assigned to the part number.
It is a debit entry because by default the sale account field on the part number is a credit but since the part number is getting a credit a double negative is a positive.
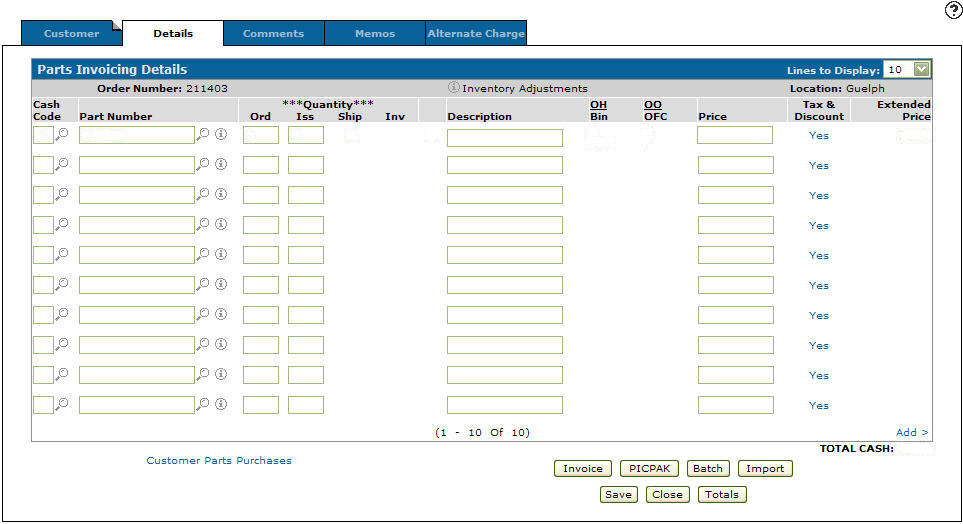
Parts Invoicing Details tab
-
On the Parts Invoicing Details tab, enter cash code 2 (cash) in the Cash Code field.
Note:
Cash code 2 will balance the invoice total to equal $0.00. -
Enter a Part Number.
- or -
Click on the Search icon.
The Parts Search screen will appear.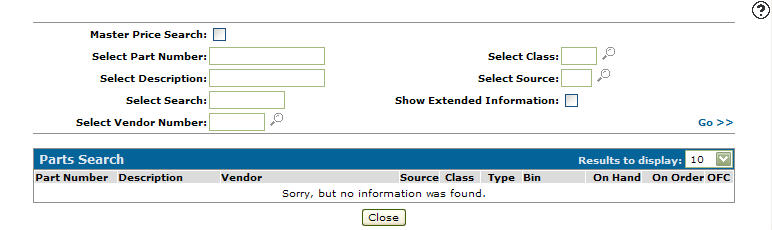
Parts Search screen
-
Enter the search criteria and click the Go>> link to locate the desired part.
-
Click on a Part Number.
-
The Parts Invoicing Details tab will appear with the selected part number in the part number field.
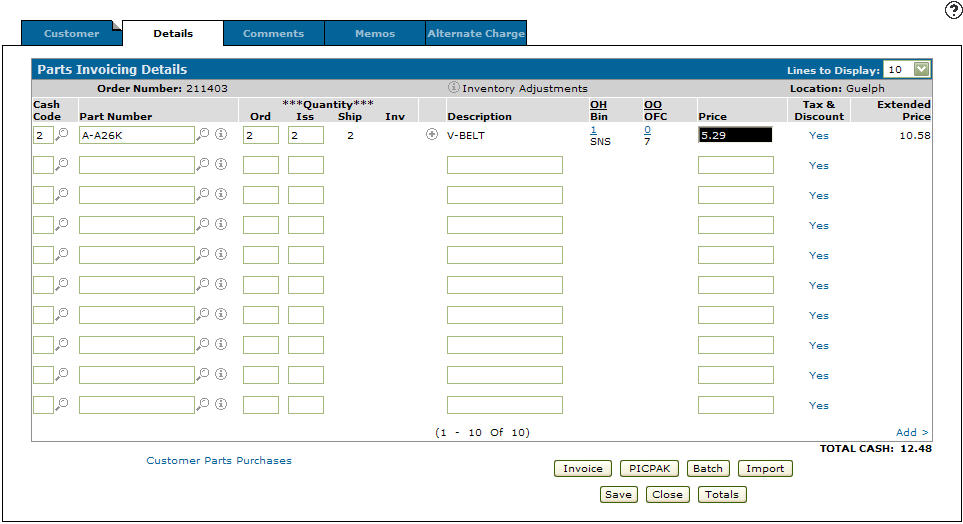
Parts Invoicing Details tab
-
On the Parts Invoicing Details tab, enter a 2 in the Ord field and the Iss field.
-
Enter cash code 2 (cash) in the second Cash Code field.
-
Enter the previously created part number ADJUST in the second Part Number field.
-
Enter a - 2 in the Ord field and the Iss field.
-
Enter Inv Adjustments in the Description field.
-
Click on the Save button to refresh/update the Parts Invoicing Details tab.

Updated Parts Invoicing Details tab
-
Click on the Invoice button to complete the transaction.